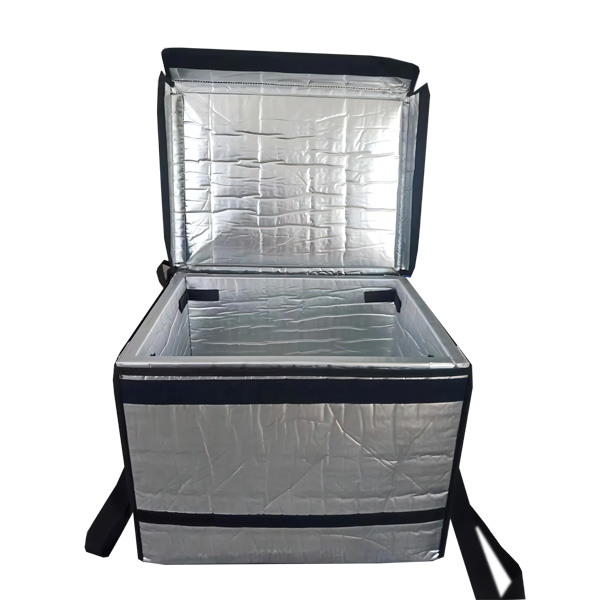
Comment emballer une glacière avec de la glace sèche: Haut ou bas?
Lorsque vous remplissez une glacière avec de la neige carbonique, le placement du sac de glace joue un rôle crucial pour garantir que vos denrées périssables restent à la bonne température. Que vous placiez la neige carbonique en haut ou en bas dépend de vos besoins, le type de glacière, et les objets que vous transportez. Ce guide vous fournira des instructions étape par étape sur comment emballer une glacière avec de la neige carbonique et expliquer le placement optimal pour maximiser l'efficacité.
-
Quelle est la meilleure méthode pour remplir une glacière avec de la neige carbonique pour une efficacité maximale?
-
La glace carbonique doit-elle être placée au-dessus ou au bas de la glacière?
-
Comment fonctionne la glace carbonique et quels facteurs affectent sa puissance de refroidissement?
-
Comment manipuler et stocker en toute sécurité la glace carbonique dans une glacière?
Qu'est-ce que la glace carbonique et comment fonctionne-t-elle dans une glacière?
La glace sèche est un dioxyde de carbone solide (Co₂) qui se sublime directement d'un solide à un gaz à -78,5°C (-109.3°F). Contrairement à la glace ordinaire, la neige carbonique ne fond pas en liquide; ça se transforme en gaz, ce qui le rend parfait pour refroidir sans laisser d’eau. Ce processus libère une grande quantité d'énergie froide, rendant la glace carbonique beaucoup plus efficace pour le refroidissement à long terme dans une glacière.
Dans les glacières, la glace carbonique maintient une température beaucoup plus basse que la glace ordinaire. L'environnement plus froid aide à préserver les articles sensibles à la température comme les aliments, fournitures médicales, et produits pharmaceutiques pour des périodes plus longues.
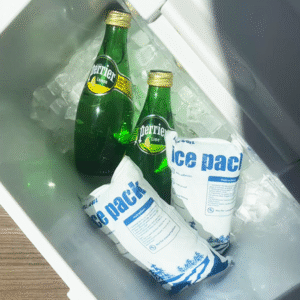
Devez-vous placer la glace sèche en haut ou en bas?
Lorsque vous remplissez une glacière avec de la neige carbonique, le positionnement du sac de glace carbonique, soit en haut, soit en bas, affecte l'efficacité du processus de refroidissement. Les deux positions ont leurs avantages, en fonction des besoins en refroidissement.
Glace carbonique au fond
Placer la neige carbonique au fond de la glacière permet à l'air froid de couler et d'entourer les articles, garantir que les produits surgelés restent froids pendant de longues périodes. Cette méthode est idéale pour conserver les aliments congelés au fond de la glacière.. L'air froid se déplace naturellement vers le bas, ce qui rend cette méthode parfaite pour les longs voyages ou lorsque vous devez maintenir des températures glaciales pendant une période prolongée. Cependant, le contenu en haut de la glacière peut décongeler plus rapidement que la couche inférieure.
Glace carbonique sur le dessus
Placer la neige carbonique sur les articles dans la glacière fonctionne bien pour un refroidissement rapide. Depuis que l'air froid tombe, cette méthode permet de refroidir les objets plus rapidement, ce qui le rend idéal pour les voyages à court terme où vous souhaitez tout refroidir rapidement. Cependant, il se peut qu'il ne maintienne pas le froid aussi efficacement pour un stockage à long terme, spécialement pour les articles au fond de la glacière.
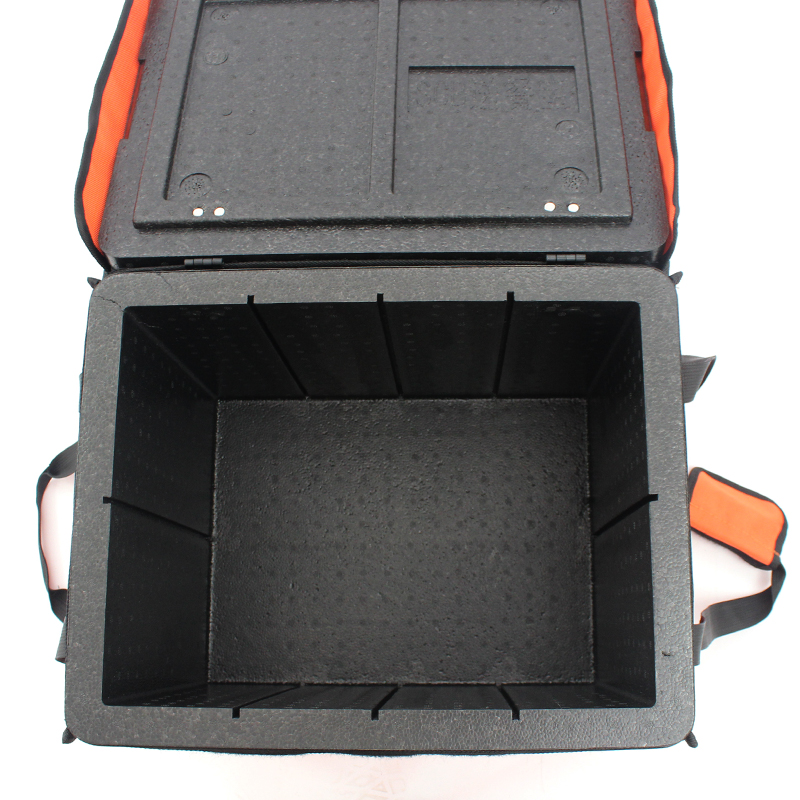
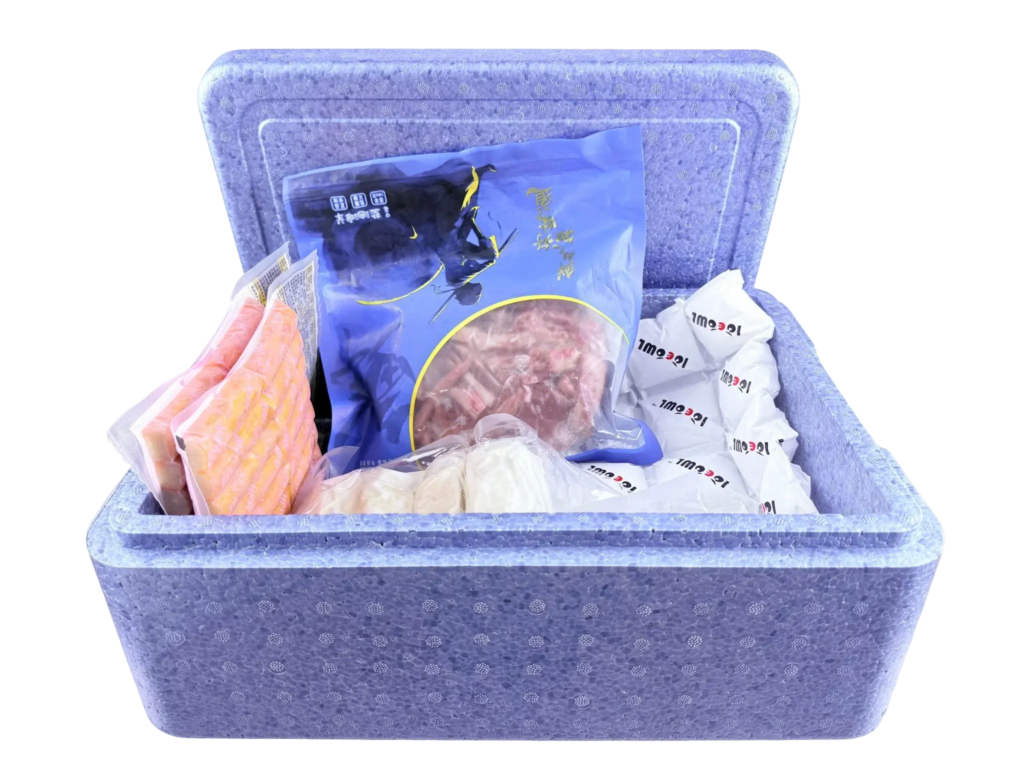
Comment emballer une glacière avec de la glace sèche: Guide étape par étape
1. Préparez la glacière
Commencez par un nettoyage, sec, et glacière bien isolée. Assurez-vous que le refroidisseur dispose d'une ventilation adéquate pour permettre au dioxyde de carbone de s'échapper.. Certains refroidisseurs sont équipés de bouchons de vidange ventilés spécialement conçus à cet effet..
2. Superposez la glace carbonique
Choisissez de placer la glace sèche en haut ou en bas de la glacière en fonction de vos besoins:
-
Pour une congélation longue durée (Par exemple, pour les aliments surgelés ou les envois médicaux), placez la neige carbonique au fond.
-
Pour un refroidissement rapide (Par exemple, pour les boissons ou les voyages de courte durée), placez la glace carbonique dessus.
Enveloppez la neige carbonique dans du papier journal ou d'autres matériaux isolants pour éviter tout contact direct avec les objets à l'intérieur.. La neige carbonique peut brûler des matériaux comme le plastique ou le papier s'ils entrent en contact direct.
3. Ajouter les éléments
Placez soigneusement les articles périssables à l'intérieur de la glacière. Si les articles doivent rester congelés, mettez-les au-dessus de la neige carbonique (si placé en bas) ou en dessous (si placé sur le dessus). Si vous utilisez à la fois de la glace carbonique et de la glace ordinaire, assurez-vous que la glace carbonique ne touche pas directement la glace ordinaire.
4. Couvrir les objets
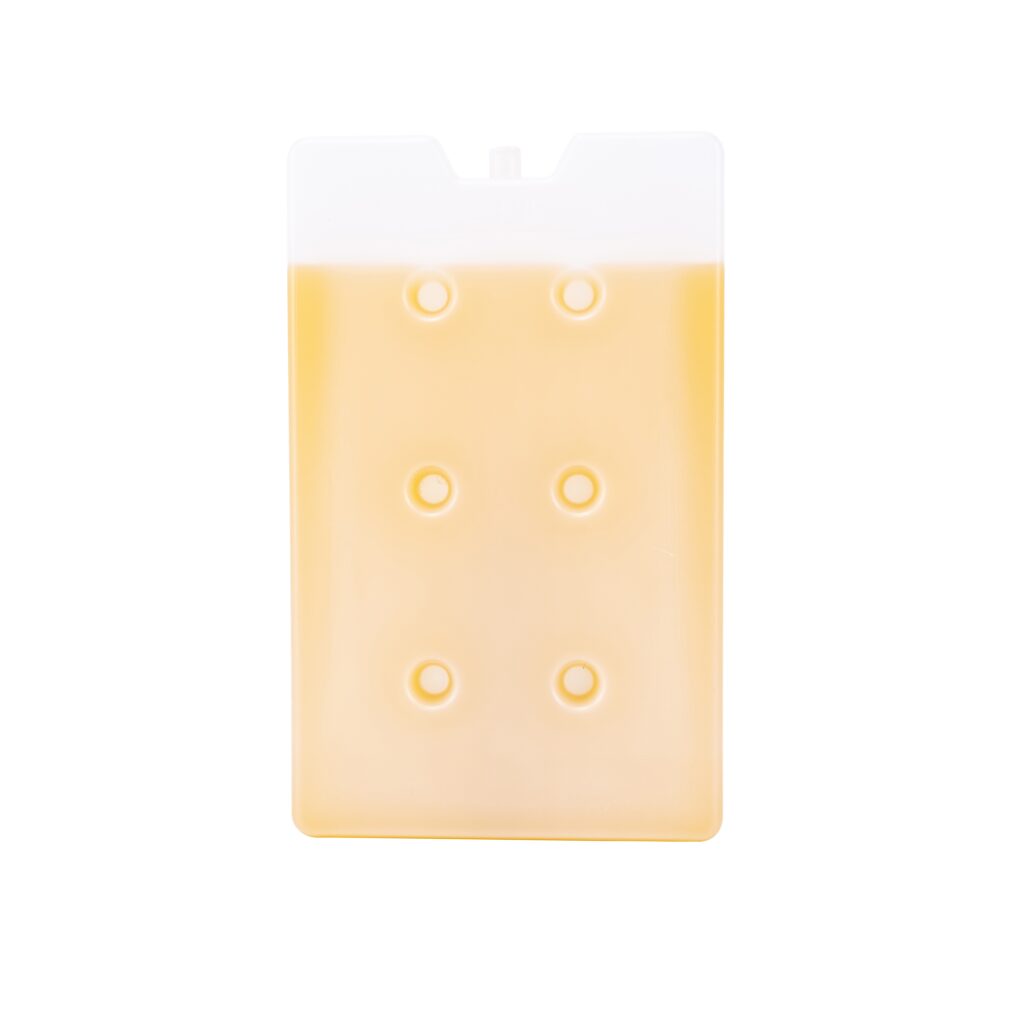
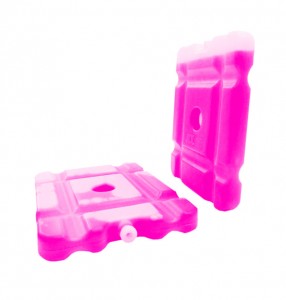
Ajoutez une couche de glace ordinaire, packs de gel, ou un matériau isolant (comme de la mousse ou du papier journal) pour réguler la température. Cette étape garantit que la glacière reste froide sans trop congeler le contenu..
5. Scellez le refroidisseur
Fermez hermétiquement la glacière, mais ne le ferme pas hermétiquement. Le gaz carbonique doit avoir de la place pour s'échapper. Si la glacière a un évent, laissez-le ouvert pour éviter l'accumulation de pression. Conservez la glacière dans un endroit frais, emplacement ombragé pour des résultats optimaux.
Facteurs affectant l'efficacité de refroidissement de la glace carbonique dans une glacière
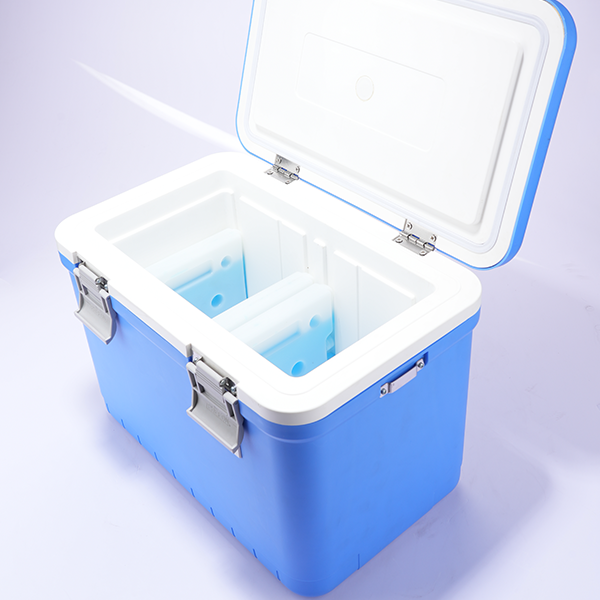
1. Qualité de l'isolation
L’efficacité de l’isolation de la glacière joue un rôle important dans la durée de vie de la neige carbonique. Des glacières bien isolées aident à ralentir la sublimation et à maintenir des températures basses plus longtemps. Une mauvaise isolation entraîne une sublimation plus rapide de la neige carbonique et une diminution de son efficacité de refroidissement.
2. Quantité de glace sèche
Plus vous utilisez de glace sèche, Plus votre glacière restera froid. Pour des voyages plus longs, utiliser plus de glace carbonique, et ajustez le placement en conséquence. Une ligne directrice générale consiste à utiliser 5-10 livres de glace carbonique par 24 heures de refroidissement, en fonction de la taille du refroidisseur.
3. Durée d'utilisation
Pour les déplacements courts, placer la neige carbonique dessus pourrait être plus efficace, car il refroidit rapidement les articles. Pour les voyages prolongés, placez la neige carbonique au fond pour maximiser la durée de refroidissement.
4. Type d'articles
Différents types d'articles nécessitent différentes stratégies de refroidissement. Pour les produits surgelés, Le placement de glace carbonique est crucial pour maintenir la bonne température. Pour les articles non surgelés, assurez-vous que la neige carbonique ne les gèle pas directement. L'utilisation d'une isolation supplémentaire entre la neige carbonique et le contenu peut aider à maintenir une température optimale sans causer de dommages..
Avantages et inconvénients de la glace carbonique sur le dessus par rapport à. Bas
| Position | Efficacité | Pros | Inconvénients |
|---|---|---|---|
| Glace carbonique au fond | Idéal pour la congélation à long terme | Garde les aliments congelés au frais plus longtemps | Les éléments du dessus peuvent décongeler plus rapidement |
| Glace carbonique sur le dessus | Idéal pour un refroidissement rapide | Efficace pour le refroidissement à court terme | Les articles en bas peuvent décongeler plus rapidement |
Conseils de sécurité lors de la manipulation de glace carbonique
1. Portez des gants isolés
Utilisez toujours des gants isolés ou des pinces lorsque vous manipulez de la neige carbonique pour éviter les engelures ou les brûlures..
2. La ventilation est la clé
Assurez-vous que la glacière est bien ventilée. Le dioxyde de carbone produit lors de la sublimation de la neige carbonique peut déplacer l'oxygène., créant un risque d'étouffement.
3. Ne jamais sceller la glace carbonique dans des contenants hermétiques
Sceller de la neige carbonique dans un récipient hermétique peut entraîner une accumulation de pression, provoquant potentiellement l'explosion du conteneur. Laissez toujours le gaz s'échapper.
Exemple réel
Une entreprise de restauration transportant des plats surgelés a utilisé la méthode de placement par le bas avec de la neige carbonique. Ils ont remarqué que placer la neige carbonique au fond gardait les repas congelés pendant tout le voyage de 12 heures., tandis que la méthode de placement en haut a entraîné la décongélation de certains éléments plus tôt que prévu.
2025 Tendances en matière de technologie de glace sèche et de refroidissement
Dernières innovations en matière de technologie de refroidissement
Dans 2025, les refroidisseurs sont devenus plus avancés grâce aux innovations en matière d’isolation, surveillance de la température, et durabilité environnementale. Des fonctionnalités telles que des capteurs de température intelligents et de meilleurs matériaux d'isolation aident à optimiser l'utilisation de la neige carbonique, garantir que les denrées périssables restent à la température idéale plus longtemps.
Alternatives respectueuses de l'environnement
Options respectueuses de l'environnement, comme les packs de remplacement de glace carbonique et les isolants à base de plumes, deviennent plus courants. Ces alternatives réduisent l'impact environnemental de la neige carbonique et fournissent des solutions de refroidissement plus durables.
Questions courantes
Q1: Quelle quantité de neige carbonique dois-je utiliser pour un voyage de 24 heures?
Vous aurez besoin 5-10 livres de neige carbonique pour une glacière de taille standard pendant 24 heures. Ajuster en fonction de la taille du refroidisseur et de la température externe.
Q2: Puis-je toucher de la neige carbonique à mains nues?
Non, la glace carbonique est extrêmement froide et peut provoquer des engelures. Utilisez toujours des gants ou des pinces pour le manipuler.
Q3: Est-il sécuritaire d'utiliser de la neige carbonique dans une glacière en plastique?
Oui, mais assurez-vous que la glacière est bien ventilée. Évitez d'utiliser des glacières en plastique hermétiques, car l'accumulation de dioxyde de carbone peut être dangereuse.
Conclusion et recommandations
Emballer efficacement une glacière avec de la neige carbonique nécessite de comprendre la science de l'air froid et de la sublimation., et en utilisant une isolation et une ventilation appropriées. Que vous placiez la glace carbonique en haut ou en bas dépend de vos besoins spécifiques : le placement par le bas est idéal pour une congélation à long terme, tandis que le placement supérieur est le meilleur pour un refroidissement rapide.
Étapes suivantes:
-
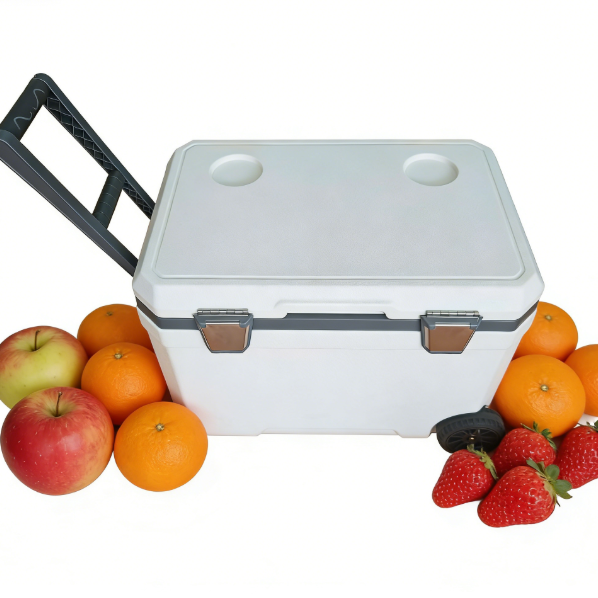
Utilisez une glacière de haute qualité avec une bonne isolation.
-
Suivez le guide d'emballage pour optimiser l'efficacité du refroidissement.
-
Explorez des alternatives écologiques comme les packs de remplacement de glace carbonique.
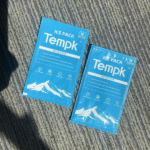
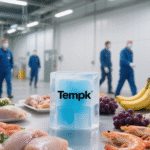
À propos du tempk
Le tempk est un principal fournisseur de solutions de chaîne du froid, spécialisé dans les méthodes avancées d'emballage et de transport pour maintenir l'intégrité des produits. Nous proposons des solutions innovantes pour l'alimentation, pharmaceutique, et les industries logistiques, aider les entreprises à optimiser leurs processus de refroidissement.