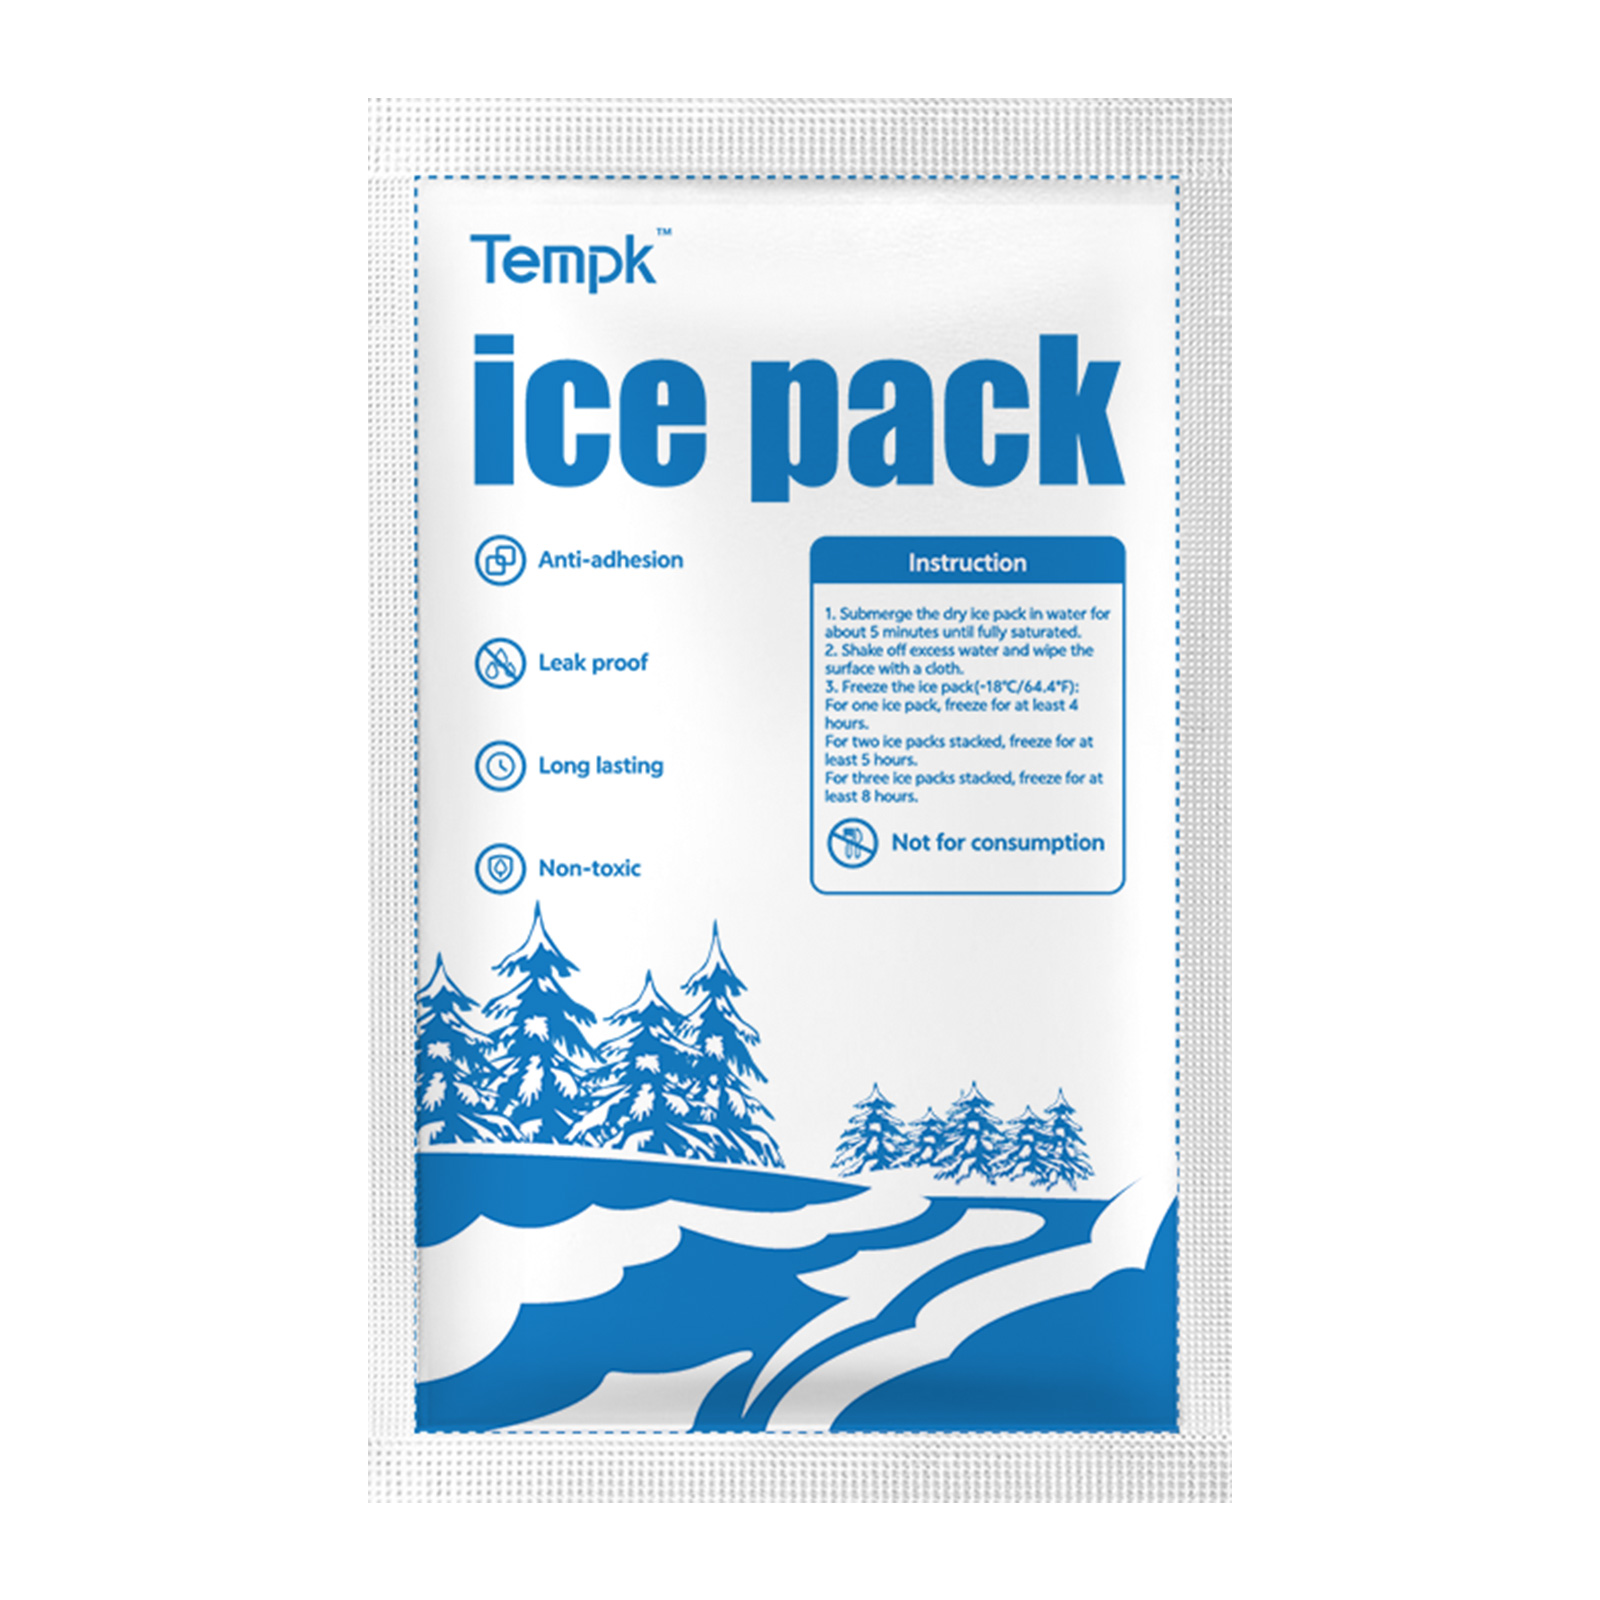
Kitchen Dry Ice Packs: How Do You Use Them Right?
Updated October 2025.
[Introduction:
If you handle frozen prep, grocery runs, or catering, kitchen dry ice packs give you deep-cold power without any watery mess. This guide shows you how to choose, size, and pack them so your food stays solid at −20 °C or below. We’ll cover quick math, cooler layouts, safety, and 2025 trends. You’ll leave with ready-to-apply templates and a short checklist you can train in minutes.]
-
Sizing basics for kitchen dry ice packs with a back‑of‑envelope method
-
Pack‑out templates for coolers and totes using related long‑tail keywords
-
Compliance and handling tips so CO₂ stays safe in a home or pro kitchen
-
Cost and sustainability pointers that reduce waste and speed training
-
Hybrid setups that mix PCM and gel with kitchen dry ice packs
What are kitchen dry ice packs and when should you use them?
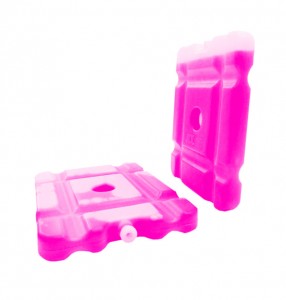
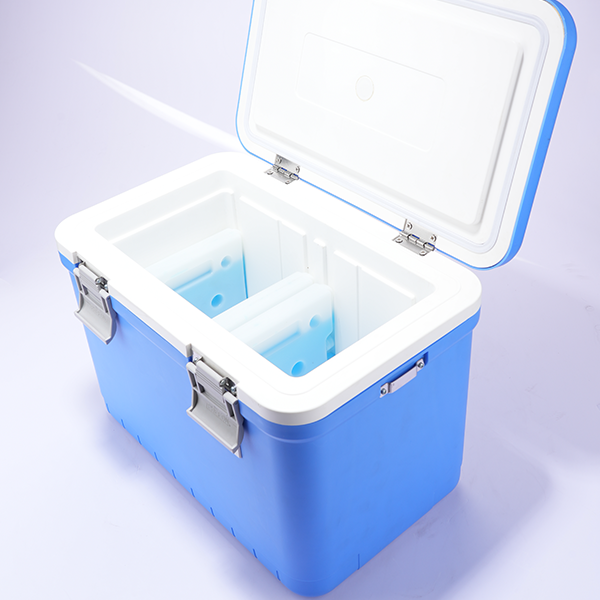
Short answer: kitchen dry ice packs are pre‑wrapped modules filled with CO₂ dry ice that vent gas while holding shape. They act like tidy “tiles” that spread cold evenly in coolers, totes, or service carts. Use them when you need frozen reliability, easy cleanup, and predictable layouts. Two fast wins: steadier ice‑cream texture and safer transport for frozen pastries.
Details you can use: Think of loose pellets as sand, blocks as bricks, and kitchen dry ice packs as flexible tiles. Tiles fill corners, keep a flat cold face, and reduce cold‑burn on packaging. They are ideal for pastry labs, gelato shops, butcher counters, and caterers who stage food hours ahead. If your target is −20 °C to −30 °C for 6–48 hours, they shine. For long routes or heat waves, combine tiles with a small block and better insulation.
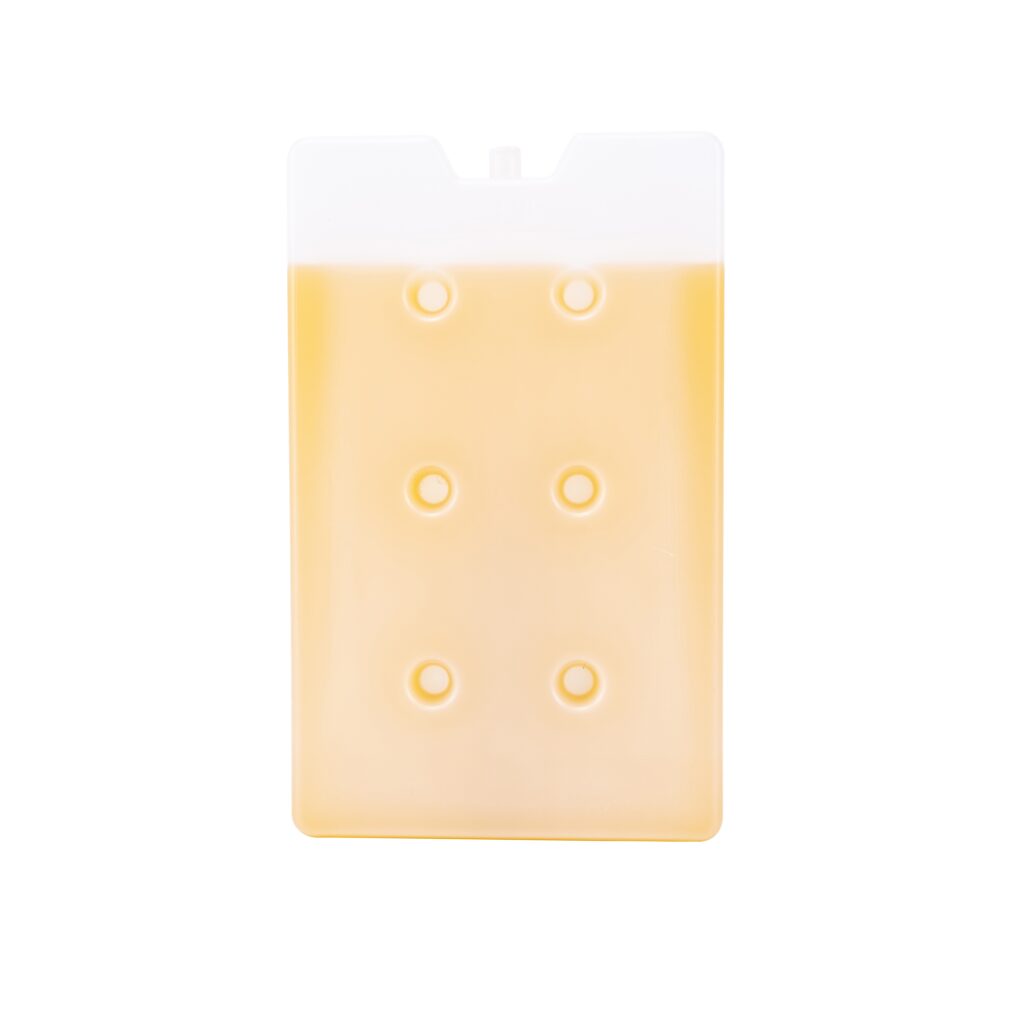
Kitchen dry ice packs vs gel packs for home and pro use
Deeper dive: Gel packs are for chilled ranges like 0–8 °C. They are great for produce and beverages, but they cannot achieve dry‑ice temperatures. kitchen dry ice packs reach −78.5 °C at the source and hold frozen texture even as they sublimate. For mixed boxes, isolate items that should not freeze with a cardboard baffle or a thin phase‑change pad, then surround the outside with kitchen dry ice packs.
| Cooling option | Best for | Not great for | What it means for you |
|---|---|---|---|
| kitchen dry ice packs | Ice cream, frozen meats, pastries | Leafy greens, fresh berries | Frozen stays frozen; prevent direct contact |
| Loose pellets | High‑volume hubs, fast dosing | Tidy pack‑outs | Needs liners; can shift during transit |
| Blocks/slabs | Long hold times | Precise coverage | Long lasting but less flexible placement |
| Gel/PCM +5 °C | Chilled drinks, salads | Deep‑frozen | Won’t hit −20 °C targets |
Practical tips for kitchen dry ice packs
-
Ice‑cream runs: Place dry ice tiles on top; cold air sinks over tubs.
-
Pastry layers: Use a spacer board to prevent cold rings; tiles at the lid give smoother tops.
-
Grocery protection: Keep frozen on one side, chilled on the other; add a baffle between zones.
Real‑world case: A gelato shop switched to dry ice tiles lined at the lid and sides. Texture loss dropped markedly on 35 °C days, and staff packed each cooler 90 seconds faster.
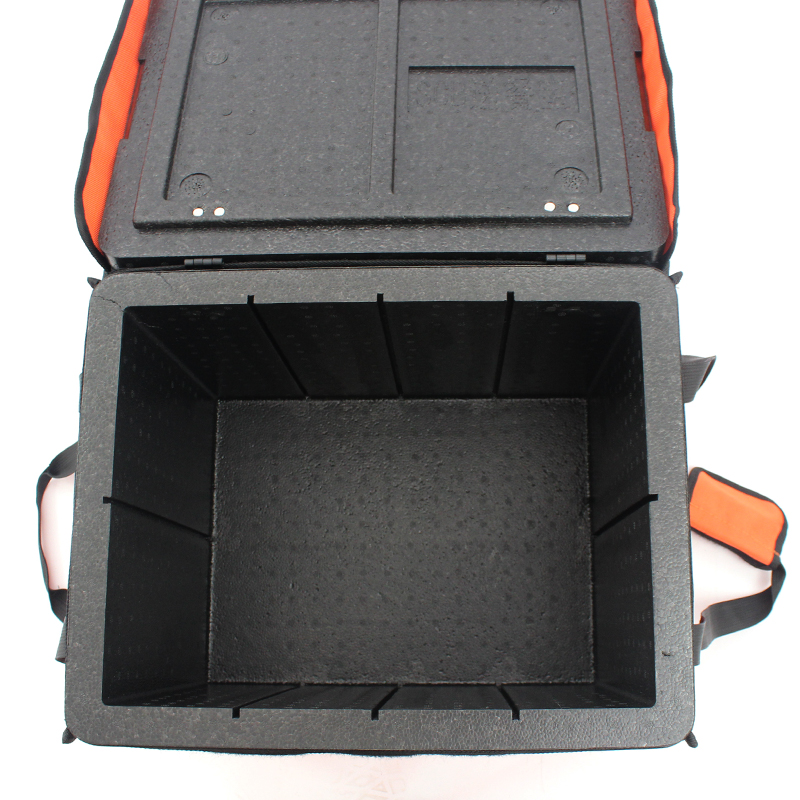
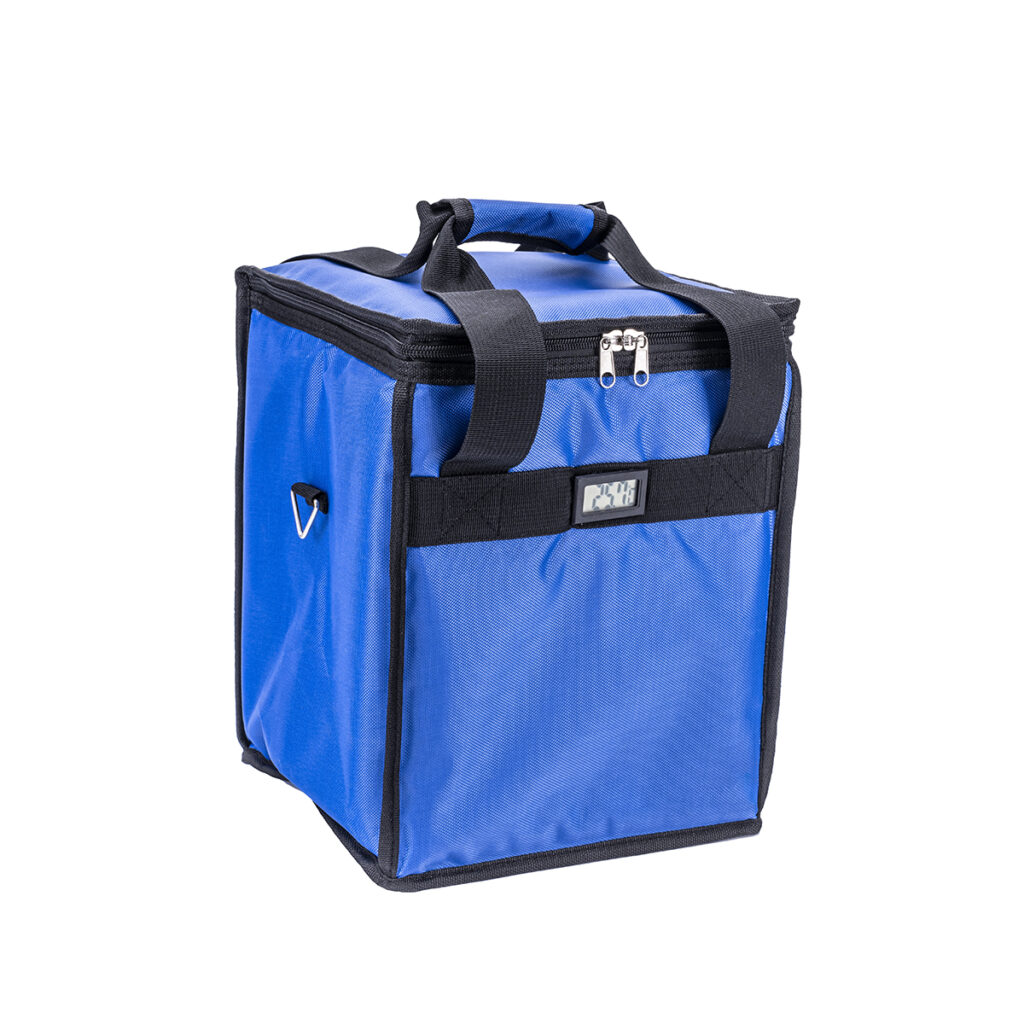
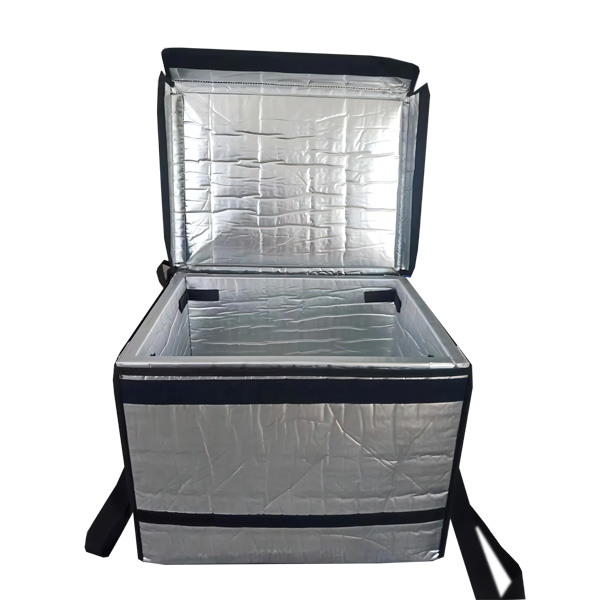
How do you size kitchen dry ice packs for your cooler?
Short answer: Start with the heat leak of your box, then match capacity. kitchen dry ice packs absorb heat as CO₂ turns to gas. Estimate your heat load per hour, multiply by hours, and divide by the energy absorbed during sublimation. Add 10–30% buffer for door openings, delays, and human error.
Details you can use: You don’t need lab gear. Treat the cooler like a thermos with leaks. More surface area, lower insulation, and hotter ambient means more leakage. A simple model and one lane test will get you close, and kitchen dry ice packs make the layout repeatable for anyone on shift.
A pocket calculator for kitchen dry ice packs
Example: A 50‑qt hard cooler (A≈0.8 m², R≈0.45) at 32 °C for 18 h:
Q≈(0.8/0.45)×52≈92.4 W → m≈(92.4×18×3.6)/571≈10.5 kg. Add 20% → ~12.6 kg. Use a small block on the bottom and kitchen dry ice packs as side curtains and a vented lid layer.
| Variable | Typical range | How to pick | For your kitchen |
|---|---|---|---|
| R‑value (soft cooler) | 0.2–0.35 | Use maker spec or a quick test | May need more tiles |
| R‑value (hard cooler) | 0.35–0.6 | Tighter lid seals score higher | Smoother temperature |
| R‑value (VIP insert) | 2.0–3.0 | Premium upgrade | Cuts CO₂ needed by a lot |
| Buffer | 10–30% | New routes need more | Insurance against delays |
Practical tips for kitchen dry ice packs
-
Short rides (<8 h): Favor kitchen dry ice packs for even coverage; skip heavy slabs.
-
Hot car cabins: Double tile the sun‑facing wall; keep packs off produce with a baffle.
-
Events: Stage an extra lid layer of kitchen dry ice packs for peak hours.
Real‑world case: A wedding caterer added 15% more kitchen dry ice packs at the lid. On a 38 °C day, desserts stayed firm through outdoor service without frosting damage.
Are kitchen dry ice packs safe for food handling and storage?
Short answer: Yes, when you respect ventilation and touch rules. kitchen dry ice packs release CO₂ gas as they warm. Give the gas a path, protect hands and eyes, and keep packs away from kids and pets. Never trap dry ice in airtight containers; pressure can build.
Details you can use: CO₂ displaces oxygen. Work in well‑ventilated rooms, not sealed cars or tiny pantries. Use gloves to avoid cold burns, and avoid swallowing any fragment. Keep packs outside the primary food wrap unless rated for direct contact. Mark the estimated CO₂ mass on group shipments. For longer drives, crack a window and avoid reclining near vents.
Kitchen dry ice packs: ventilation, PPE, and labeling
Deeper dive: A vented lid or a small spacer at the hinge is enough for most coolers. A basic glove and eye‑protection kit protects your team during busy prep windows. Label shared coolers “Contains Dry Ice” so everyone knows to avoid sealed spaces. Rotate kitchen dry ice packs with tongs or a scoop to prevent skin contact and keep shards contained.
| Safety topic | Good practice | Why it matters | For you |
|---|---|---|---|
| Venting | Leave a small gap or use a vented lid | Gas must exit | Prevents pressure bulge |
| PPE | Gloves and eye protection | Stops cold burns | Faster, safer shifts |
| Storage | Insulated, ventilated bin | Controls sublimation | Less fog and mess |
| Vehicles | Crack window; avoid sealed trunks | Avoid CO₂ buildup | Safer long drives |
Practical tips for kitchen dry ice packs
-
Home kitchen: Place dry ice tiles on a tray; wipe condensation to keep counters dry.
-
Shared spaces: Post a one‑page SOP near the prep table; add a checklist for opening and closing.
-
Waste: Let remaining dry ice dissipate in a ventilated area; never in a sink or toilet.
Real‑world case: After adding a one‑page SOP and clearly labeled bins, a bakery reported zero hand injuries across 90 days of summer production while using kitchen dry ice packs daily.
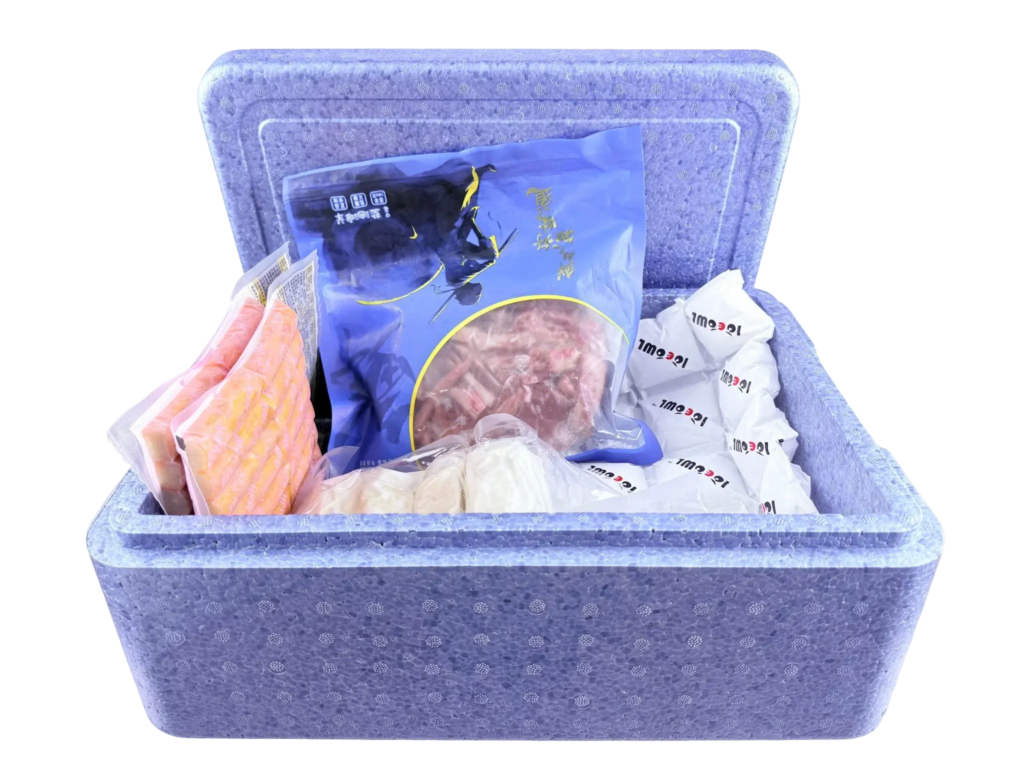
How do kitchen dry ice packs support catering and events?
Short answer: They make cold predictable. kitchen dry ice packs standardize pack‑outs and speed training. You can build simple, repeatable layouts for entrees, desserts, and bar ice that hold for hours even with frequent lid openings.
Details you can use: Use tiles at the lid because cold air sinks. Arrange side curtains that guard the hottest wall. For plated desserts, add a spacer board between the product and the upper layer. For raw proteins, keep a liner between packaging and tiles to prevent direct contact. Color‑code coolers by course and assign a timer for each.
A 24‑hour cooler layout using kitchen dry ice packs
Template you can copy:
Why it works: The top layer floods the cooler with cold air. Side curtains defend against radiant heat from doors and sunlight. The spacer board prevents lid‑edge freezer burn on delicate items like meringue or mousse.
| Load type | Pack‑out change | Hold‑time effect | Your benefit |
|---|---|---|---|
| Ice cream | Extra lid layer | Longer scoopable window | Better texture, less drip |
| Pastries | Spacer board under lid tiles | Stops frost rings | Prettier plating |
| Proteins | Liner between packs and meat | Safe separation | Cleaner HACCP trail |
Practical tips for kitchen dry ice packs
-
Course kits: Assign kitchen dry ice packs to desserts only; use gel for salads to avoid freezing.
-
Bar service: Use tiles to pre‑chill glassware bins; remove tiles before service to avoid over‑cooling.
-
Return trips: Keep a spare zip cover of kitchen dry ice packs to stabilize leftovers.
Real‑world case: A hotel banquet team color‑coded coolers and standardized layouts with kitchen dry ice packs. Setup time dropped by 20%, and post‑event waste fell notably.
Do kitchen dry ice packs work with PCM and gel packs?
Short answer: Yes. Build hybrids. kitchen dry ice packs supply deep‑cold capacity, while phase‑change materials (PCM) or gel manage precise setpoints and protect sensitive items from over‑freezing.
Details you can use: If you ship or carry items that should not drop below −10 °C, place a thin −21 °C PCM slab against the product and surround with kitchen dry ice packs. For mixed boxes, run a dual‑zone cooler: gel or PCM on one side for chilled, tiles on the other for frozen. Cardboard baffles and spacer boards keep the zones from fighting each other.
Hybrid pack‑outs with kitchen dry ice packs
Starter recipes:
| Goal | Inner layer | Outer layer | Why it helps |
|---|---|---|---|
| Protect fragile desserts | PCM −21 °C plank | kitchen dry ice packs | Prevents surface cracking |
| Mixed frozen + chilled | Gel +5 °C on one side | Tiles on the other side | Two zones, one cooler |
| Protein marination | Food‑safe wrap | Tiles at lid and sides | Maintains safe temperatures |
Practical tips for kitchen dry ice packs
-
Chilled‑only events: Skip dry ice and use gel packs; reserve kitchen dry ice packs for frozen courses.
-
Power outages: Use tiles in the freezer to hold temperature; place a thermometer on the top shelf.
-
Delivery days: Stage kitchen dry ice packs near the door so groceries stay frozen during unloading.
Real‑world case: During a city‑wide outage, a cafe stabilized three reach‑ins by loading kitchen dry ice packs on the top shelves and keeping doors closed. Stock stayed safe until power returned.
2025 trends in kitchen dry ice packs you should know
Trend overview: In 2025, food businesses want lighter coolers, quicker training, and cleaner prep. kitchen dry ice packs fit that curve. Expect more dust‑reduced wraps, stronger seams that resist tearing, and standardized tiles sized for popular coolers. Smarter sensors verify hold times without opening lids, and small VIP inserts make compact coolers behave like premium boxes.
What’s new for kitchen dry ice packs
-
Cleaner wraps: Less CO₂ dust on prep tables and faster cleanup.
-
Modular sizing: Tiles that match common cooler footprints reduce wasted space.
-
Sensor‑first validation: Wireless loggers prove performance without opening the lid.
Market insight: Consumers buy frozen groceries more often, and small kitchens add off‑site events. That pressure pushes teams toward repeatable layouts. kitchen dry ice packs help defend texture and food safety with fewer steps, and hybrid pack‑outs reduce over‑freezing of delicate items while keeping deep‑frozen goods rock‑solid.
Frequently Asked Questions
Q1: How long do kitchen dry ice packs last in a cooler?
It depends on insulation, ambient heat, and lid openings. A good hard cooler with kitchen dry ice packs can hold frozen items for a day or two. Always test your route, then add a 10–30% buffer.
Q2: Are kitchen dry ice packs safe around kids and pets?
Use adult handling only. Wear gloves, keep packs out of reach, and vent rooms. Never trap dry ice in sealed jars or put it in drinks. Allow CO₂ to dissipate safely.
Q3: Can I fly with kitchen dry ice packs in checked baggage?
Airline rules usually allow limited quantities of dry ice with proper venting and labeling. Check the carrier’s limits and declare the net mass. Use a vented container.
Q4: Will kitchen dry ice packs make my produce freeze?
They can. Keep tiles away from items that should stay chilled. Use gel or PCM to protect greens and fruit, and add a cardboard baffle.
Q5: Can I use kitchen dry ice packs in a soft cooler?
Yes, but you’ll need more tiles than in a hard cooler. Double the side curtains and add a strong lid layer for best results.
Q6: Are kitchen dry ice packs food‑contact safe?
Many wraps are not meant for direct contact. Keep packs outside the primary packaging unless rated food‑contact safe. When unsure, add a liner.
Q7: How do I dispose of leftover kitchen dry ice packs?
Let them sublimate in a well‑ventilated area, away from kids and pets. Never in sinks or drains. Do not confine or crush them.
Q8: Do kitchen dry ice packs help during power outages?
Yes. Place tiles on the top shelf of the freezer and keep doors closed. Temperature stays lower because cold air sinks over the food.
Q9: How should I store kitchen dry ice packs before use?
Use an insulated, ventilated bin. Avoid sealed rooms and keep PPE nearby. Rotate stock first‑in, first‑out to keep packs fresh.
Summary and recommendations for kitchen dry ice packs
Key takeaways: Use kitchen dry ice packs for frozen reliability, clean handling, and fast training. Size by heat leak, not guesswork. Vent and label to keep people safe. Combine tiles with gel or PCM when you need mixed zones. Standardize pack‑outs, then test and tune.
Next steps: Choose your cooler class, run the simple mass estimate, and pilot two pack‑out templates on your hottest route. Record results and lock the SOP. If you want a custom layout and a lane test, talk to Tempk for a data‑backed design.
About Tempk
Tempk builds practical cold‑chain designs for home and professional kitchens. We help teams deploy kitchen dry ice packs, hybrid layouts, and validation tools that reduce waste and training time. Customers see steadier quality and fewer temperature excursions during transport and service.
Call to action: Contact Tempk to schedule a 2‑week pilot and get a pack‑out tailored to your routes and coolers.
Engagement boosters for kitchen dry ice packs
-
3‑Question Selector:
-
Do you need ≤ −20 °C? If yes, choose kitchen dry ice packs.
-
Route >24 h or hot car? Add a small block and double the lid layer.
-
Freeze‑sensitive items present? Buffer with PCM or a cardboard baffle.
-
-
Self‑check rubric (score 0–5 each): Correct mass, insulation class, vent path, handling PPE, and data logging. Score ≥20 → ready to run.
-
CTA: Download the cooler SOP and schedule a route test with our team.