Dry Ice Bag Zip Seal: Safe Venting & 2025 Guide
A dry ice bag zip seal is safe only when vented and paired with a non-airtight outer shipper. Dry ice (solid CO₂) sublimates at −78.5 °C and gas must escape. This guide shows you exactly how to vent, size, place, and label a dry ice bag zip seal so you pass 2025 acceptance checks and stop wet cartons without burst risks.
-
Choose a venting method that keeps a dry ice bag zip seal clean while releasing CO₂.
-
Right-size dry ice for 24–72 h lanes using a quick calculator and pack it where it works best.
-
Apply UN1845 labels the right way with a dry ice bag zip seal and a non-airtight cooler.
-
Pick the best closure (dry ice bag zip seal vs heat seal vs ties) for speed, safety, and audits.
-
Cut wet boxes and shocks with spacers, liners, and a simple seven-step SOP.
When is a dry ice bag zip seal safe—and when not?
Core answer: It’s safe when the zipper is closed for containment and a deliberate vent path exists so CO₂ can exit. Never create an airtight system. Place the dry ice bag zip seal above the payload with spacer gaps; ensure the outer cooler also vents. This setup prevents pressure spikes, reduces frost on labels, and passes 2025 acceptance checks.
Why it works for you: Dry ice turns straight to gas. Gas needs space. A dry ice bag zip seal used as a re-closable liner keeps pellets tidy, limits odor transfer, and—when vented—prevents “balloon” failures. Top placement lets cold, heavy CO₂ bathe product evenly while escaping through the cooler’s vent path. You get cleaner unboxes, fewer burst claims, and simpler line training.
Can a dry ice bag zip seal be airtight for dry ice?
No. Airtight = unsafe. Add one controlled leak path near the top panel so gas escapes while pellets stay put. Pick one:
| Venting Method (top panel) | Setup Time | Cleanliness | Reliability | What it’s best for |
|---|---|---|---|---|
| Zipper fin-seal micronotch (2–3 mm) | Seconds | Excellent | High | Most parcel lines; easiest SOP |
| Micro-perfs (2–4 pinholes / 100 cm²) | Seconds | Very good | Med-High | Small bags; fast builds |
| Membrane vent patch | Minutes | Excellent | Very High | High-value pharma/biologics |
Pro tip: Keep the vent above the dry ice load so gas flows up and out, not through product.
Practical tips you can use today
-
Top, not bottom: Put the dry ice bag zip seal on top with a 10 mm spacer—never under heavy payloads.
-
Protect labels: Add a thin corrugate pad above fragile label stock to avoid freeze-fracture.
-
Don’t block vents: Don’t jam the bag into lid gaskets or over-tape foam seams. Gas must escape.
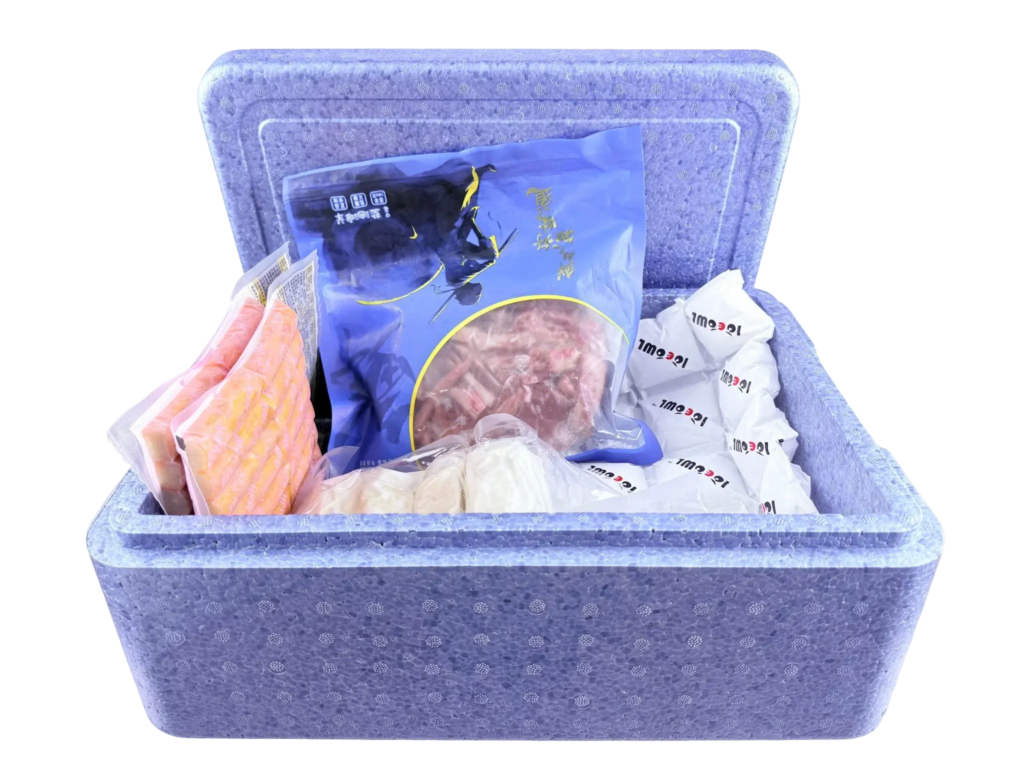
Real case: A meal-kit brand cut “wet box” complaints ~60% in July by switching to a vented dry ice bag zip seal on top, adding a moisture barrier and a 10 mm spacer—no extra dry ice, just smarter gas flow.
How do you size and place a dry ice bag zip seal for 24–72 h lanes?
Short answer: Estimate dry ice from heat load and hold time, pack ~1 kg per dry ice bag zip seal, place bags on top and side voids, and validate with a one-box test. Add 20–30% in hot lanes or long porch dwell.
Why this matters: Right-sized refrigerant and correct placement give you longer holds without product burn. Using multiple dry ice bag zip seal units spreads cold evenly and keeps cartons dry, even with multi-stop routes.
Quick rule-of-thumb calculator (paste into SOP)
| Cooler Size | Typical Heat Load (W) | Target Hold | Dry Ice (kg) | Dry ice bag zip seal setup |
|---|---|---|---|---|
| 10–15 qt parcel | 7–8 | 24 h | 1.1–1.3 | 1 × ~1 kg bag (top) |
| 20–25 qt parcel | 8–10 | 36 h | 1.8–2.2 | 2 × ~1 kg (top + side) |
| 35–45 qt parcel | 9–12 | 48 h | 2.7–3.5 | 3 × ~1 kg (spread on top) |
| 60 qt rotomolded | 10–14 | 72 h | 4.5–6.3 | 4–6 × ~1 kg (top/side) |
Good practice: Freeze product to setpoint, pre-chill the cooler, minimize headspace in each dry ice bag zip seal, and log one seasonal lane before scaling.
How do you label UN1845 with a dry ice bag zip seal so hubs accept it?
Direct answer: Mark the outer package (not the inner bag) with “Dry Ice” or “Carbon Dioxide, solid,” UN1845, net kg, and apply the Class 9 label as required. Packaging must permit the release of gas—that’s a core acceptance check in 2025.
Checklist you can post at the bench
-
Confirm the dry ice bag zip seal is vented; outer shipper is not airtight.
-
Mark UN1845 and net kilograms of dry ice on the outer box.
-
Apply Class 9 hazard label where required.
-
Keep packages in ventilated areas; wear cryo-gloves and eye protection.
-
Don’t tape over any designed vent paths.
Dry ice bag zip seal vs heat seal vs ties—what should you choose?
| Closure Type | Pros | Cons | Best Use |
|---|---|---|---|
| Dry ice bag zip seal (vented) | Fast, clean, re-closeable; great for pellets | Must add vent; zips can snag | Parcel lines needing speed + rework |
| Heat seal + vent notch | Strong edge; tamper-evident | Needs sealer; brittle at sharp folds | High-value pharma/biologics |
| Twist/cable tie (loose) | Ultra-quick; obvious vent path | Less tidy; wire ends | Bulk seafood, field packouts |
| Press-to-close + micro-perfs | Very clean; controlled venting | Perfs can “dust” | Confections, clinical kits |
Rule of thumb: If unsure, pick a dry ice bag zip seal plus a tiny vent notch—fast, repeatable, and audit-friendly.
2025 trends shaping dry ice bag zip seal usage
What’s new this year: Teams favor vent-assured designs, monomaterial films for easier recycling, and QR SOPs on lids for faster training. SMBs now validate with a one-box test each season and keep small loggers in every fifth parcel.
Latest progress at a glance
-
Laser-vented zippers: Built-in micro-breathers reduce accidental hermetic seals.
-
Membrane vents at scale: Factory-applied squares deliver consistent release for high-value lanes.
-
Default data-logging: Right-size dry ice and catch weak routes before peak heat.
Market insight: Hybrid packs—small dry ice bag zip seal on top plus PCM panels—are rising for desserts and confections. Texture holds up, cartons stay dry, and hubs report fewer returns.
FAQs
Q1: Can I fully close a dry ice bag zip seal to trap more cold?
No. Packaging with dry ice must allow CO₂ to escape. Add a micro-notch, micro-perfs, or a membrane vent on the top panel.
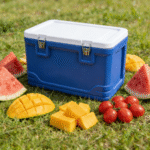
Q2: Where should I place the dry ice bag zip seal in the cooler?
On top of the payload with a spacer gap. CO₂ sinks, so top placement cools evenly while gas exits through the shipper’s vent path.
Q3: How much dry ice per dry ice bag zip seal for 48 h lanes?
Start near 3 kg total for a ~9 W parcel cooler (≈3 × 1 kg bags) and validate with a one-box test; add 20–30% in hot seasons.
Q4: Do I need a Shipper’s Declaration if only the refrigerant is dry ice?
Often no, but your outer package still needs UN1845, net kg, and Class 9 (where required). Train staff and follow current carrier pages.
Summary & recommendations
Bottom line: A dry ice bag zip seal is safe and efficient only when vented and paired with a vent-capable cooler. Put bags on top, right-size dry ice with the calculator, and label the outer with UN1845, net kg, and Class 9 where required. Test one box per season and fix wet-box issues with barriers and spacer gaps.
Next steps (3-point plan):
-
Standardize one vent method for every dry ice bag zip seal.
-
Pilot two shipments per lane with a logger; tune mass and placement.
-
Print an acceptance checklist (UN1845, net kg, Class 9) for the bench.
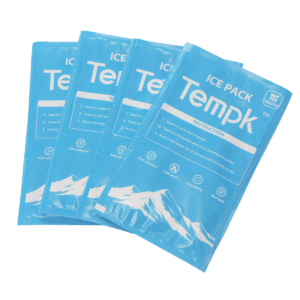
About Tempk
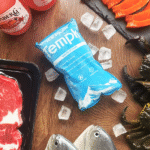
We engineer frozen-grade packaging for food and life-science brands. Our dry ice bag zip seal range pairs metallized PET barriers with wide-track zips for fast bench work. Customers report fewer melt claims and faster hub acceptance after adopting our labeling kits and SOP playbooks. We validate lanes, right-size dry ice, and help you ship cleanly and compliantly—season after season.
CTA: Ready to eliminate burst bags and wet boxes? Book a 20-minute consult and we’ll turn your current pack-out into a compliant, lab-tested spec.