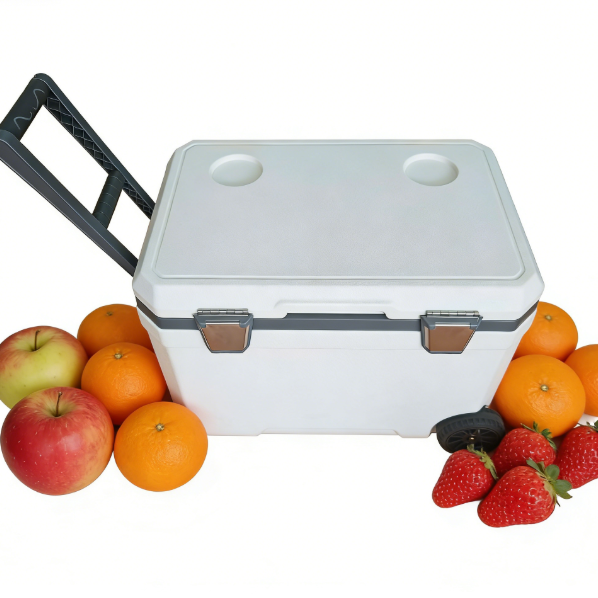
Dry Ice Container or Dry Ice Packs: How to Choose?
If your lane depends on frozen reliability, the fastest win is choosing the right dry ice container and the right number of dry ice packs. Use containers to cut heat leak and packs to control the cooling curve. This guide shows practical sizing for 24–72 hours, safe handling, and proven layouts that reduce temperature excursions while lowering total cost per successful delivery.
-
How a dry ice container drives hold time, and when dry ice packs do better for consistency and clean handling
-
A no‑math way and a light‑math way to size dry ice for 24–72 hours
-
Pack‑out layouts that stop cold spots and prevent cracked vials or soggy cartons
-
Safety, venting, and documentation you can teach in minutes
-
2025 trends in container materials and standardized dry ice packs formats
What makes a dry ice container reliable for cold‑chain shipping?
Direct answer
A dry ice container is reliable when it minimizes heat leak, vents CO₂ safely, and keeps product physically separated from direct contact with dry ice packs or loose ice. Good designs combine rigid walls, effective insulation, and clearly marked vent channels so gas can escape while the payload stays protected.
Why this matters
Your product doesn’t “feel” average temperature; it experiences hot and cold spots. A dry ice container with strong walls and tight lids lowers heat ingress so less ice is needed. Spacers and payload trays stop direct contact, avoiding brittle failures in glass or plastic. Vent paths prevent pressure build‑up and keep labels from peeling. In short, the container sets the baseline; dry ice packs fine‑tune the curve.
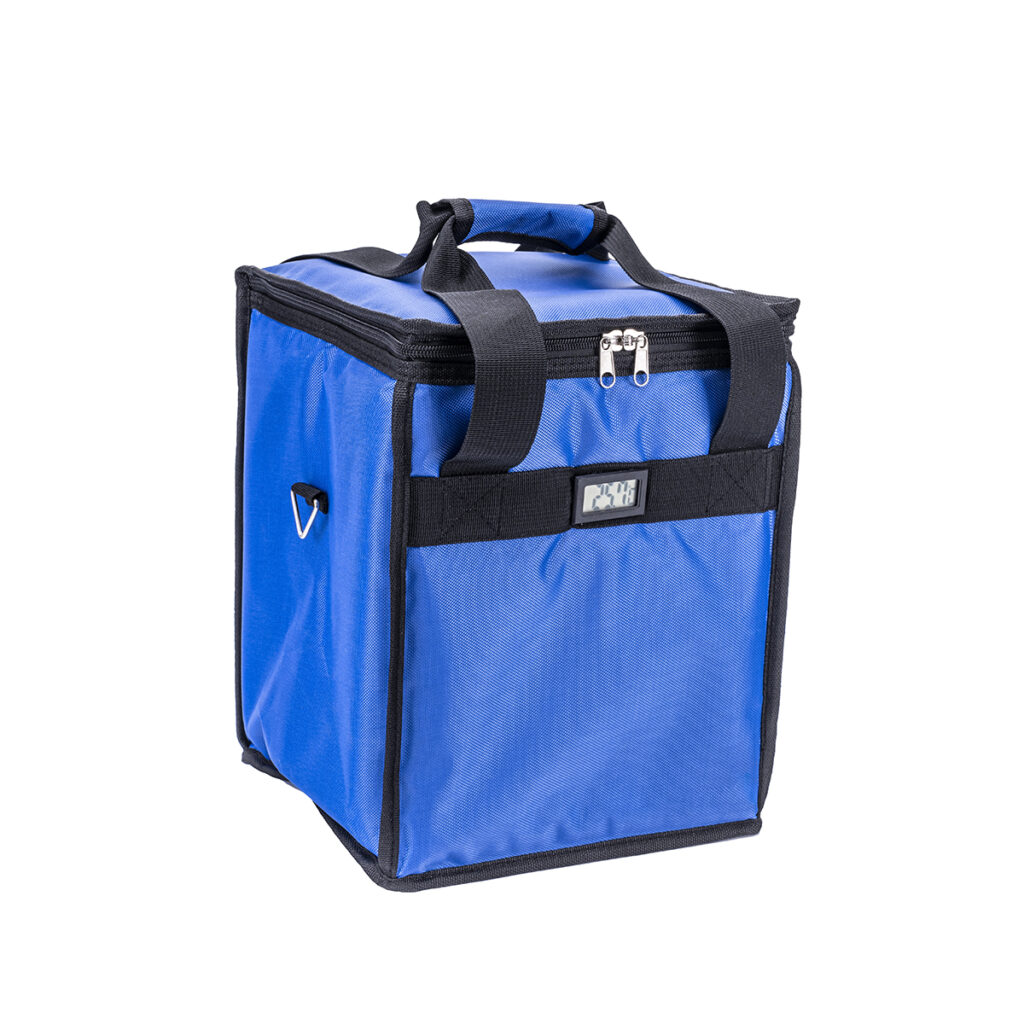
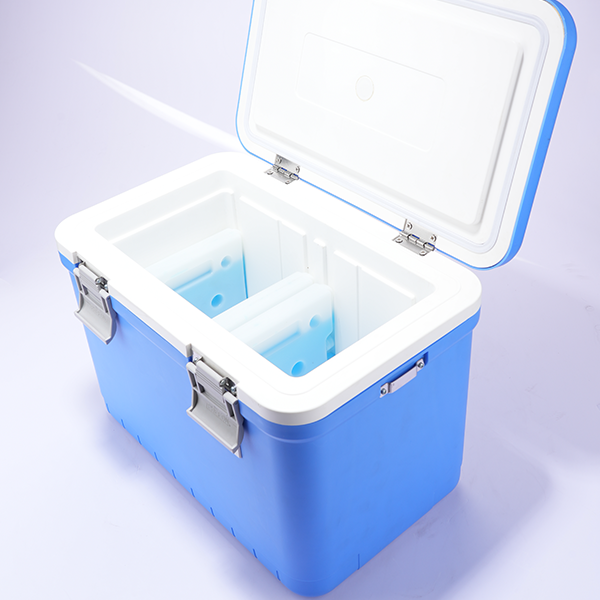
Reusable dry ice container vs single‑use: which fits your lane?
Reusable options pair tough shells with VIP (vacuum insulated panels) or PUR foam. They cost more up front but slash heat leak, often halving the dry ice mass. Single‑use EPS is cheaper, lighter, and common for one‑way routes. If reverse logistics are predictable, a reusable dry ice container pays off in 8–15 turns; if not, use high‑grade EPS and standardize dry ice packs counts to limit packing errors.
| Choice Lens | Reusable Dry Ice Container | Single‑Use Dry Ice Container | What it means for you |
|---|---|---|---|
| Insulation | VIP or PUR, low heat leak | EPS, mid to high heat leak | Less ice vs lower buy price |
| Durability | 8–50 cycles common | 1 cycle | Reuse programs or one‑way simplicity |
| Cleanliness | Better surfaces for GMP | Acceptable with liners | Faster wipe‑downs vs fresh each time |
| Sustainability | Fewer disposables | Recyclable foam options | Trade pickups vs landfill reduction |
Practical tips and suggestions
-
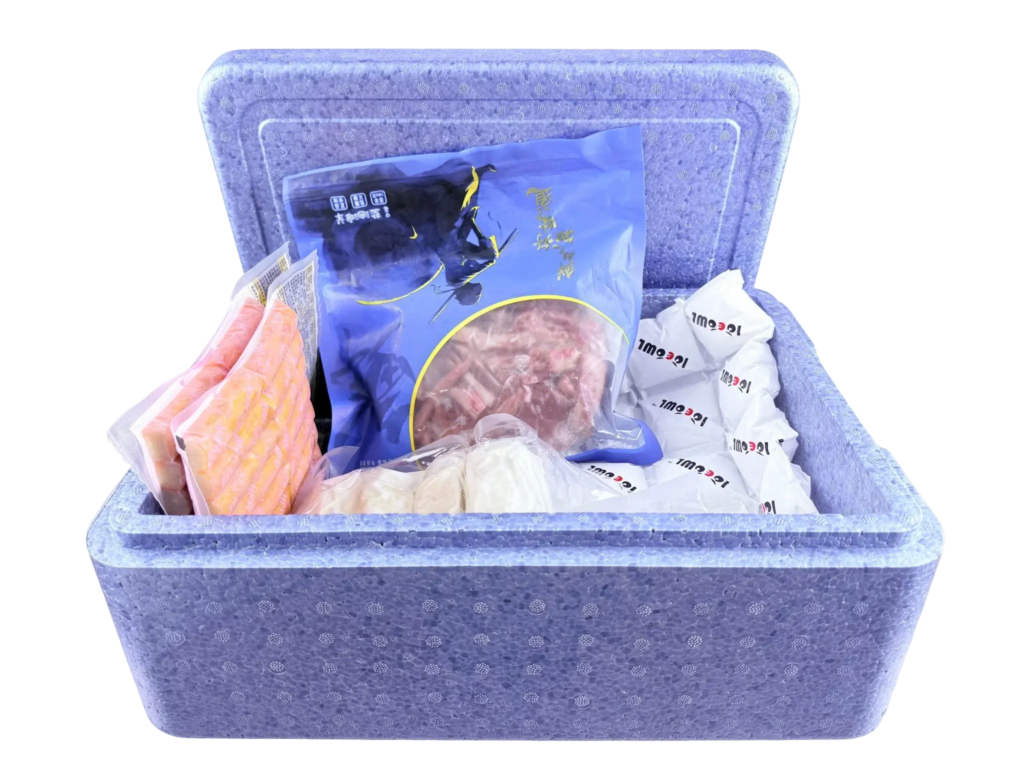
Frozen biologics: Choose a VIP dry ice container with a rigid tray above the ice layer. Keep dry ice packs on the walls, not on vials.
-
Seafood exports: EPS is fine if you add a liner and a corrugate top deck. Use dry ice packs to smooth the cooling curve near fillets.
-
Clinic returns: Small, pre‑counted dry ice packs inside a mid‑size container reduce training time and mess.
Field example: A vaccine depot swapped a mixed set of EPS coolers for a single VIP dry ice container format. With the same dry ice packs count, out‑of‑spec minutes fell by two‑thirds, while re‑icing events dropped to near zero across 90 days.
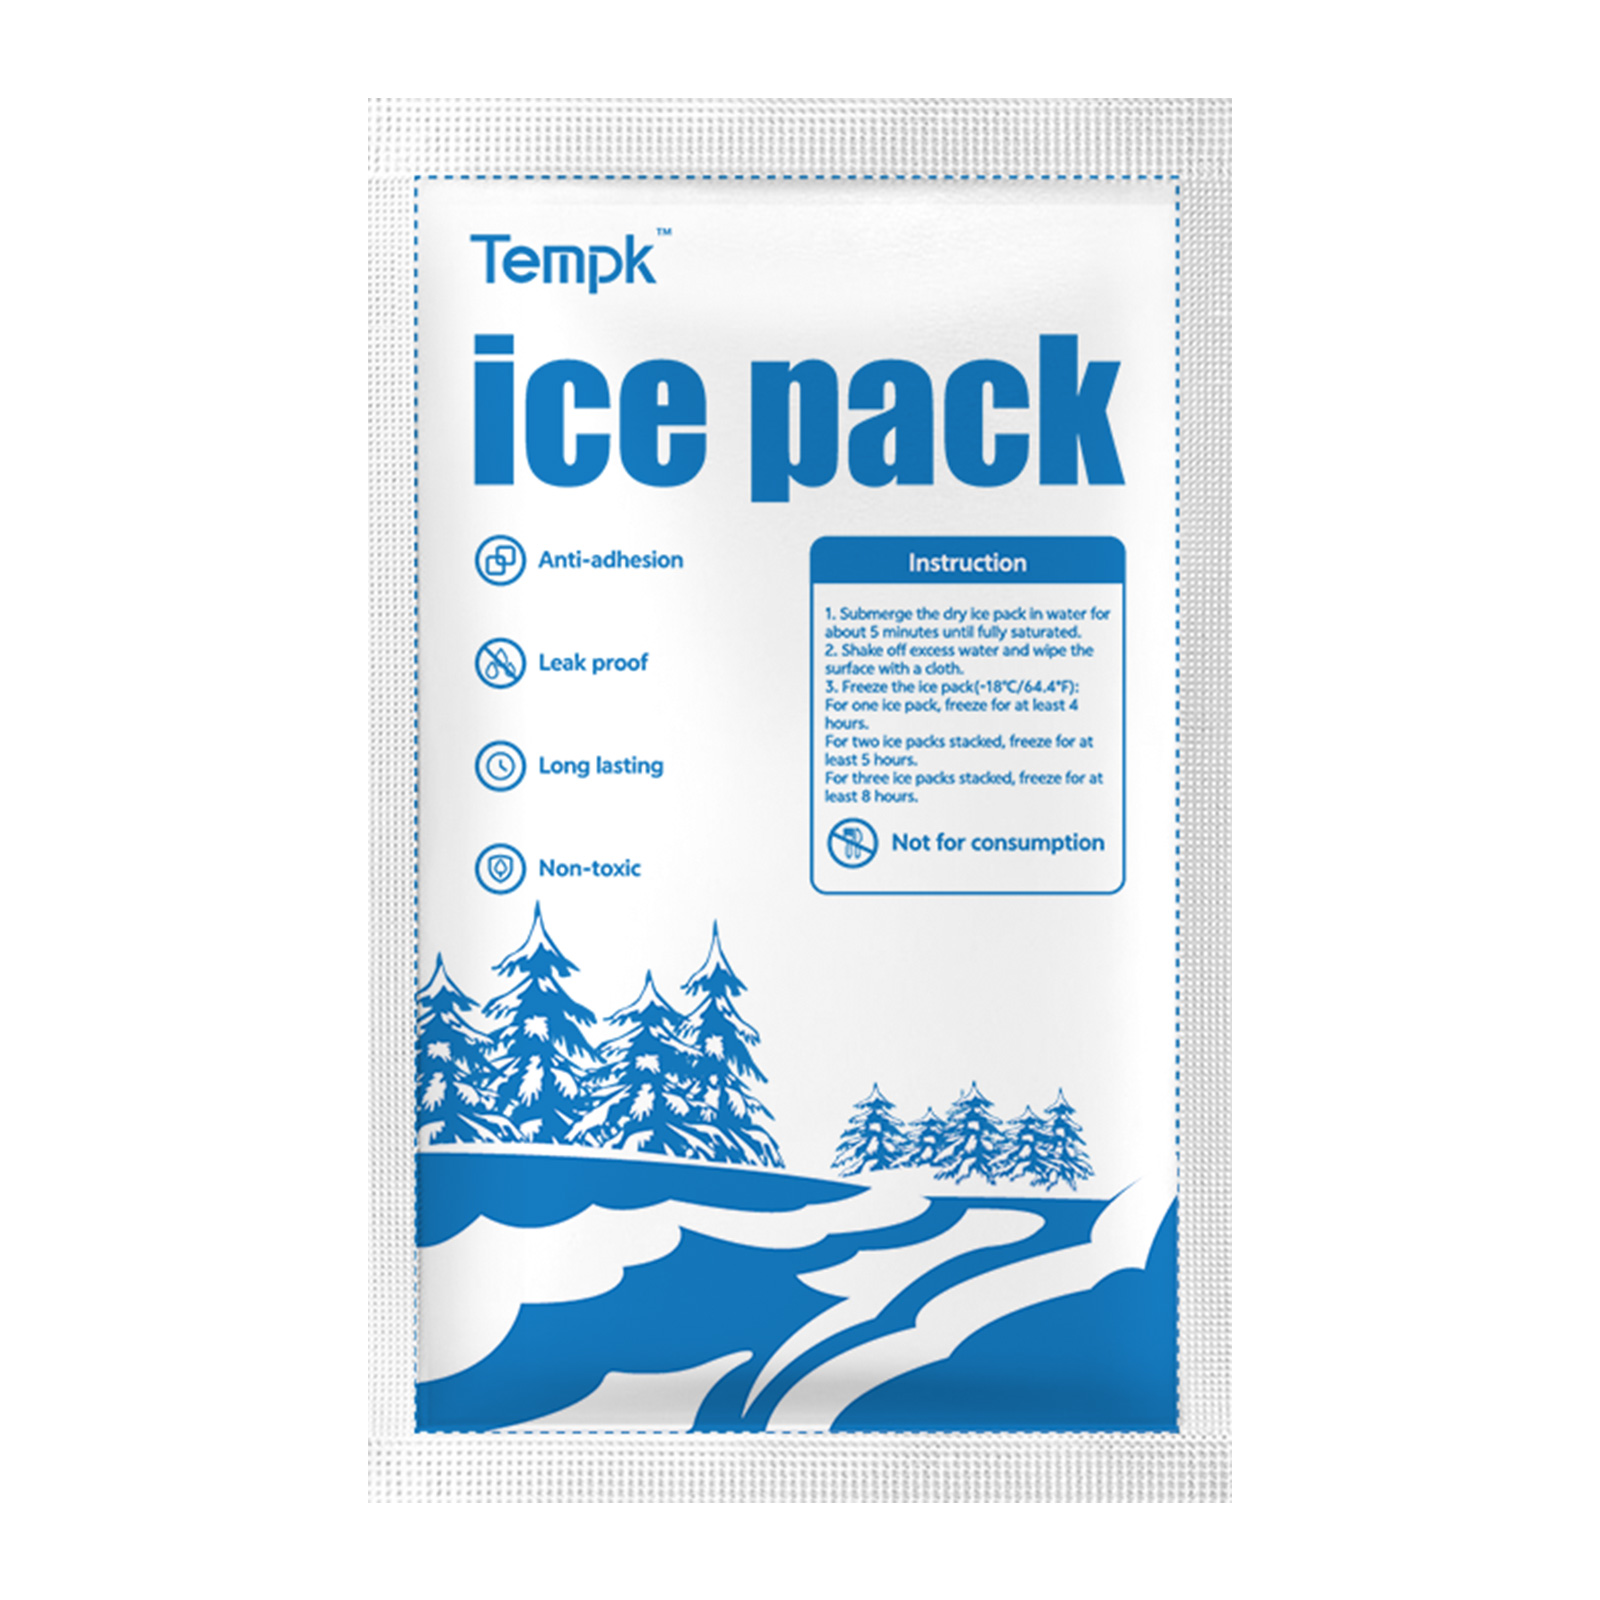
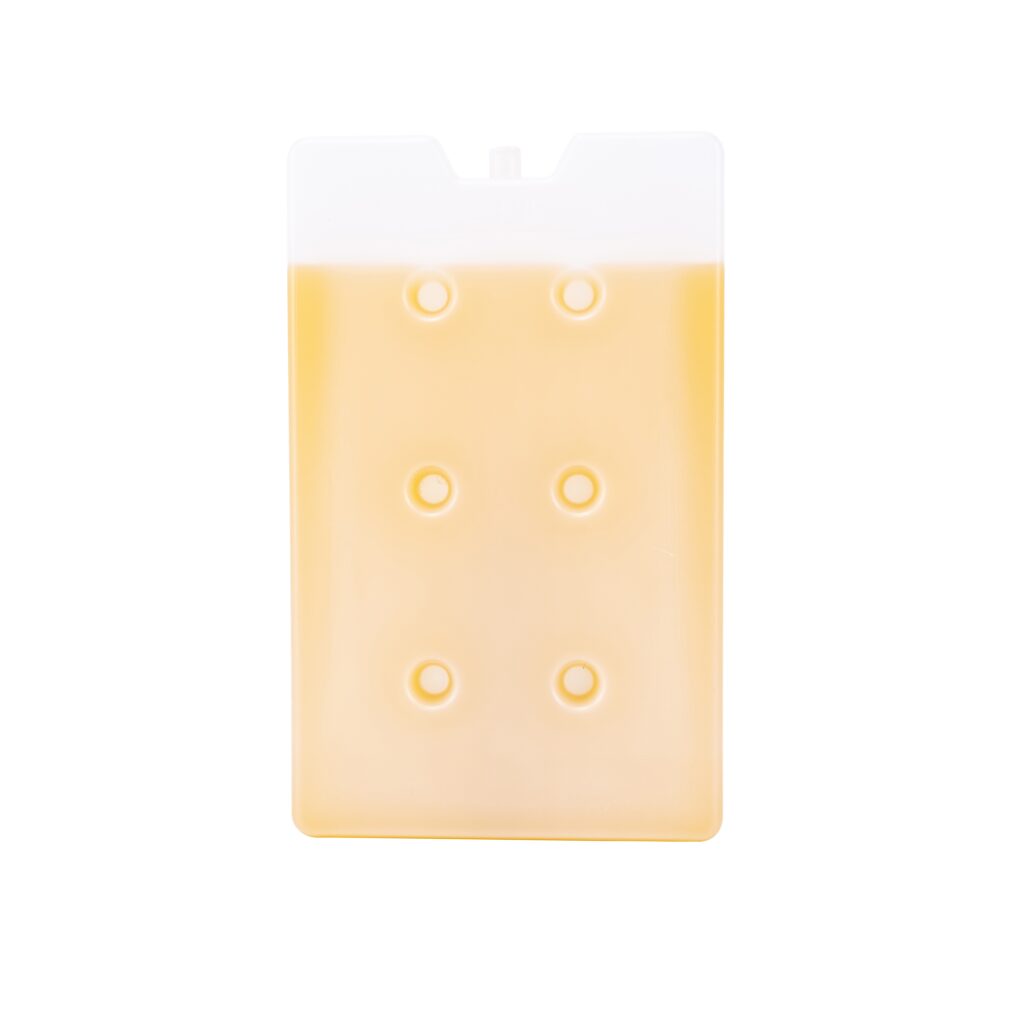
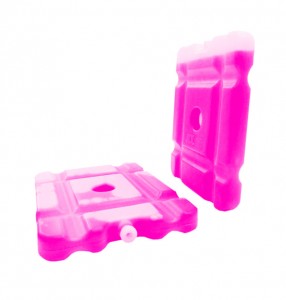
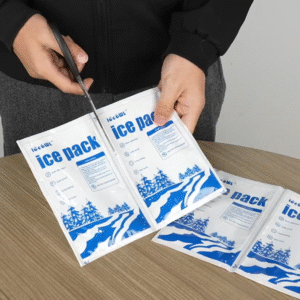
When are dry ice packs the smarter choice than loose ice?
Direct answer
Use dry ice packs when you need clean handling, repeatable pack‑outs, and a steadier temperature curve, especially for kits and small payloads. Bricks or sleeves minimize dust, make counting easy, and reduce cold spots.
How this plays out
In a busy clinic or lab, standardization beats heroics. Pick a dry ice container that fits your lane, then define brick count by hours: two bricks for 24 h, four for 48 h, six for 72 h (adjust for insulation). Techs can follow a photo SOP and pass audits without guesswork. For heavy loads or extreme heat, add a bed of loose pellets beneath a perforated tray, then ring the walls with dry ice packs.
Dry ice packs for clinical trial kits and DTC food
Packs shine in high‑throughput operations. Diagnostic kits and frozen DTC meal boxes benefit from pre‑set brick counts. For food, packs cut cold burns on outer layers and reduce condensation because heat flux is more uniform. For trials, packs simplify blinding and chain‑of‑custody: you record “four 500 g bricks,” not an approximate scoop of pellets.
| Decision Factor | Loose Pellets | Dry Ice Packs | Impact on your SOP |
|---|---|---|---|
| Dust/Mess | Higher | Low | Faster cleanup, less PPE burden |
| Counting | Variable | Exact bricks | Fewer packing errors |
| Temperature Uniformity | Quick pull‑down, risk of cold spots | Smoother curve | Fewer cracked vials, less frostbite on cartons |
| Training | Advanced | Easy | Quicker onboarding, fewer deviations |
How do you size a dry ice container and dry ice packs for 24–72 hours?
Direct answer
Start from heat leak, not guesswork. Estimate the container’s watt loss, multiply by hours, divide by usable cooling per kilogram of dry ice, then add a buffer. This works whether you prefer a pellet bed, dry ice packs, or a hybrid.
A simple estimator that teams actually use
-
Good EPS dry ice container: ~8–12 W heat leak (12–18 L internal).
-
Mid PUR container: ~6–8 W.
-
Premium VIP container: ~2–4 W.
-
Usable cooling from dry ice (real‑world): ~570–650 kJ/kg.
Example (48 h, 10 W EPS)
Energy = 10 W × 48 h × 3.6 kJ/Wh = 1728 kJ.
Dry ice mass ≈ 1728 ÷ 600 ≈ 2.9 kg, plus 25% buffer → 3.6 kg.
Split: 1.6 kg pellet bed + four 500 g dry ice packs on the walls of the dry ice container.
Ambient profiles and safety margins
Hot lanes cook ice. If your 48 h route regularly peaks near 30–35 °C, add 25–35% mass. If pickup timing is uncertain or last‑mile carriers push delivery to the next day, add 0.5–1 kg. Always record net mass on the carton and in documentation.
| Container Class | Typical Heat Leak (W) | 24 h Ice (kg) | 48 h Ice (kg) | 72 h Ice (kg) | What this means for you |
|---|---|---|---|---|---|
| VIP premium | 2–4 | 0.8–1.6 | 1.6–3.2 | 2.4–4.8 | Smallest loads; best for flights and long lanes |
| PUR mid | 6–8 | 2.0–2.7 | 3.0–3.6 | 4.5–5.4 | Flexible choice for cost/hold balance |
| EPS good | 8–12 | 2.7–4.0 | 3.5–4.8 | 5.5–7.2 | Use more dry ice packs or larger mass |
A light‑math worksheet your team can copy
Two‑minute chooser (interactive checklist)
-
Is your dry ice container VIP and small? Start at 1–2 kg for 48 h.
-
Is it EPS and mid‑size? Start at 3–4 kg for 48 h.
-
Need fast pull‑down? Add a pellet bed under a perforated tray.
-
Need tidy SOPs? Convert 40–60% of the mass to counted dry ice packs.
-
Weekend risk? Add 25–30% buffer mass.
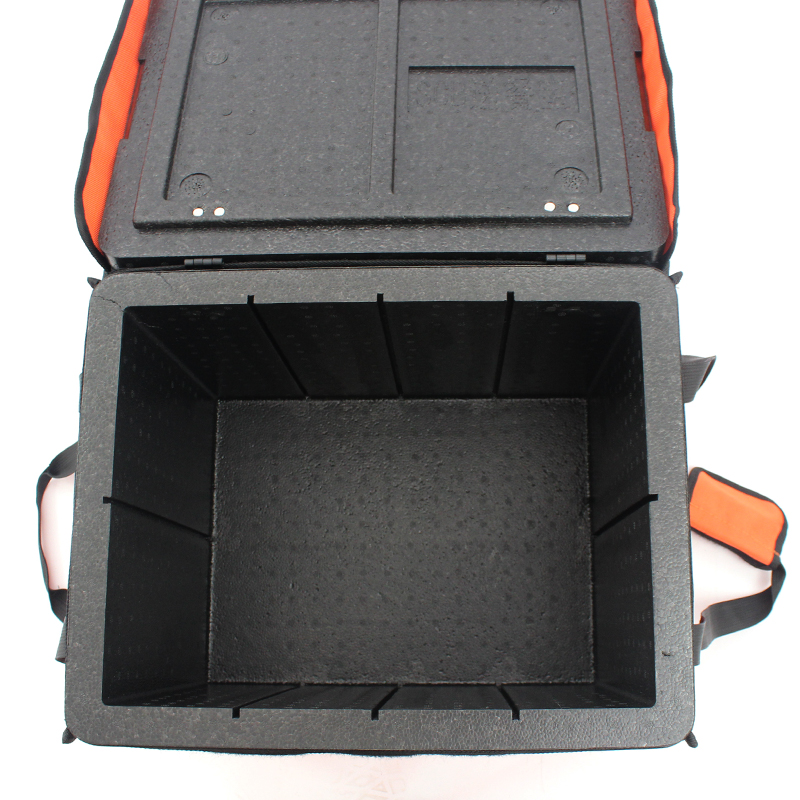
How do you pack a shipment using dry ice packs inside a dry ice container?
Direct answer
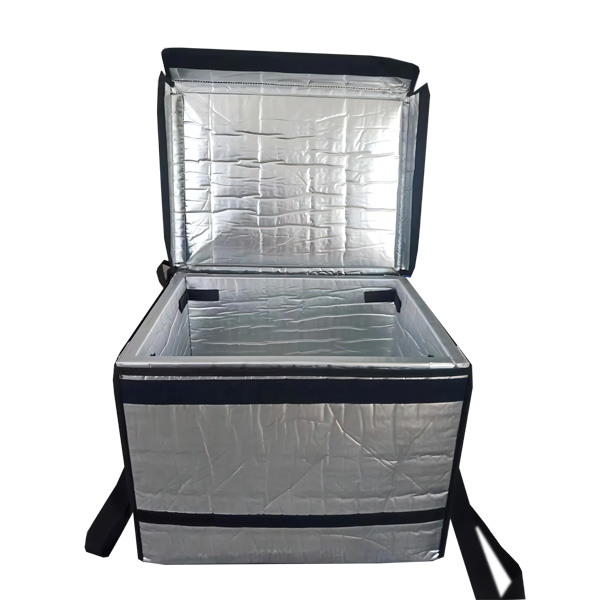
Build from bottom to top: vent path, optional pellet bed, perforated tray, payload, side/top dry ice packs, loose liner, and labeled lid. This prevents direct contact, keeps gas moving, and stabilizes the curve.
Expanded steps
Pre‑cool components, stage everything within reach, and scan each step as you build. If you need rapid cool‑down, use 40–60% of your total mass as pellets below the tray and put the rest into dry ice packs around the walls and on top. Avoid blocking vent holes. Place documents in a pouch on the lid, not inside the liner.
SOP: 8 steps you can drop into training today
-
Inspect the dry ice container for cracks; confirm clean liner is ready.
-
Add two corrugate channels to create a clear vent path.
-
Optional: pour a 1–2 cm pellet bed; lay a perforated tray.
-
Load payload in trays/dividers; add a paper spacer if fragile.
-
Place dry ice packs along opposite walls, then the other two walls.
-
Add top packs; do not compress the liner tight—leave vent space.
-
Close the container; apply arrows, Class 9 mark, and net dry ice mass.
-
Record time, mass by type (pellets vs dry ice packs), and operator ID.
| Checkpoint | Why it matters | What to look for | Your benefit |
|---|---|---|---|
| Visible vent path | CO₂ must escape | Unobstructed channels | Safer, less label failure |
| No direct contact | Avoid brittle failures | Tray between ice and vials | Fewer cracked products |
| Documented mass | Regulatory & audit | kg noted on carton & form | Faster release, fewer returns |
Quality checks before you hand the box to the carrier
-
Weigh the dry ice container and confirm it matches your SOP range.
-
Check that dry ice packs counts align with the route (24/48/72 h).
-
Verify that the liner is loose enough to vent and that labels are legible.
Actual case: A reference lab added a “pack pause” at Step 6 to verify brick count. Packing deviations fell by 58%, and late Friday shipments survived until Monday without re‑icing.
How do safety, labeling, and handling apply to a dry ice container with dry ice packs?
Direct answer
Treat all dry ice as a regulated material, label the net mass in kilograms, and ensure ventilation wherever you stage or transport. Both pellet beds and dry ice packs release CO₂ gas as they warm.
Practical actions
Post a simple room‑ventilation checklist. Provide cryogenic gloves and safety glasses at the packing bench. Train teams to lift by the container, not by the liner. Never tape liners airtight; gas must flow out through designed vents. On air shipments, mark the package with the proper hazard symbol and the dry ice net mass.
Safety roles that keep everyone protected
| Role | Core responsibility | Example task | Benefit |
|---|---|---|---|
| Packer | Vent path, mass, labels | Note “Dry ice, UN 1845, 4.0 kg” | Fewer compliance misses |
| Supervisor | SOP adherence | Spot‑check brick counts | Consistent pack‑outs |
| Safety lead | Air and room CO₂ | Monitor alarms, signage | Safer work environment |
2025 trends in dry ice container design and dry ice packs
Trend overview
In 2025 you’ll see premium dry ice container models ship with pre‑molded vent channels, and brick standards converge on 250 g, 500 g, and 1 kg dry ice packs. Hybrid layouts—pellet bed plus side/top bricks—are now common in biologics and seafood, because they balance pull‑down with uniformity. Expect more validation kits that pair a container with a recommended brick count per hour target.
Latest progress at a glance
-
Standardized bricks: Consistent dimensions simplify global SOPs and reduce substitution errors.
-
Cleaner films and sleeves: Low dust textures cut housekeeping time and make GMP wipe‑downs faster.
-
Thermal calculators: Simple lane tools convert hours and ambient conditions into a starting mass for pellets and dry ice packs.
Market insight
Reusable VIP dry ice container programs expand where reverse logistics are reliable. For one‑way lanes, mid‑grade EPS still wins on total cost if you standardize brick counts and training. Many shippers are reallocating budget from extra dry ice to better insulation, because removing 1–2 W of heat leak often removes a full kilogram of ice over 48 h.
Frequently Asked Questions
Q1: How long will a dry ice container hold with four 500 g dry ice packs?
In a mid‑grade EPS container at room temperature, 24–36 h is common. VIP containers can push past 48 h. Add pellets or more bricks for 72 h.
Q2: Are dry ice packs colder than loose pellets?
No—both are −78.5 °C. Packs release cooling more evenly; pellets pull down faster but can create cold spots.
Q3: Can I ship dry ice packs on passenger aircraft?
Yes, with proper labels and net mass marking. Ensure the dry ice container vents CO₂ and follow carrier rules.
Q4: What size bricks should I standardize on?
Most teams pick 500 g dry ice packs for flexibility, using 250 g for small kits and 1 kg for large or hot lanes.
Q5: How do I prevent cracked vials or outer‑layer freeze damage?
Use a perforated tray or corrugate spacer and keep bricks on the walls. Avoid direct contact between ice and product.
Q6: How do I calculate net mass for documentation?
Weigh the empty dry ice container, then the loaded one. Subtract payload/packaging to get the dry ice total in kilograms.
Q7: Do I need data loggers for every shipment?
Not for every carton, but use loggers in validation and periodic audits. Match hold time claims to real‑world lane data.
Q8: What if the last mile delays delivery by a day?
Add 25–30% extra mass or plan a re‑icing point. Standardize a “weekend buffer” for Friday lanes.
Summary and recommendations
Key points
A tight dry ice container cuts heat leak; dry ice packs cleanly control the curve. Size ice by heat load, not guesswork, and add a realistic buffer for delays and hot ambients. Use trays and vent paths to protect products. Standardize brick counts and document net mass to simplify training and audits.
Action plan (CTA)
-
Map top routes and container classes (EPS/PUR/VIP). 2) Use the worksheet to set starting ice masses for 24/48/72 h. 3) Pilot a hybrid layout—pellet bed plus wall‑and‑top dry ice packs—and pick the curve with the fewest out‑of‑spec minutes. 4) Book a pack‑out review with Tempk to receive a lane‑specific calculator and SOP graphic.
About Tempk
We design and validate frozen shipping systems that balance hold time, handling, and cost. Our portfolio includes VIP and PUR dry ice container options, standardized dry ice packs, and training materials your team can adopt in a week. Customers who switch to our hybrid layouts report fewer re‑icing events and steadier temperature curves—without adding weight.