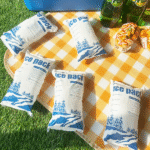
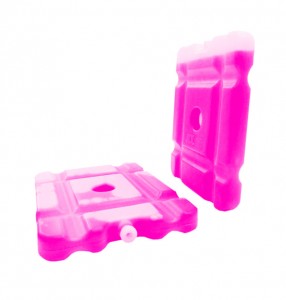
Kleine Gel Ice Pack: How to Choose One in 2025?
A kleine gel ice pack is the easiest way to add targeted cooling in tight packaging. When you ship meal kits, cosmetics, lab samples, or refrigerated medicine, small packs help reduce warm corners and packing mess. In many last-mile lanes, your target is hours to one day of stability, not deep freezing. The big win is repeatability: you can standardize pack count, placement, and conditioning across seasons.
What you’ll learn in this guide
-
How a kleine gel ice pack performs in compact boxes and last-mile routes
-
How long a kleine gel ice pack can last in shipping (and what changes it)
-
A simple pack count estimator you can apply lane-by-lane
-
A placement map to reduce warm corners and condensation
-
What to look for in a leak-resistant small gel pack
-
2025 trends: standardization, sustainability, and tighter 2–8°C control
What Is a Kleine Gel Ice Pack and When Should You Use It?
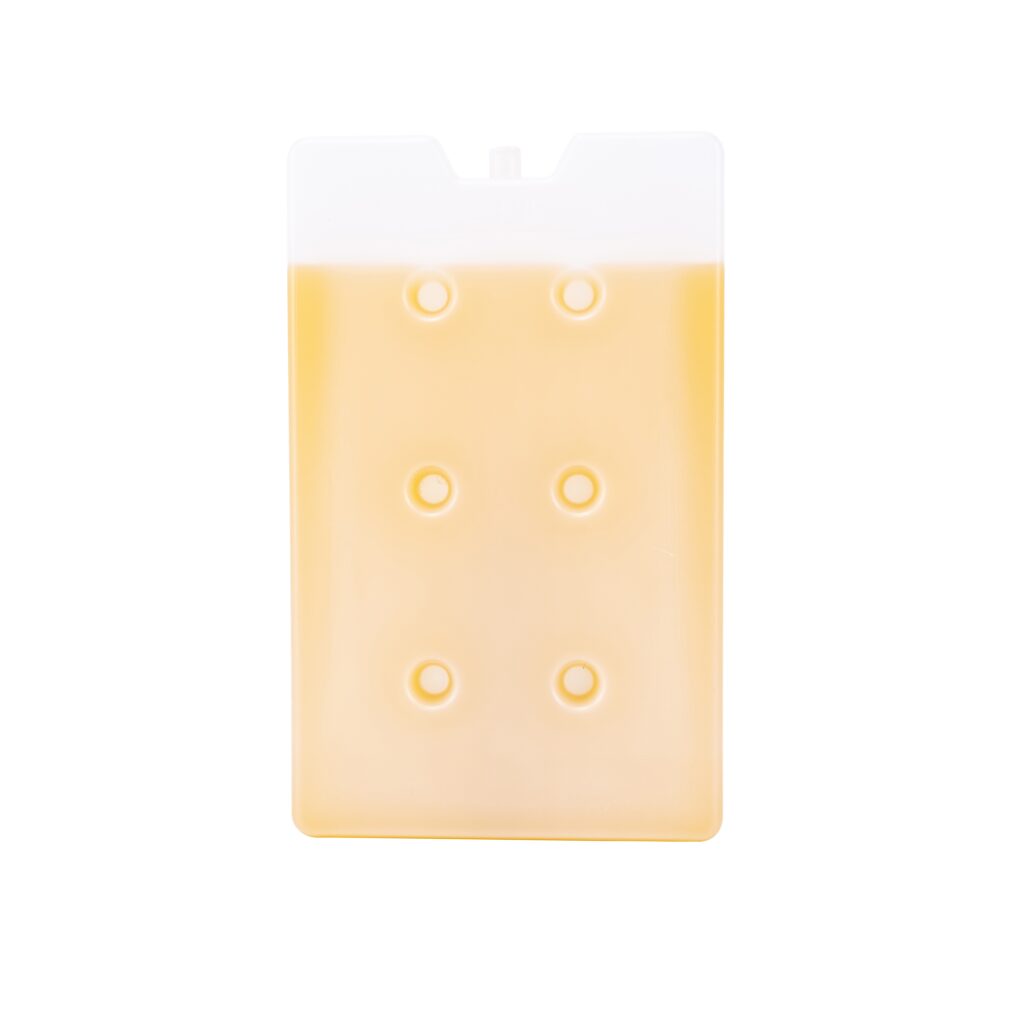
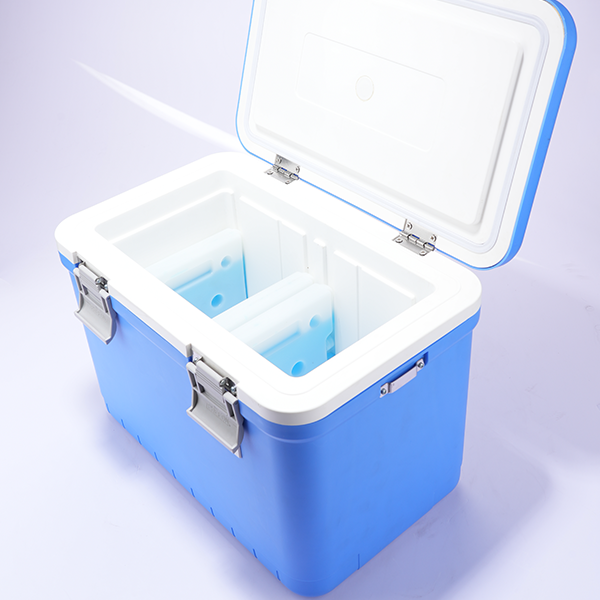
A kleine gel ice pack is a compact, reusable cold pack designed for precision placement. You use it when a full-size pack is too bulky, too heavy, or creates uneven cooling in a small shipper. Think of it like “cold tiles” you can place exactly where heat sneaks in: the lid, sidewalls, and corners. If your box is compact, multiple small packs often protect better than one oversized block.
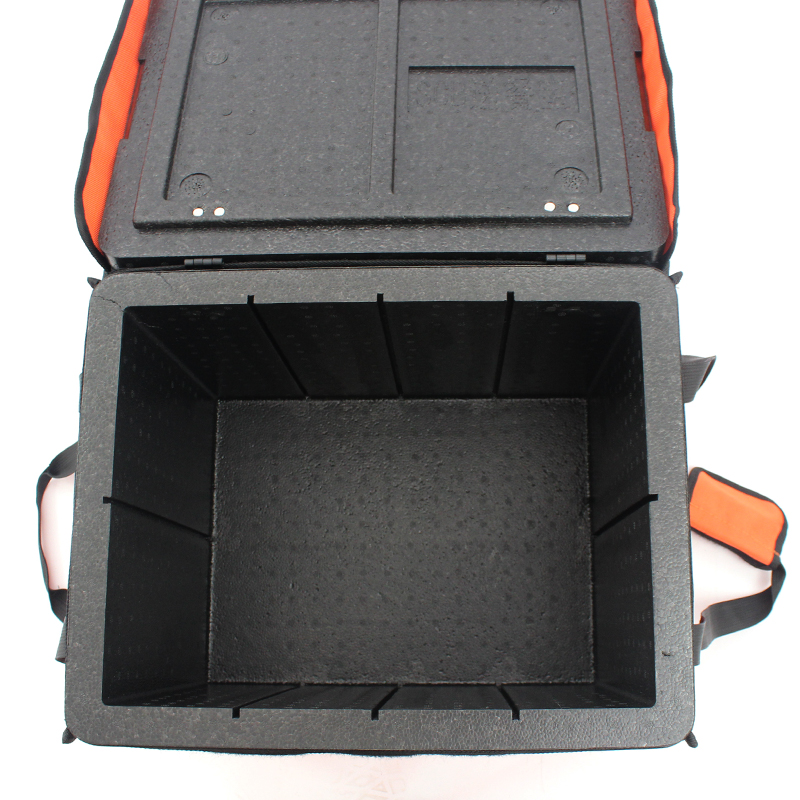
A good rule is simple: if your shipper is small (often under ~12 liters) or your product is fragile, a kleine gel ice pack strategy usually reduces crushing and improves uniform cooling.
Kleine vs standard gel packs: what changes?
| Comparison point | Kleine gel ice pack | Standard gel pack | What it means for you |
|---|---|---|---|
| Freeze time | Shorter | Longer | Faster daily prep cycles |
| Placement | High flexibility | Limited | Better corner and top protection |
| Per-pack cooling | Lower | Higher | You may use multiples |
| Handling | Light | Heavy | Less product crushing risk |
| Best use | Tight boxes, last-mile | Larger shippers | Fewer packing compromises |
Practical tips you can apply today
-
If you see warm corners: add “corner trim” using 2–4 small packs.
-
If products get crushed: swap one heavy pack for 3–6 small packs.
-
If your freezer is tight: standardize one small pack size for faster rotation.
Real-world example: A skincare shipper replaced one large pack with three kleine gel ice pack units. Warm-arrival complaints dropped, and crushing incidents nearly disappeared.
How Long Does a Kleine Gel Ice Pack Last in Shipping?
A kleine gel ice pack can stay effective from a few hours to more than a day, depending on insulation, starting temperatures, and heat exposure. There is no universal “one number” that works for every lane. Instead, you’ll get better results by controlling the drivers you can repeat: pack mass, placement, air gaps, and box opening time. If your product starts warm, even perfect packs will underperform.
The fastest way to improve hold time is usually better packing geometry (sides + top) and less dead air, not blindly adding more packs.
Quick self-check: Cold-Time Score (0–10)
Give yourself a score per line (0–2), then add them up:
-
Insulation: none / soft bag / rigid insulated shipper
-
Weather: cool / mild / hot exposure
-
Opens: rare / occasional / frequent opening
-
Product start: already cold / mixed / warm
-
Air gaps: tight fill / some voids / lots of voids
Score guide
-
0–4: plan “short task” performance (hours)
-
5–7: expect half-day to day (with good packing)
-
8–10: increase insulation, improve fill, or shorten transit
| Scenario | Typical risk | Your best move | What it means for you |
|---|---|---|---|
| Office lunch | Low | 1–2 packs on sidewalls | Steady cooling without sogginess |
| Doorstep delivery | Medium | Add top protection | Less lid-driven warming |
| 24h parcel lane | Medium–High | More packs + tighter fill | Lower spoilage risk |
| Hot-day delays | High | Insulation first, then packs | Better ROI than “pack stacking” |
Practical tips for longer cold time
-
Pre-chill product: packs work best when they are not cooling warm payloads.
-
Reduce air gaps: trapped air warms quickly and creates temperature spikes.
-
Protect the lid: many failures happen at the top during sun exposure.
Real-world example: A meal-prep brand moved from “bottom-only” packing to “two sides + top.” The same gel mass performed noticeably better.
How Many Kleine Gel Ice Packs Do You Need for Shipping?
You need enough kleine gel ice pack units to match your lane time, ambient heat, and product sensitivity. Most failures happen because pack count is guessed instead of planned. Small packs let you build cooling capacity in steps, which makes seasonal adjustments easier. If you’ve had claims, treat pack count like an adjustable control, not a fixed habit.
Quick decision tool: Pack Count Estimator (rule-of-thumb)
Step 1: Choose your route band
-
0–6 hours: short route
-
6–24 hours: standard route
-
24–48 hours: extended route
Step 2: Choose your risk level
-
Low: indoor handoff, mild weather
-
Medium: mixed exposure, typical last-mile
-
High: hot weather, delays possible
Step 3: Choose a starting pack range
-
Short + Low: 2–3 small packs
-
Short + High: 4–6 small packs
-
Standard + Medium: 6–10 small packs
-
Extended lanes: treat as pilot-required and validate before scaling
| Use case | Typical duration | Starting pack range | What it means for you |
|---|---|---|---|
| Local meal kits | 0–12 hrs | 4–8 | Less soggy packaging, fewer warm zones |
| Local chilled meds | 0–24 hrs | 6–10 | More stable temperatures with buffers |
| Summer cosmetics | 0–24 hrs | 6–12 | Fewer melted or texture-changed items |
| Short lab samples | 0–12 hrs | 4–8 | Lower excursion risk with better placement |
Practical tips for pack planning
-
If you had one claim this month: increase pack count 15–25% on hottest lanes.
-
If boxes sweat heavily: add a thin barrier and reduce direct cardboard contact.
-
If only the top warms: add 1–2 packs near the lid, not the bottom.
Real-world example: A seafood seller switched to seasonal pack planning. Summer spoilage and emergency refunds dropped during heat waves.
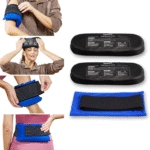
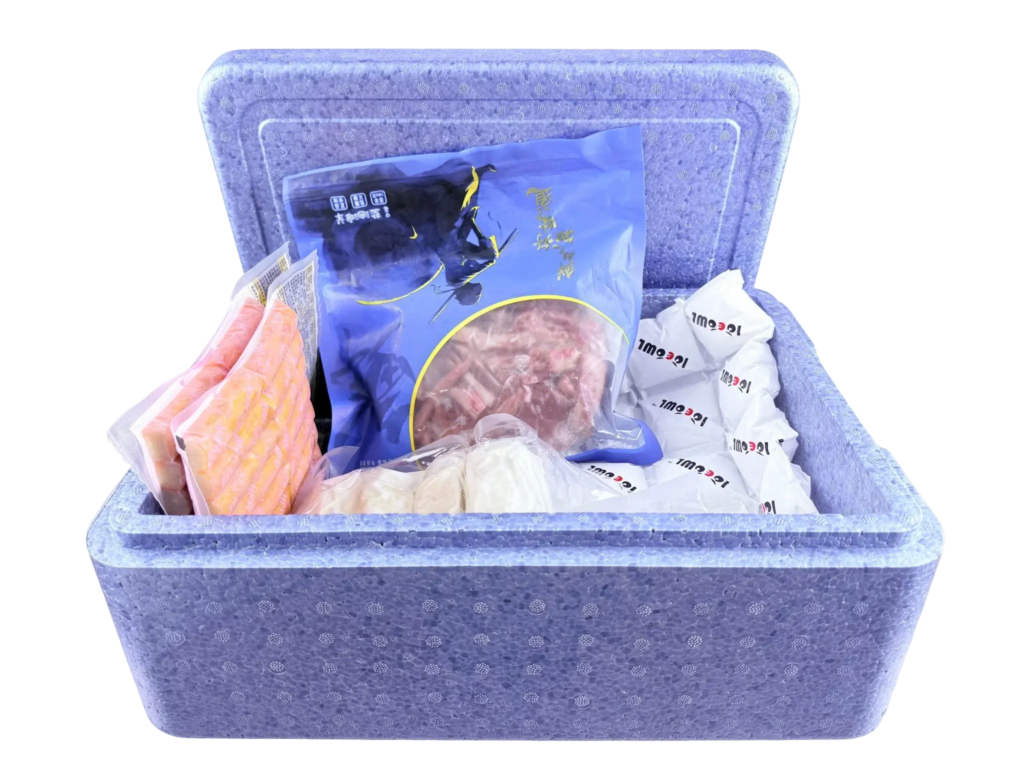
Where Should You Place a Kleine Gel Ice Pack to Avoid Warm Corners?
Place a kleine gel ice pack where heat enters first: top, sidewalls, and corners. If you stack all packs in one spot, you create “cold islands” and “warm zones.” Small packs work best when they are distributed like shields. Your goal is even coverage, not one extreme cold point.
Below is a simple placement map you can teach in minutes.
Placement patterns that work
-
Top + sides: best for doorstep exposure and last-mile vehicles
-
Surround (no direct contact): best for fragile or freeze-sensitive goods
-
Corner trim: best when corners repeatedly arrive warm
| Box condition | Best placement | Why it helps you |
|---|---|---|
| Warm lid area | 1–2 packs on top | Protects against sun and warm air pockets |
| Warm corners | 1 pack per corner zone | Fixes edge hot spots fast |
| Condensation issues | Packs separated by barrier | Reduces wet cardboard and label smears |
| Product damage risk | Packs around, not on product | Prevents crushing and freeze marks |
Practical tips for better placement
-
Use a thin barrier: liners or cardboard reduce sweating and direct chill contact.
-
Avoid tight stacking: spread packs to reduce warm zones between them.
-
Keep packs off labels: moisture can smear barcodes and slow receiving.
Real-world example: A subscription food brand moved two packs from the bottom to the top. Warm-on-arrival improved because the lid was the weak point.
How Do You Prevent Overcooling or Freezing Sensitive Products?
Preventing freezing is about distance and buffering, not weaker packs. A kleine gel ice pack can be “too cold” if it touches sensitive payloads directly. If your target is chilled (like 2–8°C) and freezing is a quality risk, treat “direct contact” as the main enemy. You can often improve safety without adding weight by changing layout.
Think of it like winter clothing: the warmth comes from trapped air, not pressure.
Buffer options that work in real operations
-
Thin liner (plastic or foam sheet)
-
Cardboard divider
-
Paper padding (tight fill)
-
Bubble wrap (use carefully; avoid big air pockets)
| Product type | Freeze risk | Best buffer approach | Why it helps you |
|---|---|---|---|
| Refrigerated injectables | High | Divider + side placement | Reduces direct freeze contact |
| Fresh greens | Medium | Top placement + liner | Avoids cold-burn edges |
| Skincare serums | Medium | Wrap product, not pack | Prevents texture change |
| Lab reagents | High | Surround pattern + buffer | Stabilizes a tighter band |
Practical tips you can implement immediately
-
If it must not freeze: never place a kleine gel ice pack directly against it.
-
If you need “cool but not cold”: use more packs with buffers, not fewer packs touching product.
-
If you’re unsure: run a 24-hour “worst season” box test before scaling.
Real-world example: A medical shipper stopped freezing complaints by adding a thin divider and moving packs to sidewalls—without increasing total pack weight.
How Do You Pre-Freeze and Condition a Kleine Gel Ice Pack?
Consistent conditioning is the difference between predictable outcomes and day-to-day surprises. Freeze a kleine gel ice pack flat, long enough, and in a repeatable routine. The most common mistake is using packs that are “half-frozen,” which collapses hold time early. If you ship chilled goods, you may also need a conditioning step to reduce freezing risk.
Conditioning checklist: chilled vs frozen targets
| Your target | Pack state | Why it helps | What it means for you |
|---|---|---|---|
| Chilled (2–8°C) | Conditioned (not rock-solid at contact) | Reduces freeze risk | Safer for sensitive goods |
| Cool (1–10°C) | Fully cold or lightly frozen | Adds stability | Fewer warm spikes |
| Frozen delivery | Fully frozen (and validated) | More cold reserve | Better frozen outcomes |
| Mixed loads | Split zones + buffers | Controls cold contact | Fewer quality surprises |
Practical tips for consistent conditioning
-
Freeze flat on trays: flat packs stack, freeze evenly, and pack faster.
-
Use FIFO racks: first-in, first-out reduces “random” freeze times.
-
Standardize a “ready rack”: one simple rule beats “grab whatever’s there.”
Real-world example: A clinic transport team reduced temperature swings by enforcing one conditioning routine across shifts.
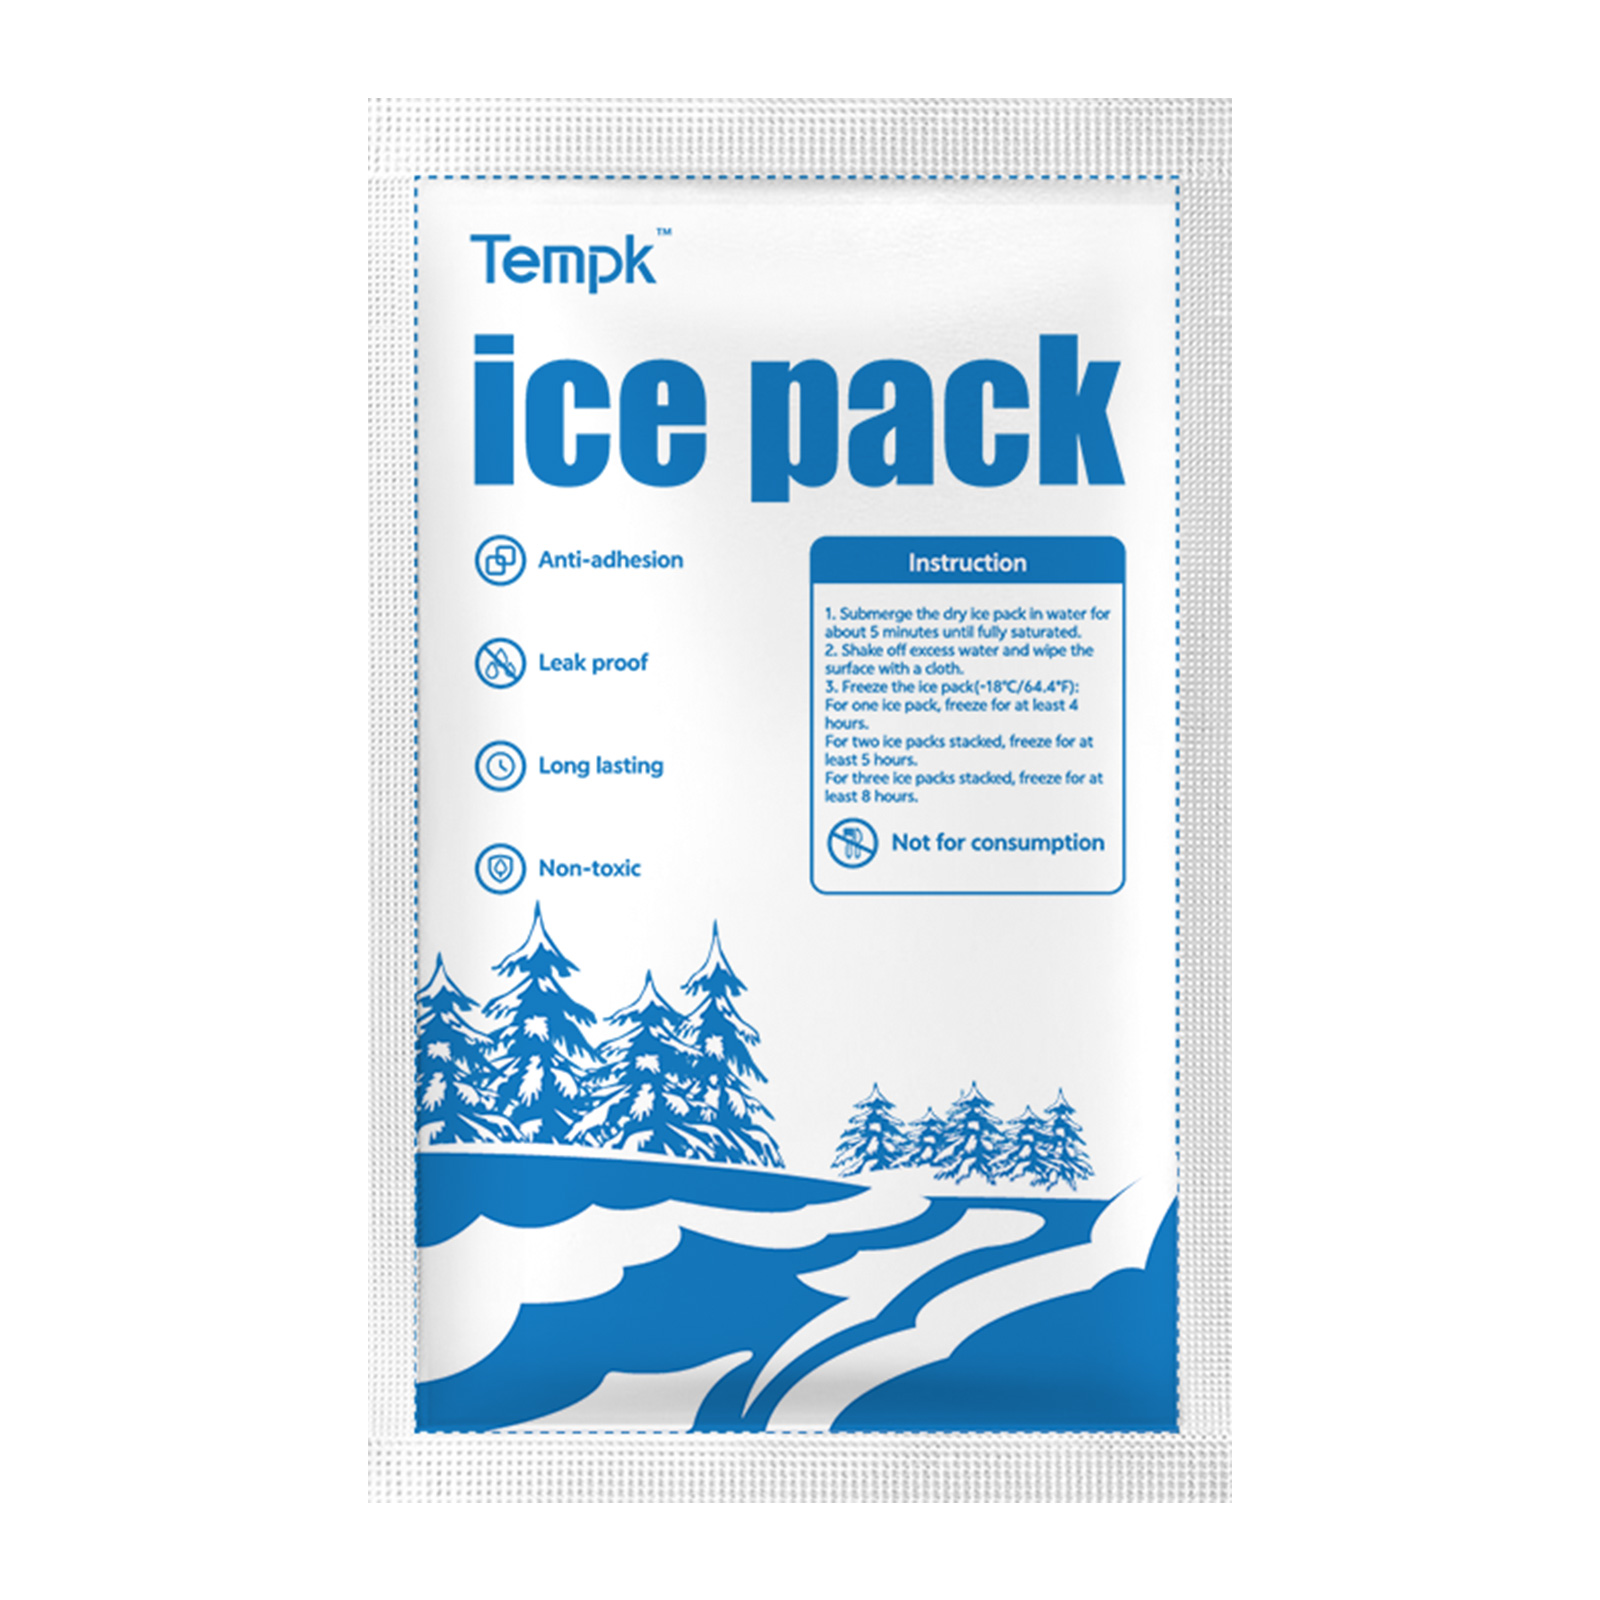
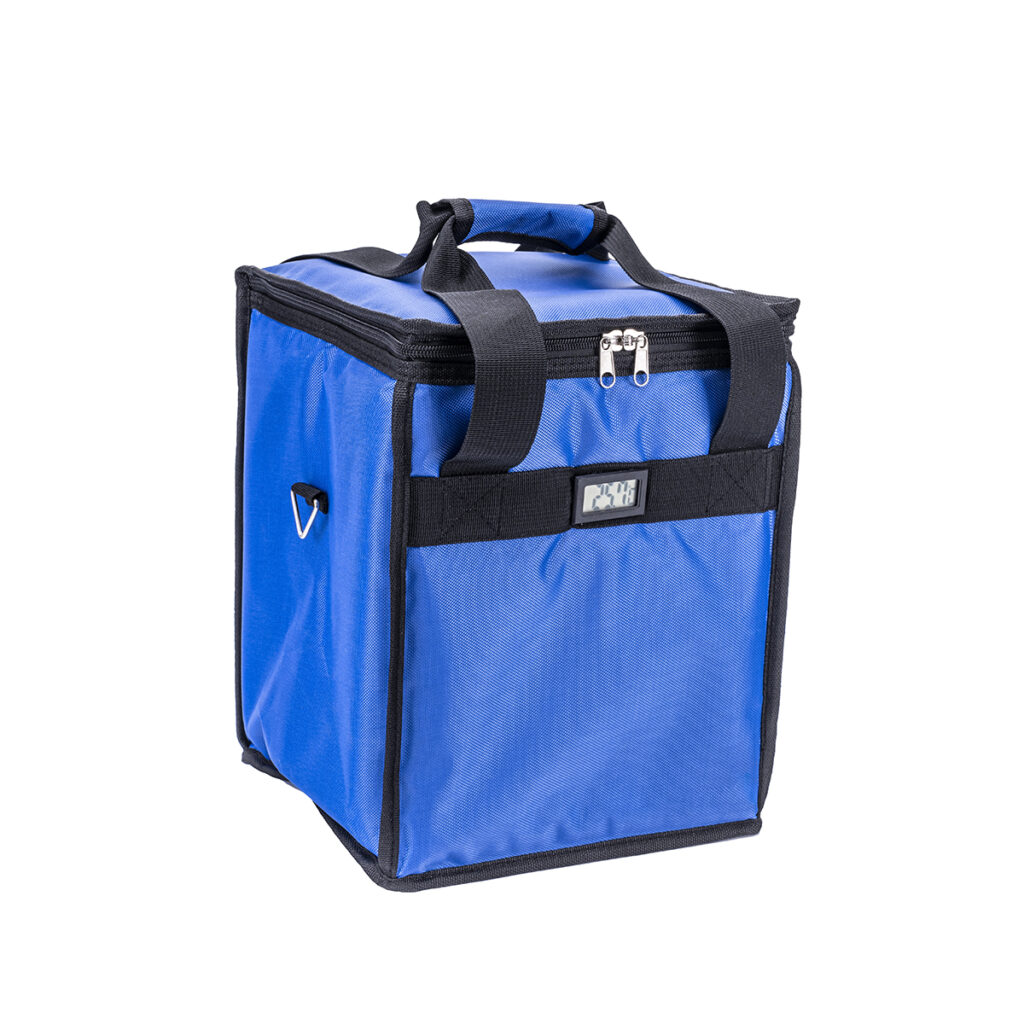
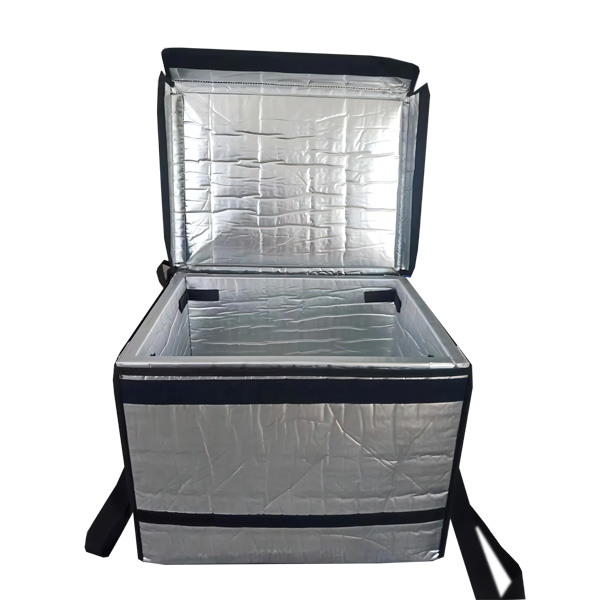
What Makes a Leak-Proof Kleine Gel Ice Pack?
A leak becomes a cleanup cost, a contamination risk, and a customer trust problem. Look for strong seals, thicker film, and consistent fill in every kleine gel ice pack you deploy. Small packs move fast on busy lines, so seam quality matters more than marketing. You want a pack that survives freezing, handling, and compression.
Leak-resistance checklist (fast and practical)
| Checkpoint | What to look for | Quick test | What it means for you |
|---|---|---|---|
| Seams | Wide, even seals | Bend corners repeatedly | Fewer split seams |
| Film | Thick, flexible | Freeze then drop test | Better puncture resistance |
| Shape | Rounded edges | Stack pressure test | Less puncture under load |
| Fill | Consistent thickness | Visual + squeeze check | More reliable cooling |
| Labeling | Clear ID zone | Wipe test | Faster sorting, fewer mistakes |
Practical tips to prevent leaks
-
Avoid sharp edges: staples, clips, and tray corners puncture film.
-
Don’t freeze under heavy pressure: compression stresses seams while rigid.
-
Retire damaged packs early: one leaking pack can ruin a whole shipment.
Real-world example: A warehouse reduced leaks by switching to rounded-edge packs and adding a weekly seam check.
Gel vs PCM vs Dry Ice: Which Refrigerant Fits Your Lane?
Your refrigerant should match your temperature target, not your habits. A kleine gel ice pack is great for general chilled and cool ranges, especially in compact packaging. If you must hold a strict refrigerated band (like 2–8°C), you may need range-targeted refrigerants (often PCM-style solutions) and stronger buffering. If you must keep items frozen solid, dry ice strategies are usually the baseline—plus added rules and training.
Decision tool: choose in 30 seconds
-
Can your product tolerate freezing?
-
If no, avoid direct frozen pack contact and buffer aggressively.
-
-
Is your requirement “frozen,” not “chilled”?
-
If yes, plan a dry ice approach and follow handling rules.
-
-
Is your shipper compact and prone to warm corners?
-
If yes, a kleine gel ice pack set often packs better than one large block.
-
| Option | Best for | Weak spot | What it means for you |
|---|---|---|---|
| Kleine gel ice pack | Flexible cooling, last-mile | Can overcool sensitive loads | Use buffers + validation |
| Range-targeted refrigerant (PCM-style) | Tight refrigerated control | Higher cost | Better control for strict bands |
| Dry ice | Frozen shipping | Rules + venting + training | Strong frozen control, more compliance work |
Reuse, Hygiene, and Disposal: How to Run a Clean Program
Reusable packs reduce cost per shipment, but only if you manage them like reusable assets. Clean, dry, and inspect every kleine gel ice pack before reuse. If you ship raw proteins, avoid mixing programs without a clear hygiene rule. Treat damaged or leaking packs as end-of-life, not “tape and hope.”
| Reuse control | How to do it | Why it matters | What it means for you |
|---|---|---|---|
| Color coding | One color per program | Prevents mix-ups | Cleaner operations |
| Inspection rule | Weekly seam checks | Seams fail first | Fewer surprises |
| FIFO rotation | Labeled freezer bins | Consistent freeze time | Predictable performance |
| Flat storage | Trays, not bins | Less crease stress | Longer pack life |
Practical tips for reuse management
-
Dry completely: trapped moisture causes odor and weakens routines.
-
Standardize sizes: too many pack sizes create packing errors.
-
Document disposal: don’t pour unknown gels into plumbing.
Real-world example: A last-mile grocery team switched from bin storage to flat trays. Pack life improved, and leaks became rare.
Common Kleine Gel Ice Pack Mistakes and Quick Fixes
Most “pack failed” complaints are really layout and starting-temperature problems. Use this table to troubleshoot quickly and prevent repeat mistakes.
| Symptom | Likely cause | Quick fix | What it means for you |
|---|---|---|---|
| Packs still partly frozen, product warm | Poor placement | Move packs to sides + top | More uniform cooling |
| Corners warm first | Air gaps | Add corner trim packs | Fewer hot spots |
| Wet labels / soggy paper | Condensation | Add barrier layer | Cleaner unboxing |
| Packs leaking | Compression + sharp edges | Rounded packs + better stacking | Less cleanup |
| Product partially frozen | Direct contact | Add divider + distance | Fewer quality claims |
2025 Trends in Kleine Gel Ice Pack Programs
In 2025, the biggest improvements are less about “new gel” and more about better systems. Operators want fewer SKUs, fewer decisions, and fewer surprises. Small packs support automation because they enable repeatable “recipes” by season and lane. Sustainability is also pushing packaging teams toward clearer disposal guidance and tougher films.
Latest progress snapshot (what’s changing now)
-
Right-sized formats: slimmer packs that tile along sidewalls and corners
-
Durability upgrades: stronger seams and rounded shapes for stacking pressure
-
More temperature targeting: tighter refrigerated control where freezing risk is costly
-
Lane-based SOPs: standard packing tables replacing “tribal knowledge”
Internal Link Suggestions (no external links)
-
Cold chain gel pack sizing guide — /cold-chain-gel-pack-sizing-guide
-
Insulated shipper packing layout to prevent hot spots — /insulated-shipper-packing-layout
-
Gel pack conditioning SOP for 2–8°C shipments — /gel-pack-conditioning-sop
-
Reusable refrigerant hygiene rules — /reusable-refrigerant-hygiene
-
EPP cooler box selection for last-mile delivery — /epp-cooler-box-last-mile
Frequently Asked Questions
Q1: How many kleine gel ice pack units do I need for a 24-hour shipment?
Start with a gel-to-product rule-of-thumb, convert it to mini pack count, and validate on your hottest lane.
Q2: Should I place a kleine gel ice pack on top or bottom?
Sides and top usually work better than bottom-only placement because heat enters through outer faces and lid.
Q3: How do I reduce condensation in the box?
Add a thin barrier, keep packs off raw cardboard when possible, and distribute packs instead of stacking them.
Q4: Can a kleine gel ice pack replace dry ice for frozen shipping?
Not reliably. Frozen programs usually need dry ice strategies plus validated insulation and pack-out rules.
Q5: What’s the easiest way to reduce leaks?
Choose rounded-edge packs with strong seams, store them flat, and keep them away from sharp packaging materials.
Q6: How do I condition a kleine gel ice pack for 2–8°C shipments?
Avoid direct rock-solid contact with product, use buffers, and follow a consistent conditioning routine before packing.
Q7: How long does a small gel ice pack last without insulation?
Usually only hours. Insulation and tight fill matter more than brand names for hold time.
Summary and Recommendations
A kleine gel ice pack is most valuable when you need precise placement and repeatable cooling in compact packaging. You get the best results by sizing pack count lane-by-lane, placing packs on sides + top, and eliminating air gaps. Use buffers to prevent freezing in sensitive programs, and treat leak control as part of your system. In 2025, the operational advantage is consistency: simple recipes, documented SOPs, and seasonal adjustments.
Your next-step plan (simple and effective)
-
Pick your most failure-prone lane (hot weather or long handoff).
-
Test two recipes: baseline and +25% pack count.
-
Track three outcomes: arrival temperature, condensation level, and damage rate.
-
Standardize the winner into a one-page SOP and train your packing team.
CTA: If you want fewer refunds and more consistent deliveries, start a 7-day lane validation using a modular kleine gel ice pack strategy this week.
About Tempk
At Tempk, we design temperature-control packaging that works in real operations, not just ideal lab conditions. We help you choose kleine gel ice pack sizes, placement patterns, and conditioning routines that reduce claims and improve repeatability. Our focus is practical reliability: strong seals, scalable packing workflows, and clear standards your team can follow under pressure.
Next step: Share your shipper size, target hold time, and temperature band, and we’ll help you draft a lane-based pack count and placement SOP you can deploy immediately.