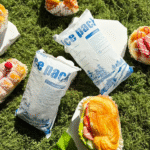
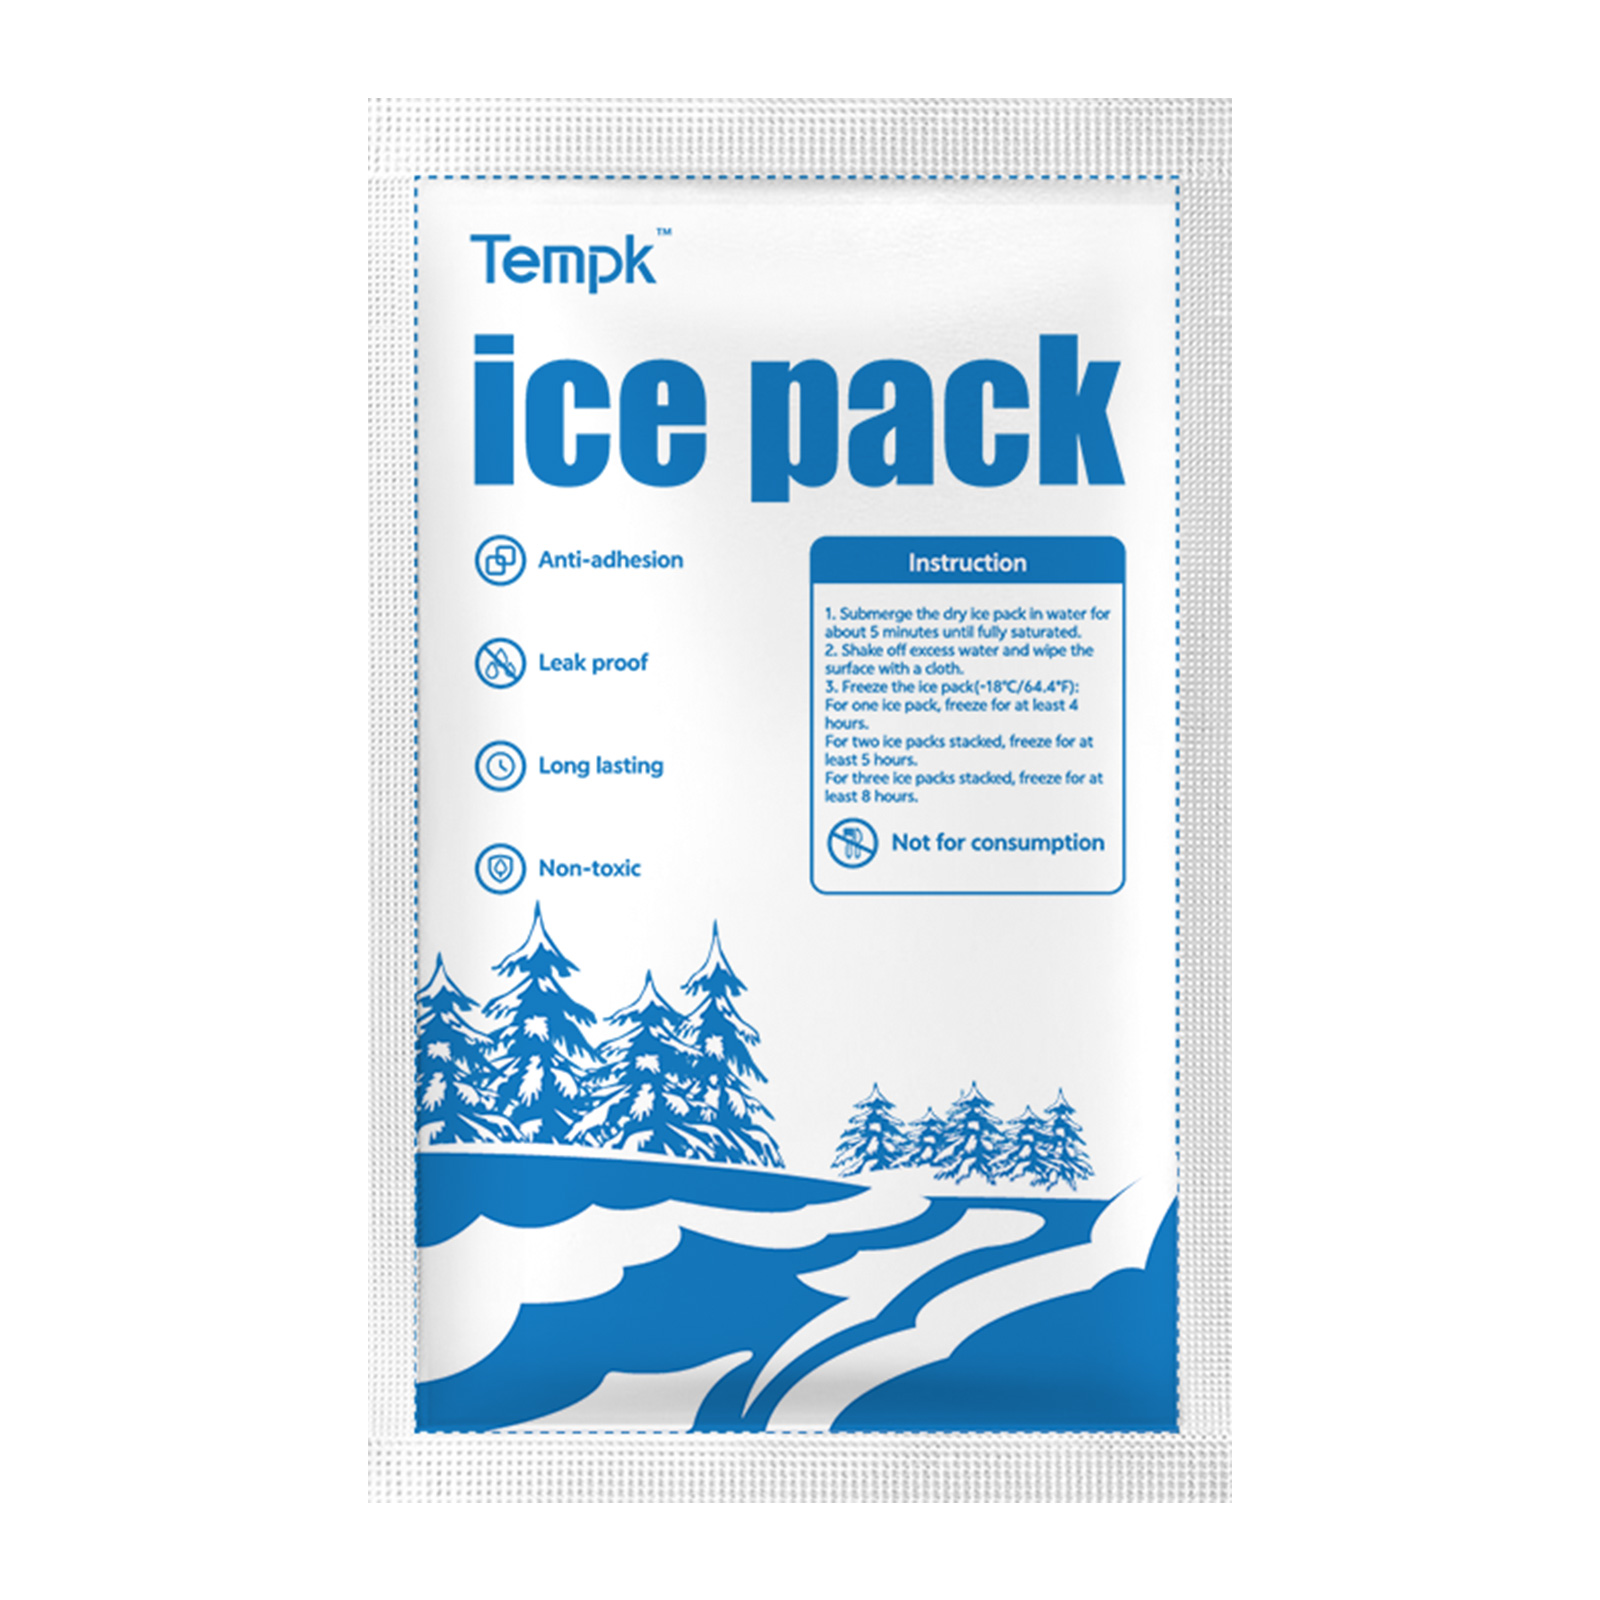
Dry Ice Bag With Vent: Safe, Compliant Shipping 2025
Updated: September 19, 2025 — If you ship with dry ice, a dry ice bag with vent is the simplest way to prevent pressure build-up, stay compliant (UN 1845 + net kg), and keep products frozen longer. One vented liner plus a clear gas path cuts acceptance failures and reduces CO₂ exposure risk for your team.
-
Why a dry ice bag with vent matters — safety and acceptance, with long-tail tips on UN 1845 labeling
-
How to choose, size, and close the liner — film, seams, and fold-and-clamp closure best practices
-
How to pack and label correctly — checklists, AWB cues, and Class 9 placement for air lanes
-
CO₂ safety and exposure limits — practical steps for drivers and packout rooms
-
2025 trends — smarter vents, standardized acceptance checklists, and lighter DIM strategies
Why does a dry ice bag with vent matter for safety and rules?
Short answer: A dry ice bag with vent lets CO₂ escape while containing pellets/blocks—preventing over-pressure and meeting 2025 acceptance checks. Without venting, gas turns your package into a balloon that can bulge or burst. Regulations require a gas-release path; carriers flag sealed liners as unsafe and noncompliant.
Deeper take (from your lane): Dry ice sublimates straight to gas. If the liner, headspace, or outer is airtight, pressure spikes—especially in air cargo where cabin pressure shifts. Modern acceptance checklists explicitly confirm venting and UN 1845 markings. Teams that swapped sealed liners for a vented liner plus perforated overwrap saw failed acceptance drop and fewer melt claims in A/B tests.
How does a dry ice bag with vent prevent bursts?
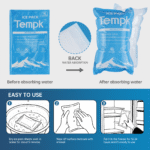
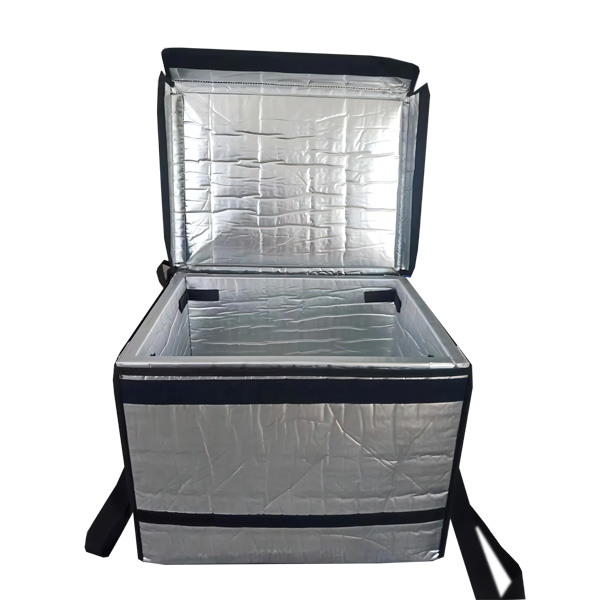
Working principle: A controlled leak path—via micro-perfs, a fold-and-clamp neck, or a membrane/valve—bleeds CO₂ into the shipper headspace and out through carton gaps. The system stays closed to chips, not hermetically sealed to gas. That’s why “no heat-sealing the neck” is a common SOP line.
| Vented design (liner) | What it is | What to check | What it means to you |
|---|---|---|---|
| Fold-and-clamp closure | Neck folded; clamp holds | Gas path still open | Fast, glove-friendly; aligns with acceptance checks |
| Band-and-fold | Elastic band low on neck | No full seal; excess film folded back | Repeatable tension; easy to audit |
| Micro-perforated film | Tiny gas bleed holes | Perfs not blocked by overwrap | Smooth release; avoid dust clogging |
Practical tips and quick wins
-
Leave headspace: A small gap under the lid preserves a vent path.
-
Perforate stretch wrap near flap vents: Don’t suffocate the outer.
-
Never tape over a vent seam: It’s the #1 rushed-packing error.
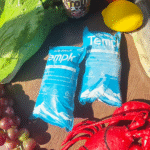
Real case: A DTC meal brand moved from sealed liners to a dry ice bag with vent plus perforated wrap. Acceptance holds nearly vanished, and melt claims fell by roughly a quarter in 90 days across 1,800 parcels.
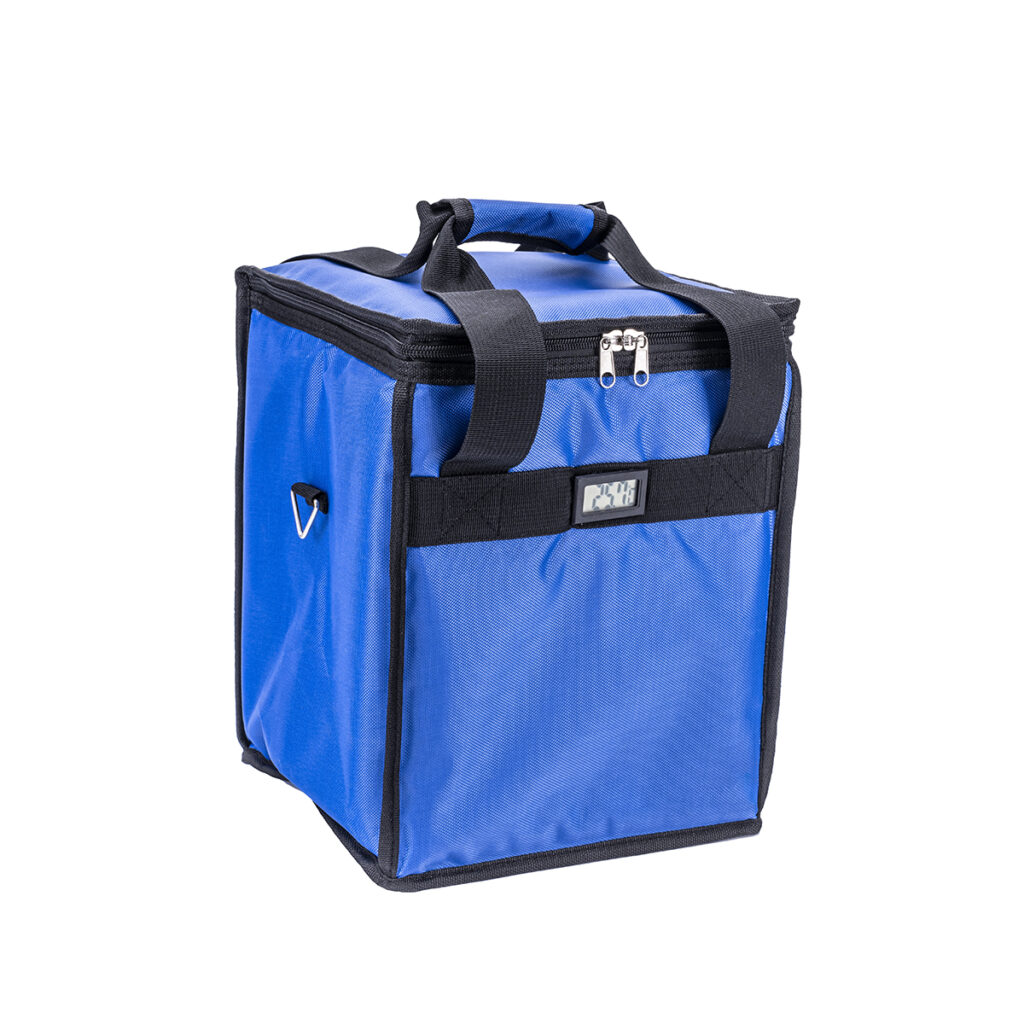
How should you choose and size a dry ice bag with vent?
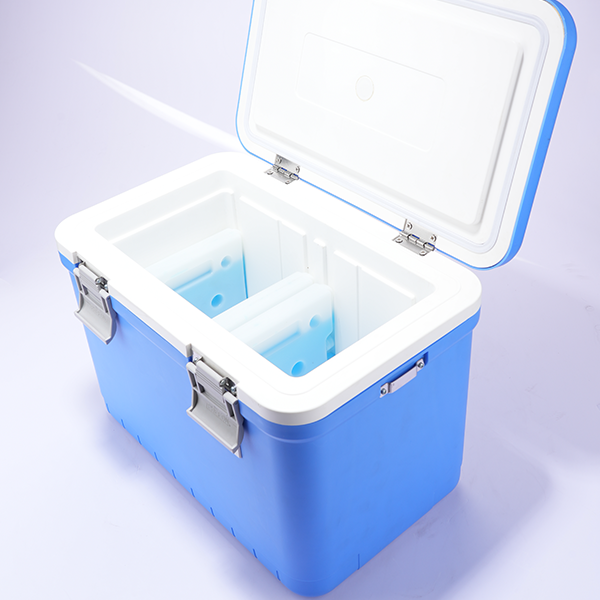
Short answer: Match film and seam strength to handling risk, then choose a closure that is secure but not hermetic. Common picks are 4–8 mil LDPE/LLDPE with wide double seals and a fold-and-clamp neck. If your shipper’s gasket is tight, add thin spacers to keep a gas path.
What to weigh up: Think in three blocks—film, seams, closure. Thicker film resists pellet abrasion; wide bottom/side seals survive drops. The closure must leave a leak path. Pallet/shrink? Perforate near flap vents so you don’t trap CO₂. Run a puncture-drop-vent mini-qualification before rollout.
Film & seam cheat sheet for a dry ice bag with vent
| Use case | Film (typical) | Seams | What it means for you |
|---|---|---|---|
| Parcel lanes, moderate handling | 4–6 mil | 10–20 mm heat-seals | Balanced puncture resistance |
| Heavy pellets/blocks | 6–8 mil | Double seals | Fewer seam peels in sortation |
| Tight-gasket returnables | 6–8 mil | Wide base + gussets | Add 2–3 mm spacers for headspace |
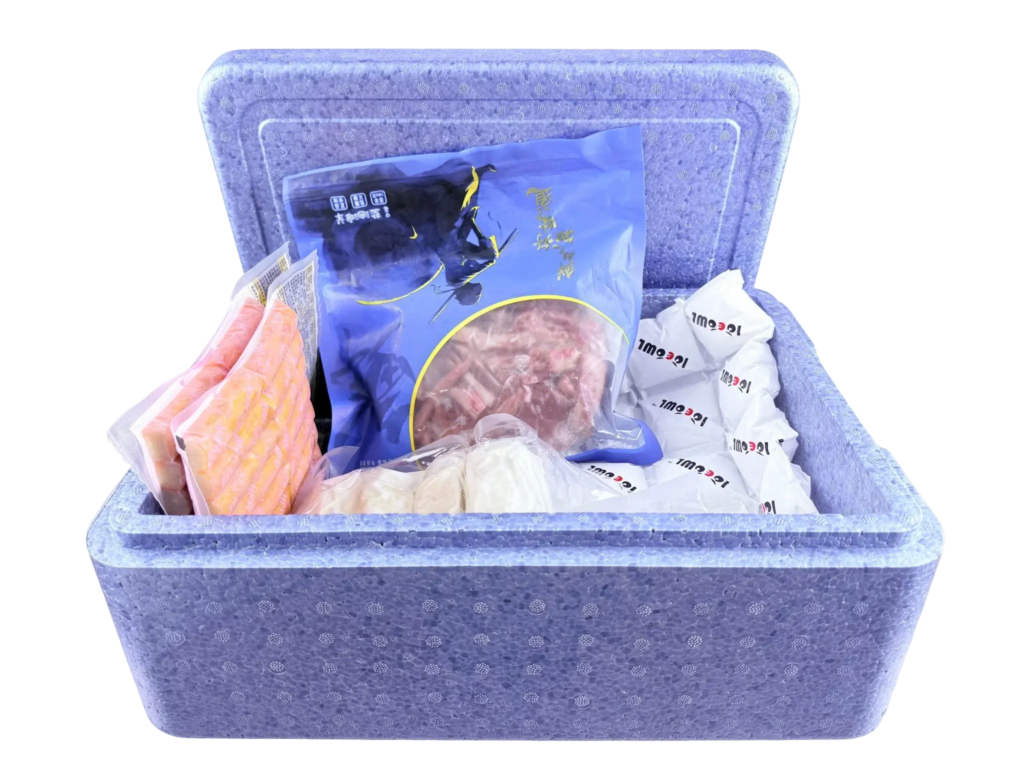
How do you pack and label with a dry ice bag with vent?
Short answer: Vent end-to-end. Load dry ice into the dry ice bag with vent, isolate the payload, close the neck without heat-sealing, maintain lid headspace, and avoid airtight overwraps. Mark the outer “Dry Ice/Carbon dioxide, solid, UN 1845” + net kg and apply Class 9.
Step-by-step SOP (copy/paste ready):
-
Pre-chill the insulated inner; assess lane risk (hot/humid needs margin).
-
Stage payload in a secondary pack with supports/separators.
-
Load dry ice into the dry ice bag with vent; keep away from markings.
-
Fold-and-clamp (or band-and-fold) the neck—do not heat-seal.
-
Insert liner; keep a headspace under the lid with small spacers.
-
Close outer; perforate wrap near top flap vents.
-
Label outer: UN 1845 + net kg; apply a Class 9 label.
-
Air waybill (AWB): “UN 1845, Dry Ice, x packages × y kg (net per package).”
Dry-ice mass estimator (quick-start)
| Transit window | Typical dry ice | Hot/humid add-on | What it means |
|---|---|---|---|
| 18–24 h | 5–8 lb | +1–2 lb | Overnight air; few handoffs |
| 36–48 h | 10–16 lb | +2–4 lb | Two-day service; summer lanes |
| 72 h | 18–24 lb | +4–6 lb | Use premium insulation only |
Do 2025 rules require venting a dry ice bag with vent?
Yes. Packaging must permit CO₂ release; sealed liners or airtight outers are not compliant. Airline acceptance checklists and carrier job aids enforce UN 1845 + net kg labeling and a visible vent path. Expect stricter station audits and clearer AWB entries in 2025.
CO₂ exposure when using a dry ice bag with vent?
Work safely: Ventilate rooms/vehicles. Practical limits often cited in guidance: 5,000 ppm (8-h) and 30,000 ppm (short-term); treat 40,000 ppm as immediately dangerous. Avoid sealed trunks or tiny storerooms packed with venting shippers. Post a one-page CO₂ safety card at pack benches.
Field tips
-
Unload in moving air (open dock doors, vent fans).
-
Stagger staging in small rooms; crack doors between loads.
-
Train drivers on symptoms (headache, drowsiness) and response.
2025 trends for the dry ice bag with vent
What’s new: Acceptance checklists put venting front-and-center; AWB templates reduce labeling errors; carriers highlight “not airtight” in public guidance. Many teams pair a dry ice bag with vent with lighter outers to lower DIM, and use pre-perforated wraps to keep flap vents breathing.
Latest progress at a glance
-
Clearer AWB examples reduce delays at tender.
-
Ventsafe wraps (pre-perforated) prevent blocked flaps in palletized loads.
-
Clamp closures replace twist-ties for repeatable, auditable vent paths.
Market insight: Frozen meal kits, seafood DTC, and labs standardize vented liners and headspace shims. Result: fewer returns, steadier temperature profiles, and faster acceptance across hubs.
Frequently Asked Questions
1) Do I really need a dry ice bag with vent for air?
Yes. The system must not be airtight and must allow gas to escape. A vented liner plus headspace is the simplest path to compliance and safety.
2) What goes on the label?
Write “Dry Ice / Carbon dioxide, solid, UN 1845” and the net mass in kg on a vertical side, then apply a Class 9 label. Follow carrier AWB examples.
3) How much dry ice should I load?
Start with 5–10 lb per 24 h for insulated parcels, then lane-test with a logger. Always add margin for hot lanes and multiple handoffs.
4) Can I heat-seal the liner for strength?
No. Heat-sealing risks a hermetic closure. Use fold-and-clamp or band-and-fold so the vent path remains open.
5) If the inner vents, does the outer need to vent too?
Yes—the whole system must permit CO₂ release: liner → headspace → outer flaps. Don’t choke vents with tight wrap.
Summary & recommendations
What matters most: A dry ice bag with vent balances containment and gas release, keeps people safe, and passes 2025 acceptance on the first try. Use fold-and-clamp closures, maintain headspace, mark UN 1845 + net kg, and ventilate rooms/vehicles. Validate with a quick puncture-drop-vent check and a two-lane logger trial before scale.
Next steps (CTA):
-
Standardize a dry ice bag with vent and clamp closure in your SOP.
-
Pre-print labels with UN 1845 and net-kg fields.
-
Perforate pallet/shrink near flap vents.
-
Run one hot-lane and one typical-lane test and review logger data with your QA lead.
About Tempk
We design, test, and document dry ice bag with vent solutions that pass acceptance on the first try. From clamp-closure liners to pre-perforated wraps and AWB/label templates, our systems balance safety, compliance, and cost—and we back them with lane testing and clear SOPs so your team can ship confidently.