How to Use a Dry Ice Bag for Frozen Meat in 2025
Shipping perishable proteins is unforgiving. A dry ice bag for frozen meat lets you hold deep‑freeze temps, prevent leaks, and stay compliant while controlling cost. In this guide, you’ll get simple rules for dry ice quantity, food‑safe materials, packing steps, and 2025 labeling so your orders arrive rock‑solid and safe.
-
Choose the right food‑safe dry ice bag and insulation for long routes.
-
Calculate dry ice for 24–72 hours with a quick, reliable method.
-
Pack, vent, and label correctly to meet 2025 carrier rules.
-
Cut cost without risking thaw by sizing the shipper and bag precisely.
Why is a dry ice bag for frozen meat your best choice?
It delivers colder, drier, longer cooling than gel packs or wet ice. Dry ice sits at −109°F (−78.5°C), so the product stays well below the freezing point. It sublimates to gas—no meltwater—so your packaging stays clean, your box stays strong, and your dry ice bag for frozen meat keeps quality intact across 1–3‑day lanes.
What this means for you: fewer warm‑ups, fewer refunds, and fewer customer complaints. Because the coolant becomes gas, good venting avoids pressure spikes while steady cold slows ice crystal growth that can hurt texture. Pair the bag with tight insulation and you extend freezer‑level temps without over‑spending on coolant.
HDPE vs LDPE vs PP: which bag keeps food safest?
Food‑contact plastics matter. HDPE bags are tough and moisture‑resistant, ideal for big cuts and long routes. LDPE is flexible and resists cracking at low temps—great as inner liners. PP handles heat and cleaning cycles if you reuse inserts. Choose certified food‑contact grades and avoid brittle, non‑vented containers around dry ice. For the dry ice bag for frozen meat, 4–8 mil suits parcels; 10+ mil helps with heavy primals or sharp bones.
| Material choice | Strength & cold tolerance | Typical use | What this means for you |
|---|---|---|---|
| HDPE | High, stable at deep cold | Primary dry ice bag | Resists puncture, minimizes leaks |
| LDPE | Flexible, crack‑resistant | Secondary liner | Easier sealing, better fit |
| PP | Durable, cleanable | Reusable insert | Withstands cleaning cycles |
Practical packing tips
-
Sharp bones: Use bone‑guard or double‑bag to prevent pinholes.
-
No airtight seals: Always allow CO₂ to vent from the outer shipper.
-
Place coolant high: Cold sinks—keep dry ice above or around product, not only below.
Case study: A meal‑kit brand shifted to an HDPE dry ice bag for frozen meat with 1.5″ foam and vented lids. Complaints for “soft on arrival” fell by half, and coolant spend dropped ~12% after recalculating load per zone and season.
How much dry ice should your dry ice bag for frozen meat hold?
Rule of thumb: plan on 5–10 lb (2.3–4.5 kg) of dry ice per 24 hours per small parcel, adjusted for box size, insulation R‑value, ambient heat, and product mass. For 48 hours, many lanes need 10–20 lb. Start mid‑range, then tune down using real delivery data to avoid over‑cooling and cost.
Make it practical: Weigh frozen product after blast‑chill, choose the smallest shipper that fits (less air = less load), and set dry ice around and above the meat inside a dry ice bag for frozen meat. For summer lanes or hot sort hubs, add 20–30%. For winter, reduce slightly but keep venting consistent.
Labels and rules for dry ice in 2025
Dry ice used for parcels is a Class 9 hazardous material. Mark “Dry Ice” (or “Carbon Dioxide, solid”), include UN1845, and show net dry ice weight. Packaging must vent CO₂—never trap gas. If you fly parcels, follow current air‑carrier instructions; ground carriers require the same basics: durable outer box, secure inner packaging, and clear handling marks.
| Requirement | What to show | Why it matters | Your benefit |
|---|---|---|---|
| Identification | “Dry Ice” / “CO₂, solid”, UN1845 | Aligns with hazmat rules | Prevents delays & fees |
| Net weight | Pounds or kilograms | Carrier load planning | Faster acceptance |
| Venting | No airtight seal | Avoids pressure buildup | Keeps box intact |
Quick estimator (for planning):
Use actual delivery data to refine the base_per_24h and multipliers for your SKUs.
How do you pack a dry ice bag for frozen meat step by step?
Answer first: Keep meat rock‑solid, control airspace, let CO₂ out.
-
Prep product: Vacuum‑seal portions; pre‑freeze to −10°F or colder.
-
Bag the coolant: Load dry ice into a dry ice bag for frozen meat; fold but don’t seal airtight.
-
Layer smart: Place dry ice above/around product, not only at the bottom.
-
Fill voids: Use foam or liners so nothing shifts.
-
Close & vent: Close the shipper with a vent path for CO₂.
-
Mark & weigh: Add “Dry Ice,” UN1845, and net dry ice weight.
Insulation choices that extend dry ice life
-
Foam shippers (1–1.5″): Reliable for 24–48 hours.
-
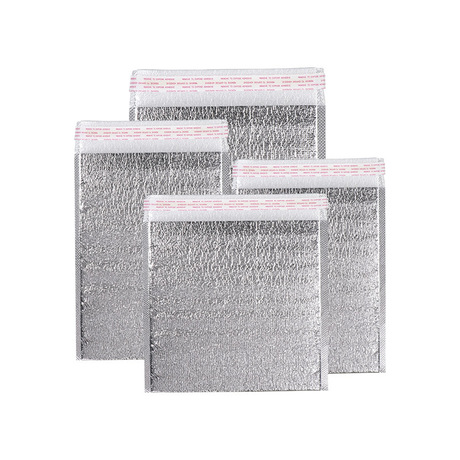
Multi‑layer liners (bubble + reflective + PE): Space‑efficient; tune layers by season.
-
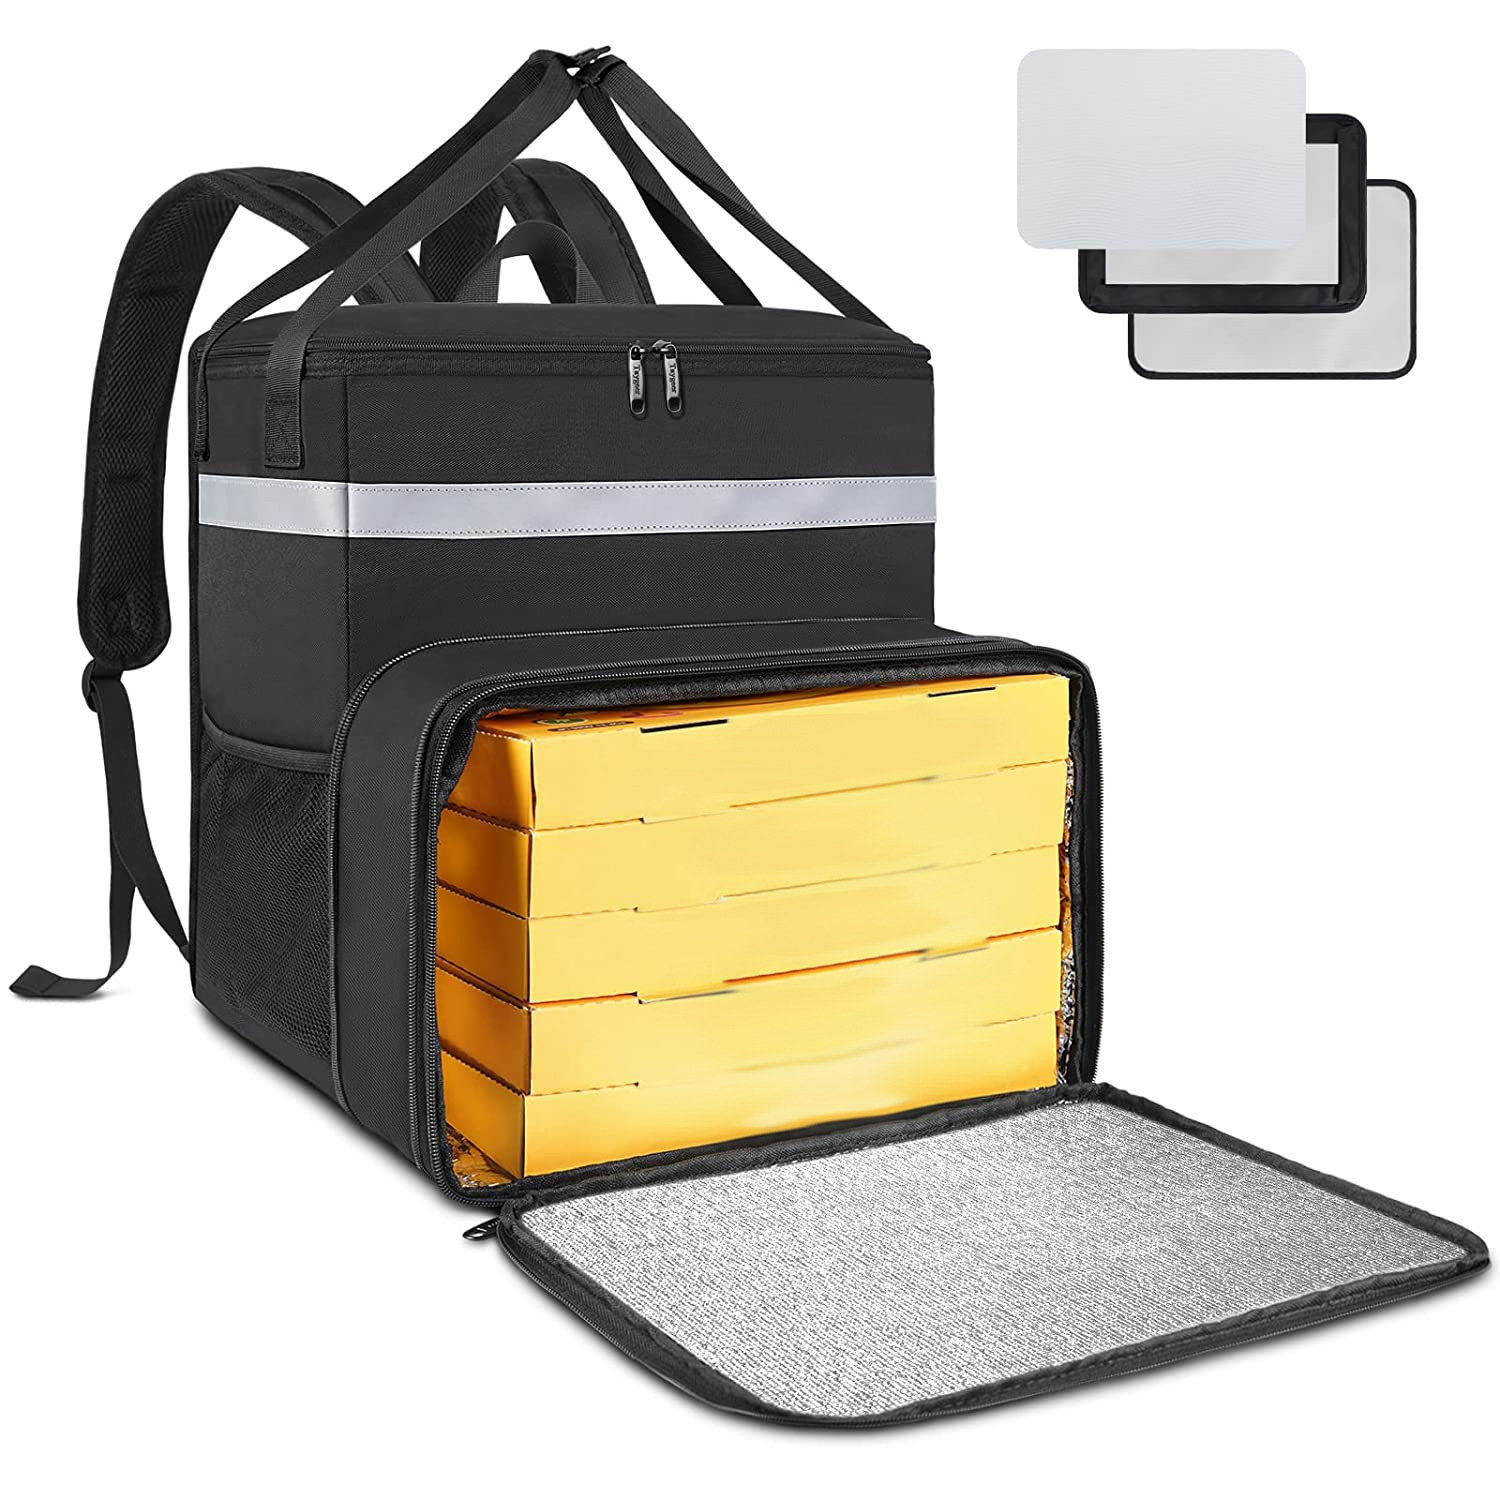
Rigid coolers with vented lids: Extend duration when paired with a dry ice bag for frozen meat; never lock lids airtight.
Food‑safe handling for your dry ice bag for frozen meat
Core idea: Protect people and product. Use food‑contact materials, PPE, and ventilation.
Wear loose, insulated gloves and eye protection; never handle with bare skin. Keep dry ice away from enclosed spaces without airflow. Do not place dry ice in a sealed plastic container; gas expansion can burst it. Keep meat separated from dry ice by packaging—cool the product, not the eater’s hands.
Storage and disposal that won’t backfire
-
Store in an insulated, vented cooler—lid cracked.
-
Keep out of walk‑in freezers and domestic fridges (risk of damage and CO₂ build‑up).
-
For disposal, set dry ice in a ventilated area to sublimate; keep away from kids and pets.
2025 cold‑chain trends for dry ice bags and frozen meat
What’s new: Smarter packaging and greener CO₂. In 2025, fleets lean on real‑time temperature and CO₂ sensors that ping when a box warms or pressure rises. Dry ice bag for frozen meat programs adopt recycled‑content HDPE and bio‑based PE where allowed, while improved liners raise effective R‑value without oversized boxes. Carbon‑efficient CO₂ sourcing is gaining traction to shrink footprint while holding performance.
Latest at a glance
-
Connected shippers: QR‑guided handling and sensor logs reduce spoilage and claims.
-
Higher‑performance liners: Thinner walls, same hold time—lower DIM weight.
-
Greener inputs: Recycled and bio‑based films in food‑contact grades.
Market insight: Parcels with frozen proteins keep rising as DTC and retail e‑commerce expand. The winners right‑size shippers, standardize dry ice bag for frozen meat SKUs, and use lane‑based coolant tables to avoid both thaw risk and over‑spend.
FAQs
Q1: How much dry ice for 10 lb of steaks over 48 hours?
Start with 10–12 lb in a dry ice bag for frozen meat, in a small or medium foam shipper, with the ice above the meat. Adjust for summer lanes.
Q2: Can dry ice touch the meat directly?
Avoid direct contact. Use the product’s vacuum bag or a liner as a barrier to prevent freeze‑burn and sticking.
Q3: Where do I place the dry ice in the box?
High and around the product. Cold sinks, so top placement improves coverage and duration.
Q4: Can I reuse the dry ice bag?
If undamaged HDPE or PP, you can. Inspect for pinholes and clean according to food‑contact practices.
Q5: Do I need special labels?
Yes—mark “Dry Ice,” show UN1845, and list net dry ice weight. Keep the outer packaging vented.
Summary & Recommendations
Key points: A dry ice bag for frozen meat delivers deep‑freeze temps without leaks, needs vented packaging and clear labels, and works best with compact, well‑insulated shippers. Plan 5–10 lb per 24 hours and tune by lane. Choose food‑contact HDPE/LDPE/PP and keep coolant high in the box.
Next steps:
-
Map lanes (hours & ambient) and set a coolant table per SKU.
-
Standardize two or three dry ice bag for frozen meat sizes.
-
Pilot sensors on hot routes for two weeks.
-
Roll updates and add clear delivery‑day instructions. Need help? Start a pilot with us today.
About Tempk
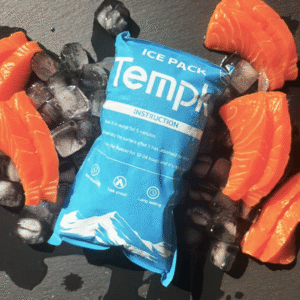
We build practical cold‑chain systems that protect product and margins. Our dry ice bag for frozen meat range uses certified food‑contact films and tested seams for puncture resistance. We pair that with right‑sized shippers and lane‑based coolant tables so you hit target temps with less spend.
Talk to us: Book a 20‑minute consultation to tune your coolant loads and packaging spec for peak season.


