Softening and refreezing changes quality
Tubs can look frozen at delivery while the product has already lost smooth texture.
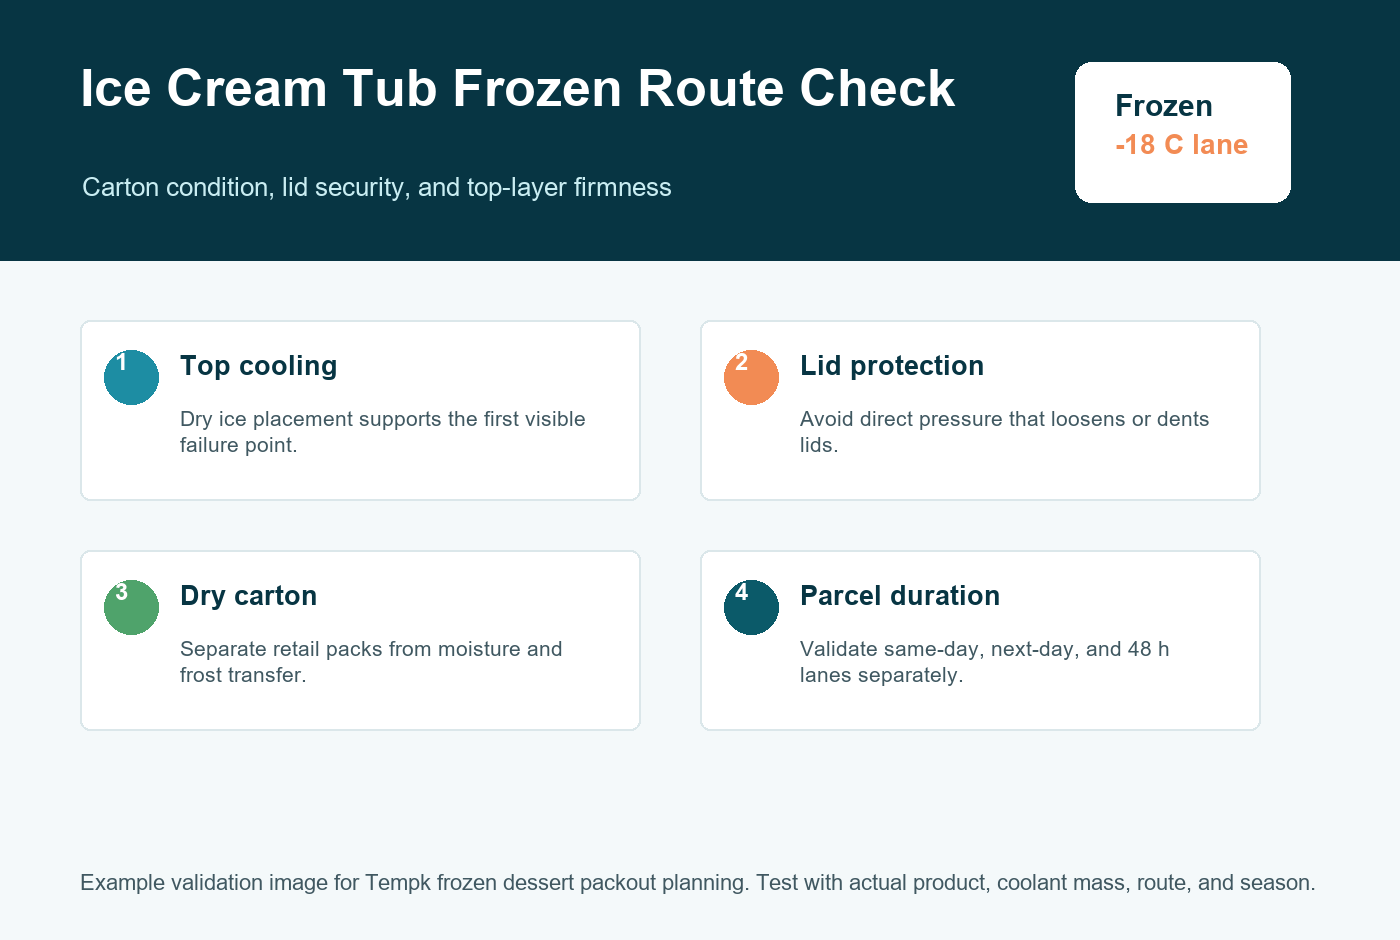
Ice Cream Tubs Cold Chain
Ice cream tubs are more robust than decorated cakes, but they still fail when lids loosen, cartons get wet, product softens, or dry ice pressure damages retail packaging. The packout should hold a frozen route and protect the tub stack.
Product Risk
The right package has to protect arrival quality, not only show a cold logger trace. The risk points below determine dry ice mass, insulation, product support, venting, and receiving checks.
Tubs can look frozen at delivery while the product has already lost smooth texture.
Dry ice, dividers, and other tubs should not press lids out of position.
Frost and condensation can weaken paper sleeves, labels, and outer cartons.
The packout should be sized so there is frozen protection left at the expected receiving time.
Route-Based Recommendation
These are practical starting ranges for route testing. Final dry ice mass and insulation thickness should be verified with the actual payload, shipper, carrier mode, route, and receiving standard.
| Shipment condition | Recommended Tempk package | Starting dry ice direction | Dry ice position | What to validate |
|---|---|---|---|---|
| Same-day frozen delivery 8-18h route, ambient below 22 C, hard-frozen tubs |
EPS or EPP shipper, tub dividers, liner, dry ice zone, and vented outer carton | About 1.5-2.5 kg dry ice for a 2-5 kg tub payload as an initial test range. Use the dry ice calculator for actual payload and route. | Top or side dry ice zone with divider; keep dry ice and heavy packs off tub lids. | Tub hardness, lid seal, label dryness, carton condition, and dry ice remaining |
| Overnight parcel route 18-36h route, depot handling, ambient 22-30 C |
Thicker EPS/EPP shipper, fixed tub stack, moisture liner, dry ice divider, and logger | About 3.0-5.0 kg dry ice for a small parcel test. Adjust by tub count, box volume, insulation level, and carrier limits. | Top-plus-side dry ice layout with a strong divider and gas vent path. | Warmest tub, lid movement, frost, carton wet-out, and remaining dry ice |
| Hot-weather or delay-prone route 30-35 C ambient, 36-48h risk, weekend hold possible |
Higher-performance insulated shipper, larger dry ice margin, reinforced carton, vented shipper, and route logger | About 5.0-8.0 kg dry ice for extended testing. Confirm headspace, label rules, and carrier restrictions before scaling. | Perimeter dry ice with dividers and no direct lid pressure; keep tubs upright and stable. | Peak temperature, dry ice remaining at delayed delivery, product texture, label condition, and carton compression |
Dry ice mass is a starting point, not a guarantee. Adjust by product temperature at packing, payload weight, shipper size, insulation material, dry ice form, route duration, ambient profile, and carrier rules. Dry ice must not be sealed in an airtight container, and air or parcel shipments may require specific labeling and documentation.
Packout Structure
Frozen dessert packouts need product support and dry ice separation before the shipper is sealed. Start with product condition, retail pack strength, and venting, then size dry ice and insulation.
Packing Process
The shipper should preserve a frozen product, not rescue one that has already softened. Good handling before sealing reduces dry ice demand and prevents visible product defects.
Do not let tubs stage at room temperature while the packout is being prepared.
Keep tubs upright, reduce empty space, and avoid lid-to-dry-ice pressure.
Use dividers and a liner so labels and cartons do not frost out or get wet.
Review hardness, lid seal, label dryness, carton condition, temperature trace, and remaining dry ice.
When to Change the Design
Improve liner, dry ice divider, and moisture management before changing route temperature.
Reduce stack pressure, add dividers, and move dry ice away from lids.
Increase insulation margin, adjust dry ice mass, reduce route duration, or change shipper size.
Related Resources
Share tub size, carton format, payload count, product temperature, route time, ambient range, carrier mode, and receiving checks. Tempk can help choose the shipper, dry ice layout, dividers, venting, and validation steps.
Request a frozen route review