Cold Chain Insulation Solutions for Seafood Products?
You need cold chain insulation solutions for seafood products when “mostly cold” is not good enough. If a box warms for even a short window, seafood can lose texture, smell, and trust. In 2025, most programs design for fresh seafood near melting ice (~0°C) or chilled 0–4°C, and frozen seafood at ≤ -18°C, with buffer for delays. This guide shows you how to choose materials, pack consistently, and validate performance with simple data.
This article will help you answer:
-
How cold chain insulation solutions for seafood products protect fresh vs frozen lanes
-
How to pick EPS vs EPP vs VIP insulation for seafood products without overspending
-
How meltwater drainage seafood shipping packaging prevents leaks and odor
-
How to right-size insulated box for fresh seafood delivery to stop shipping air
-
How a last-mile cold chain insulation strategy for seafood reduces porch-time failures
-
How to validate insulated packaging for seafood cold chain with a repeatable test plan
What are cold chain insulation solutions for seafood products?
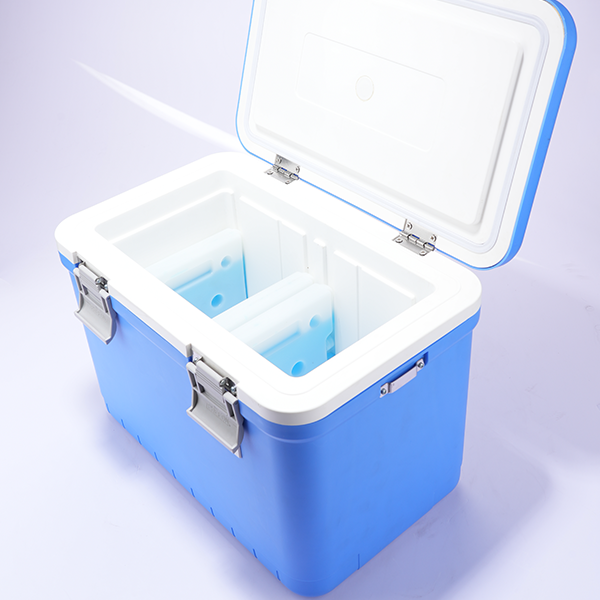
Cold chain insulation solutions for seafood products are packaging systems that slow heat gain and stabilize temperature from packout to receipt. Think of insulation like a winter coat: it does not create cold, but it helps you keep the cold you packed. A complete system includes the outer carton, insulation, liner, coolant, containment, and a consistent closure method.
In real shipping, the weakest link usually wins. A loose lid, big air gaps, or messy meltwater can ruin strong insulation. That is why cold chain insulation solutions for seafood products must work in hubs, vans, and doorsteps—not just in lab specs.
The seafood failure map (temperature + water + time)
Seafood is wet and odor-sensitive. So your system has to manage temperature, moisture, and containment together. If you fix only one, you still lose.
| Failure risk | Typical cause | Fix you can standardize | What it means for you |
|---|---|---|---|
| Temperature spike | Thin insulation, air gaps | Tighter fit + better closure | Fewer spoilage claims |
| Meltwater leakage | Weak bagging, no drainage | Double-bag + absorbents/drain layer | Cleaner delivery, fewer carrier issues |
| Odor transfer | Poor seals, trapped air | Tight liner + sealed inner bags | Better unboxing experience |
| Crush damage | Weak carton, soft structure | Stronger carton + rigid liner | Fewer refunds and reships |
Practical tips you can use this week
-
Short lanes (≤24h): prioritize sealing, tight fit, and moisture control first.
-
Mid lanes (24–48h): upgrade insulation or add balanced coolant coverage (sides + top).
-
Long lanes (48–72h+): redesign the whole system, not just “add more ice.”
Practical reality: Many failures come from small gaps—lid not tight, packs placed wrong, or liners too loose.
What temperature targets should cold chain insulation solutions for seafood products hit?
Your cold chain insulation solutions for seafood products must match the product state, not the marketing promise. Fresh seafood often aims for melting-ice conditions (~0°C) or a controlled 0–4°C band. Frozen seafood typically targets ≤ -18°C to avoid thaw-refreeze damage. If you ship histamine-risk fish, tighter time–temperature control is critical.
Don’t guess your “temperature truth.” Define a target band, a max excursion rule, and a time assumption. Then train and audit against that standard.
A simple target table your team can follow
| Seafood type | Practical target | Typical coolant | Key watch-out | What it means for you |
|---|---|---|---|---|
| Fresh seafood (iced) | ~0°C (melting ice) | Flake/slurry ice | Meltwater contact | Drainage and containment are mandatory |
| Chilled seafood (no wet ice) | 0–4°C | Gel packs / PCM | Edge-freezing risk | Avoid direct coolant contact on delicate SKUs |
| Frozen seafood | ≤ -18°C | Dry ice / frozen PCM | Thaw-refreeze cycling | Insulation + buffer time matter most |
| Histamine-risk fish (example) | <4.4°C with minimal warm time | Ice/PCM + strict SOP | “small warm-ups” | Monitoring matters more than you think |
| Superchilled (advanced) | -3 to -1°C (tight control) | Tuned PCM | Partial freezing risk | Use only with validated SOPs |
Practical tips to avoid common traps
-
Separate fresh and frozen packouts. One “universal” packout causes silent failures.
-
Design for the last 2–6 hours. Doorstep time can be worse than linehaul.
-
If quality complaints persist, log the route. “Arrives cold” can hide mid-route spikes.
Real scenario: One shipper reduced complaints by splitting SOPs: one for fresh-on-ice, one for hard frozen.
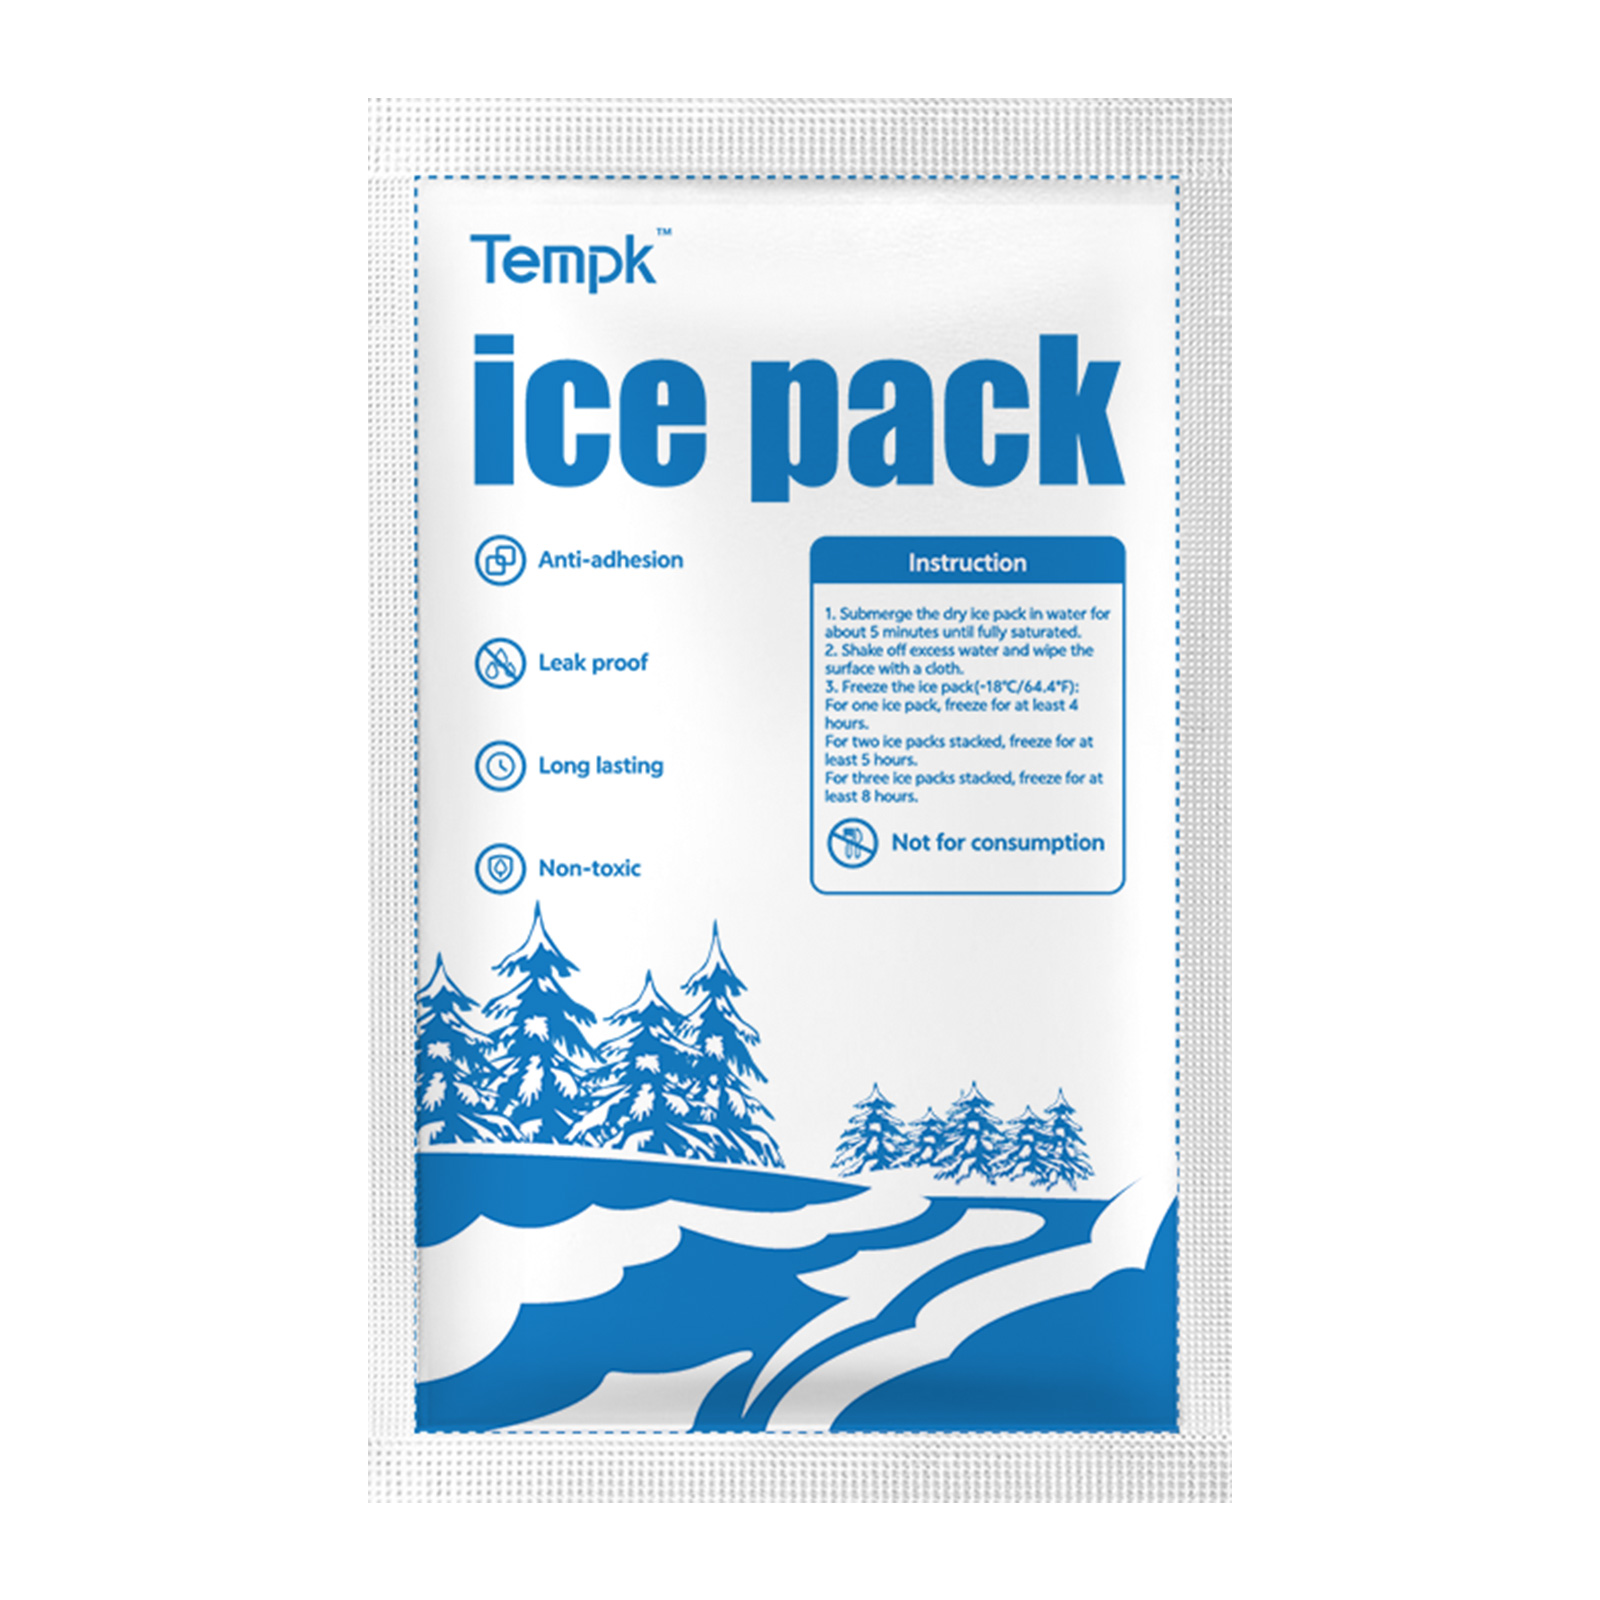
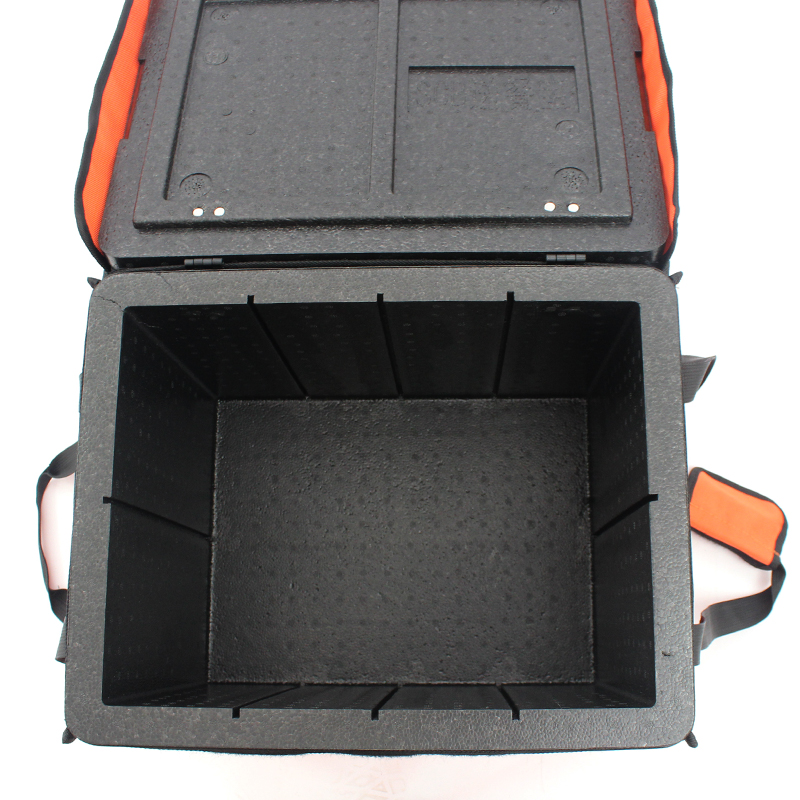
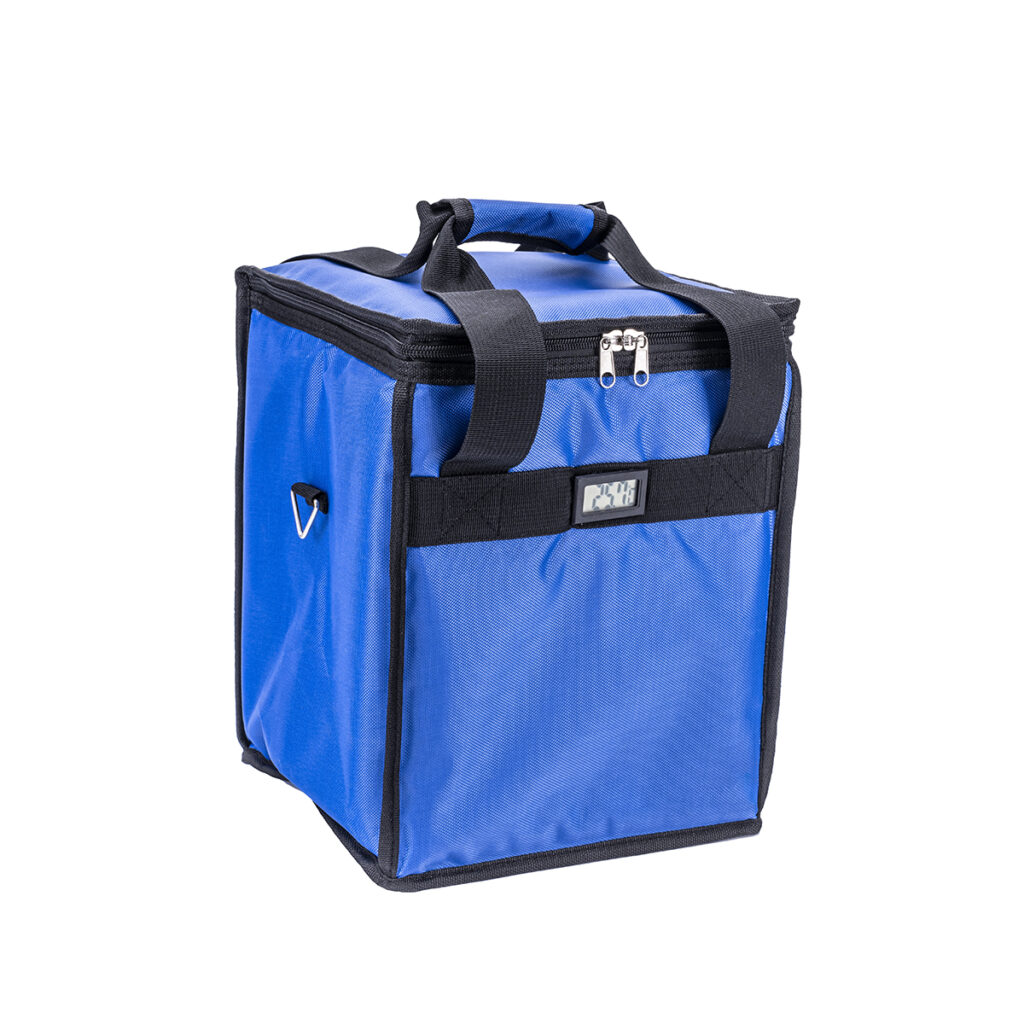
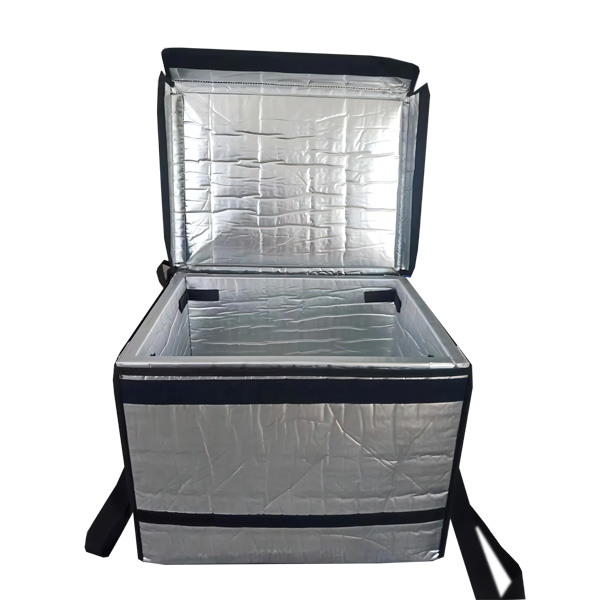
Which insulation materials work best for cold chain insulation solutions for seafood products?
The best cold chain insulation solutions for seafood products are the ones that hold temperature and survive wet, heavy, rough handling. Thickness helps, but fit and closure often matter more. For seafood, you also need moisture tolerance and compression strength.
Start with lane difficulty (hours + heat + last-mile exposure), then choose the smallest upgrade that removes your top failure mode.
EPS vs EPP vs VIP insulation for seafood products
| Insulation option | Typical strengths | Typical trade-offs | Best-fit lanes | What it means for you |
|---|---|---|---|---|
| EPS foam | Low cost, solid thermal value | Fragile, disposal varies | One-way lanes | Good starter option, needs waste plan |
| EPP foam | Durable, reusable, impact resistant | Higher upfront cost | Closed-loop, repeat lanes | Lower waste over many trips |
| PU foam panels | Strong insulation per thickness | Damage/disposal complexity | Mid–long lanes | Stable performance, higher friction |
| VIP panels | Very high insulation in thin walls | Cost, needs protection | Premium/long lanes | Longer hold time without huge boxes |
| Reflective liners | Reduce radiant heat | Not enough alone | Add-on layer | Works best as a “booster,” not a core |
Practical tips for better insulation performance
-
Close air gaps. A loose lid can erase thick insulation gains.
-
Right-size before you upgrade materials. Smaller air volume holds longer.
-
Choose ruggedness first in wet programs. A collapsed box fails faster than a thinner box.
Real example: Some teams gain hours of performance by improving closure and liner fit—without changing insulation thickness.
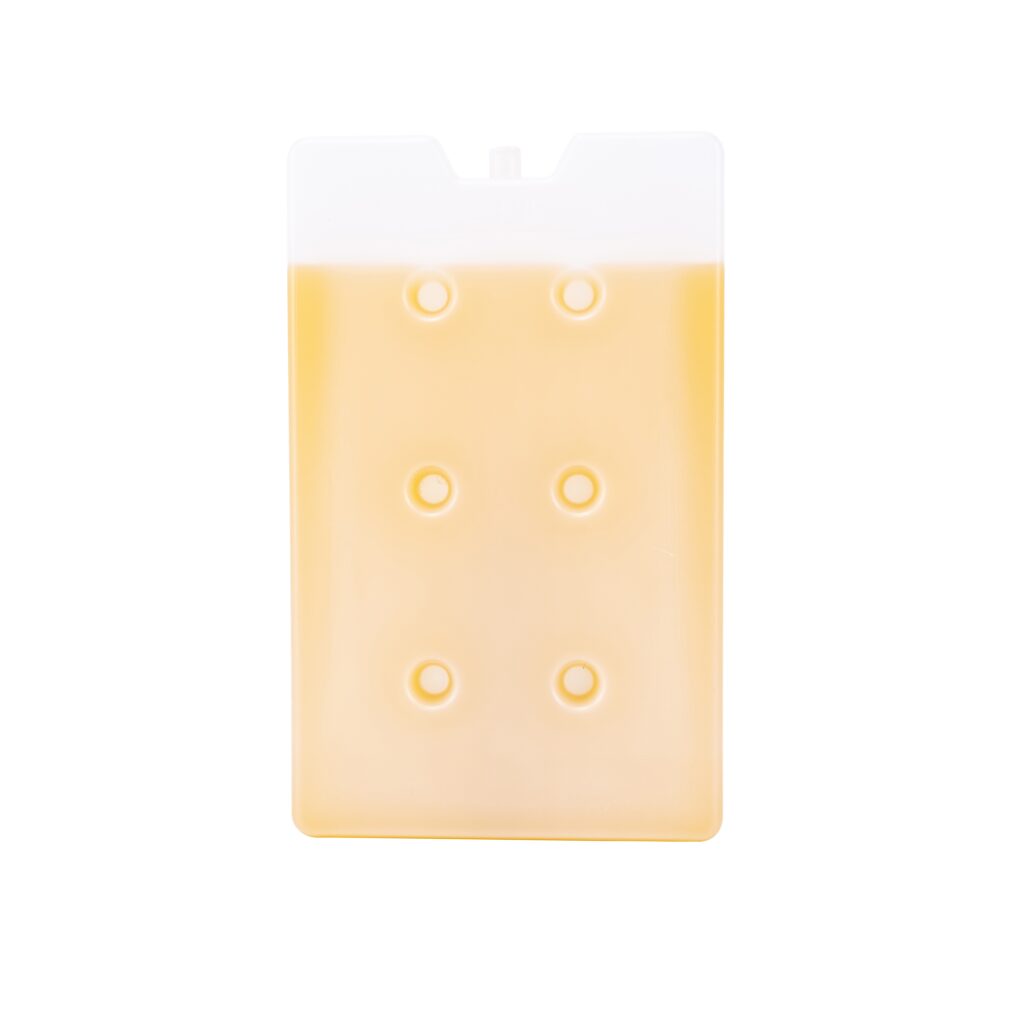
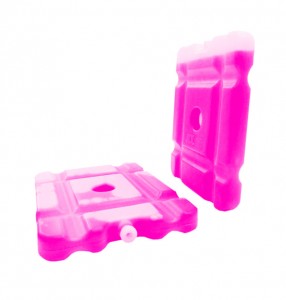
Which coolants pair best with cold chain insulation solutions for seafood products?
Cold chain insulation solutions for seafood products work when insulation slows heat and coolant absorbs it—together. For fresh seafood, wet ice is naturally stable around melting temperature, but it creates meltwater. For chilled (0–4°C), gel packs or PCMs often reduce mess. For frozen, dry ice or frozen-range PCMs usually provide the strongest buffer.
Choose coolant based on the target band, then validate placement. “Top-only” coolant placement commonly creates hot corners.
Coolant selection table (simple and practical)
| Coolant | Best around | Best for | Watch-out | What it means for you |
|---|---|---|---|---|
| Wet ice | ~0°C | Fresh-on-ice programs | Meltwater leakage | Requires drainage + containment discipline |
| Gel packs | 0–5°C (varies) | Short–mid chilled lanes | Uneven cooling | Needs conditioning + balanced placement |
| PCM (tuned) | Specific setpoint | Stable chilled control | Higher cost | Reduces swings and edge-freezing risk |
| Dry ice | Deep frozen | Frozen lanes, long duration | Venting/label rules | Powerful, but requires training and SOPs |
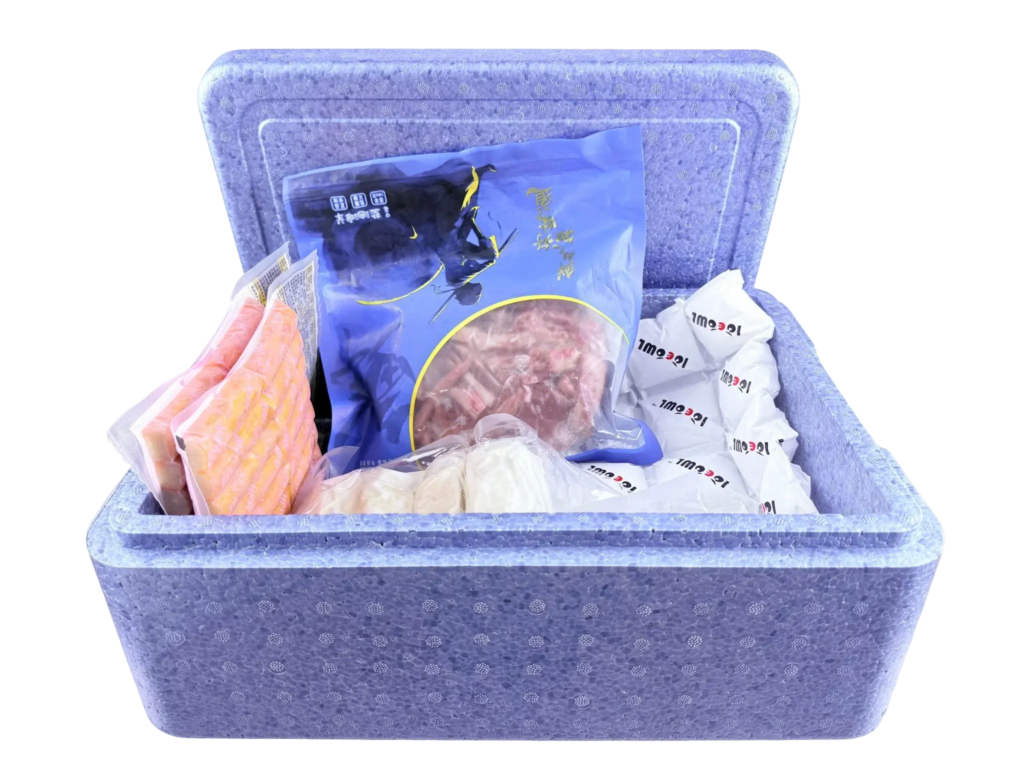
meltwater drainage seafood shipping packaging that actually works
Your meltwater plan should be designed, not improvised. Treat moisture like a second product.
| Packing element | Best practice | Why it matters | Your benefit |
|---|---|---|---|
| Bagging | Double-bag + tight seals | Prevent leaks and odor | Fewer carrier issues |
| Drain layer | Raised tray or drain channel | Keeps product out of meltwater | Better texture and smell |
| Absorbents | Pads sized for worst-case | Captures leakage | Cleaner unboxing |
| Closure | Same tape pattern every time | Stops “lid leaks” | Repeatable results |
Practical tips and suggestions
-
Use side + top coolant for coverage. Corners fail first.
-
Avoid direct coolant contact when partial freezing hurts quality.
-
If you use dry ice, document handling rules and keep it consistent.
Practical case: A shipper improved customer trust by making boxes arrive clean and dry—without changing temperature targets.
How do you right-size cold chain insulation solutions for seafood products to stop shipping air?
Right-sizing is the fastest cost and performance win in cold chain insulation solutions for seafood products. When you ship air, you pay freight for empty space and you pay coolant to control it. A smaller, tighter shipper often holds temperature longer with less refrigerant.
Think “thermos, not suitcase.” Tight fit reduces air movement and hot spots.
The “3 measurements” right-size tool (5 minutes)
-
Measure product footprint (L×W×H) including inner bags/trays
-
Measure coolant footprint (packs/ice/dry ice space)
-
Add buffer space only for crush protection and void control
| Factor | What to measure | Simple rule | Common mistake | What it means for you |
|---|---|---|---|---|
| Product footprint | Packed product size | No rattling | Oversized “just in case” | Higher heat gain, higher cost |
| Coolant footprint | Volume + placement | Surround, don’t float | Top-only placement | Hot corners and warm ends |
| Buffer space | Void fill + protection | Enough to prevent crush | Too much empty space | You end up “shipping air” |
Practical tips you can use today
-
Use a fit gauge (simple template) so packers pick the right size fast.
-
Standardize packout layouts by SKU family (photos beat paragraphs).
-
Keep a seasonal “hot-day” packout, not year-round overspec.
Real example: Many programs cut freight spend and reduce excursions after shrinking box size one step.
How should you pack seafood using cold chain insulation solutions for seafood products?
Packing is where cold chain insulation solutions for seafood products succeed or fail. Your design must be repeatable at peak volume. If packout varies by person, results vary by day.
Below are two SOP-friendly flows you can train in minutes.
Packing flow for chilled seafood (0–4°C or ~0°C)
-
Pre-chill product to the target range before packing
-
Pre-condition gel packs/PCM to a consistent setpoint
-
Add a bottom absorbent or drain layer
-
Double-bag seafood and seal tightly
-
Place coolant sides + top, then fill voids
-
Close liner fully and seal carton with a consistent tape pattern
Packing flow for frozen seafood (≤ -18°C)
-
Confirm product core is fully frozen before packout
-
Use insulation matched to duration + ambient risk
-
Add dry ice/frozen PCM with safe separation and venting approach
-
Reduce void space to limit convection
-
Close and seal consistently, then label per your SOP
Practical tips and suggestions
-
Time matters: set a hard “max staging time” between packout and pickup.
-
Placement matters: make coolant placement a diagram, not a guess.
-
Clean matters: a dry outer carton improves carrier handling and customer trust.
Actual outcome: Teams often gain reliability by standardizing closure and placement—before buying premium insulation.
How do you validate and monitor cold chain insulation solutions for seafood products in 2025?
In 2025, cold chain insulation solutions for seafood products should be proven with data, not hope. Start small: a sampling plan with low-cost temperature loggers, consistent placement, and clear pass/fail rules. This reduces disputes, improves SOPs, and prevents overspending.
Validation also helps you upgrade the right variable. If warming happens late, fix closure or top coverage. If it warms early, upgrade insulation level.
A validation plan you can run this week
| Test | What you simulate | What to record | Pass/fail idea | What it means for you |
|---|---|---|---|---|
| Average day | Normal route time | Max temp + time above limit | Stays in target band | Confident baseline |
| Hot day | High ambient + sun risk | Temperature curve | No long warm plateau | Summer readiness |
| Delay scenario | +12–24h hold | End temp + trend | Still safe at receipt | Fewer surprise failures |
Seafood cold chain monitoring checklist (copy into SOP)
| Step | What you check | Example standard | What you do next |
|---|---|---|---|
| Pre-pack | Product temp | Meets target band | Re-chill or reject |
| Packout | Layout photos | Matches standard | Retrain if drift |
| Transit | Logger peak | No spikes above limit | Adjust process/coolant |
| Receipt | Condition | No leak, no softening | Root-cause review |
Quick self-test: are you under-protected?
Give yourself 1 point for each “yes”:
-
Do excursions happen mostly near delivery time?
-
Do failures cluster on hot days or Mondays?
-
Do you “add more ice” instead of fixing closure?
-
Does your liner fit loosely inside the carton?
-
Do you lack consistent pre-conditioning steps?
Score 3–5: you likely need a system upgrade.
Score 1–2: process and placement may fix it first.
How do you reduce last-mile risk with cold chain insulation solutions for seafood products?
Cold chain insulation solutions for seafood products often fail in the last mile, not the linehaul. Porch time, missed delivery, and hot-vehicle dwell can “spend” shelf life quickly. Your best lever is operational: attended delivery rules, alerts, and lane segmentation.
Treat last mile like a relay race. If handoffs break, insulation cannot save the lane.
last-mile cold chain insulation strategy for seafood (simple rules)
| Last-mile risk | What it looks like | Best control | Packaging implication | What it means for you |
|---|---|---|---|---|
| Doorstep exposure | Box in sun | Delivery windows + alerts | You can reduce “overkill” | Lower cost, fewer refunds |
| Missed delivery | Retry next day | Signature/pickup | Less dwell time | Higher success rate |
| Hot van dwell | Long route delay | Routing rules | Stronger insulation needed | Consistency on peak days |
Practical tips you can implement fast
-
Use earlier delivery windows for fresh seafood and premium kits.
-
Create two delivery modes: attended vs unattended (validated only).
-
Upgrade only risky lanes, not every order.
Real-world pattern: The final 2–6 hours can be the most dangerous window.
How do you cut total cost and carbon without sacrificing quality?
The lowest-cost cold chain insulation solutions for seafood products are the ones that prevent failures. Refunds, reships, and brand damage are the hidden budget killers. After that, right-size, simplify materials, and consider reuse only when returns are real.
The most “eco-friendly” move is often fewer replacement shipments. Waste prevention beats perfect materials.
Cost and sustainability levers (in the right order)
| Lever | What you change | Why it works | Risk to watch | What it means for you |
|---|---|---|---|---|
| Fewer failures | Better SOP + last-mile control | Avoids reships and waste | Needs discipline | Biggest impact fast |
| Right-sizing | Smaller cartons | Lower freight + better hold | SKU complexity | Lower cost per order |
| Material simplification | Fewer mixed parts | Easier disposal | Performance variance | Better customer compliance |
| Reuse programs | Reusable EPP systems | Lower waste per trip | Return rates | Best long-term option |
Practical tips
-
Track replacement rate like a KPI (it is cost and carbon).
-
Keep a summer packout that prevents seasonal claim spikes.
-
Write disposal instructions in plain language customers will follow.
2025 latest developments and trends in seafood cold chain insulation
In 2025, cold chain insulation solutions for seafood products are moving from “thicker is safer” to “validated, right-sized, lane-specific.” Teams are adopting two-tier packouts (standard + hot-risk), improving moisture-tolerant liners, and using lightweight monitoring to reduce disputes. High-performance insulation is also trending where dimensional weight penalties are painful.
Latest progress at a glance
-
Lane-based packouts: fewer “one box for everything” policies
-
Moisture-smart designs: better drainage layers and leak-resistant containment
-
Smarter monitoring: sampling loggers and clear pass/fail standards
-
Thinner high-performance builds: stronger hold time without oversized boxes
-
Selective superchilling: only where SOP control is tight and validated
Frequently asked questions
Q1: What are cold chain insulation solutions for seafood products in simple terms?
They are packaging and SOP choices that keep seafood in its target temperature range during real shipping delays.
Q2: Do fresh and frozen seafood need different packouts?
Yes. Fresh needs near-ice stability and moisture control, while frozen needs deep cold and minimal thaw-refreeze cycling.
Q3: Is thicker insulation always better?
No. Right-sizing, tight closure, and consistent placement often beat thicker insulation in oversized boxes.
Q4: What is the easiest first improvement to make?
Standardize packout layout (photos), tighten closure, and add a drain/absorbent plan for wet programs.
Q5: How often should I test packaging?
At least seasonally, and any time you change lanes, box sizes, coolants, or carriers.
Summary and recommendations
Cold chain insulation solutions for seafood products work best as a complete system: insulation, coolant, containment, and repeatable packing steps. Start by defining targets (fresh vs frozen) and segmenting lanes by difficulty. Then fix the basics: tight fit, strong closure, balanced coolant placement, and moisture control. Finally, validate with a simple hot-day and delay test so you upgrade only what the data proves.
Your next-step action plan (simple and fast)
-
Define one target band per SKU family (fresh vs frozen).
-
Build two packouts: standard and hot-risk.
-
Right-size cartons using the “3 measurements” method.
-
Run 3 tests (average / hot / delay) with one logger placement standard.
-
Add last-mile controls for high-risk lanes and seasons.
About Tempk
At Tempk, we build cold chain insulation solutions for seafood products as practical, repeatable systems. We focus on insulation selection, coolant strategy, moisture control, and packout SOPs your team can follow at speed. We also help you validate performance with a simple seasonal test plan, so you reduce claims without overspending on packaging.
Next step: Share your product state (fresh or frozen), lane duration, and last-mile risk (attended vs unattended). We’ll outline a lane-specific system direction and a validation checklist you can run this week.